Linking SumUp to eZeePOS #
SumUp is now available for integration with eZeePOS. This allows for a quick way of linking a card terminal to eZeePOS and taking card payments with ease. This guide will cover how to link a SumUp device to eZeePOS.
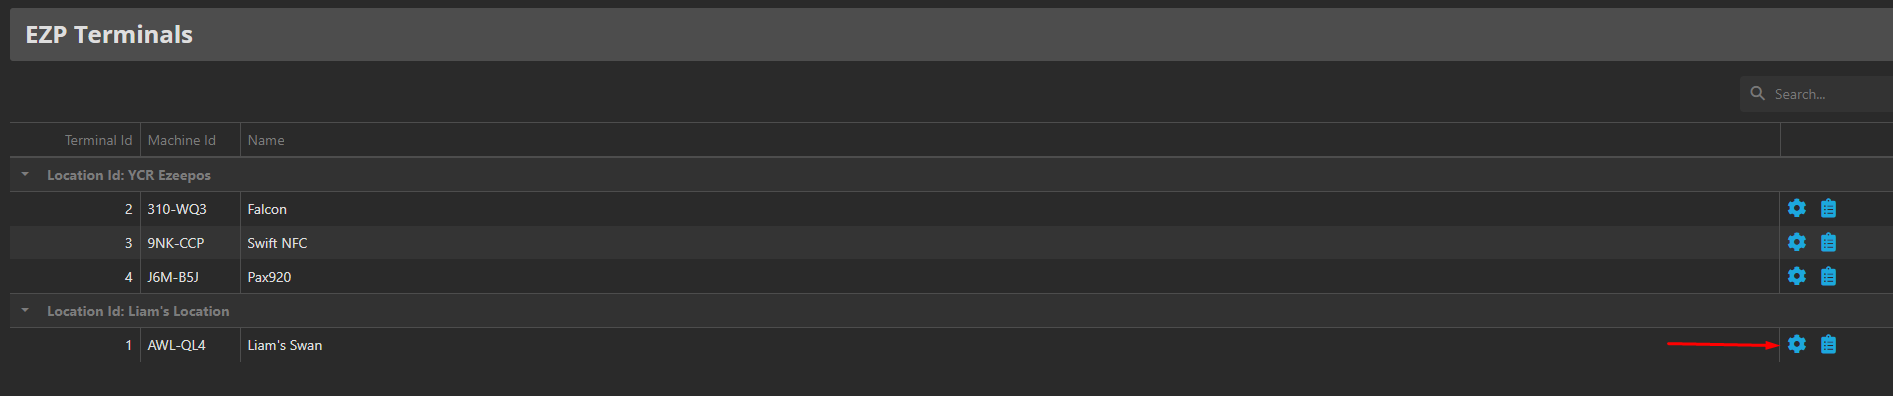
Firstly, you will need to ensure that you have a SumUp account set up and a device ready to go which is linked to this account. Once you have got this, the first step is to enable your eZeePOS device to take SumUp payments. To do this, on eZeePOS Office, navigate to Config -> Terminals -> EZP Terminals. In here, find your terminal and press the little config icon on the right-hand side.
On the next screen, go to the Payment Provider tab. In here, you should have a Payment Provider drop-down box, press this and there should be the option for SumUp, select this. You will then be given an extra option to enable gratuities, if you wish to use this, tick the box. Once set, click Save at the top-right.

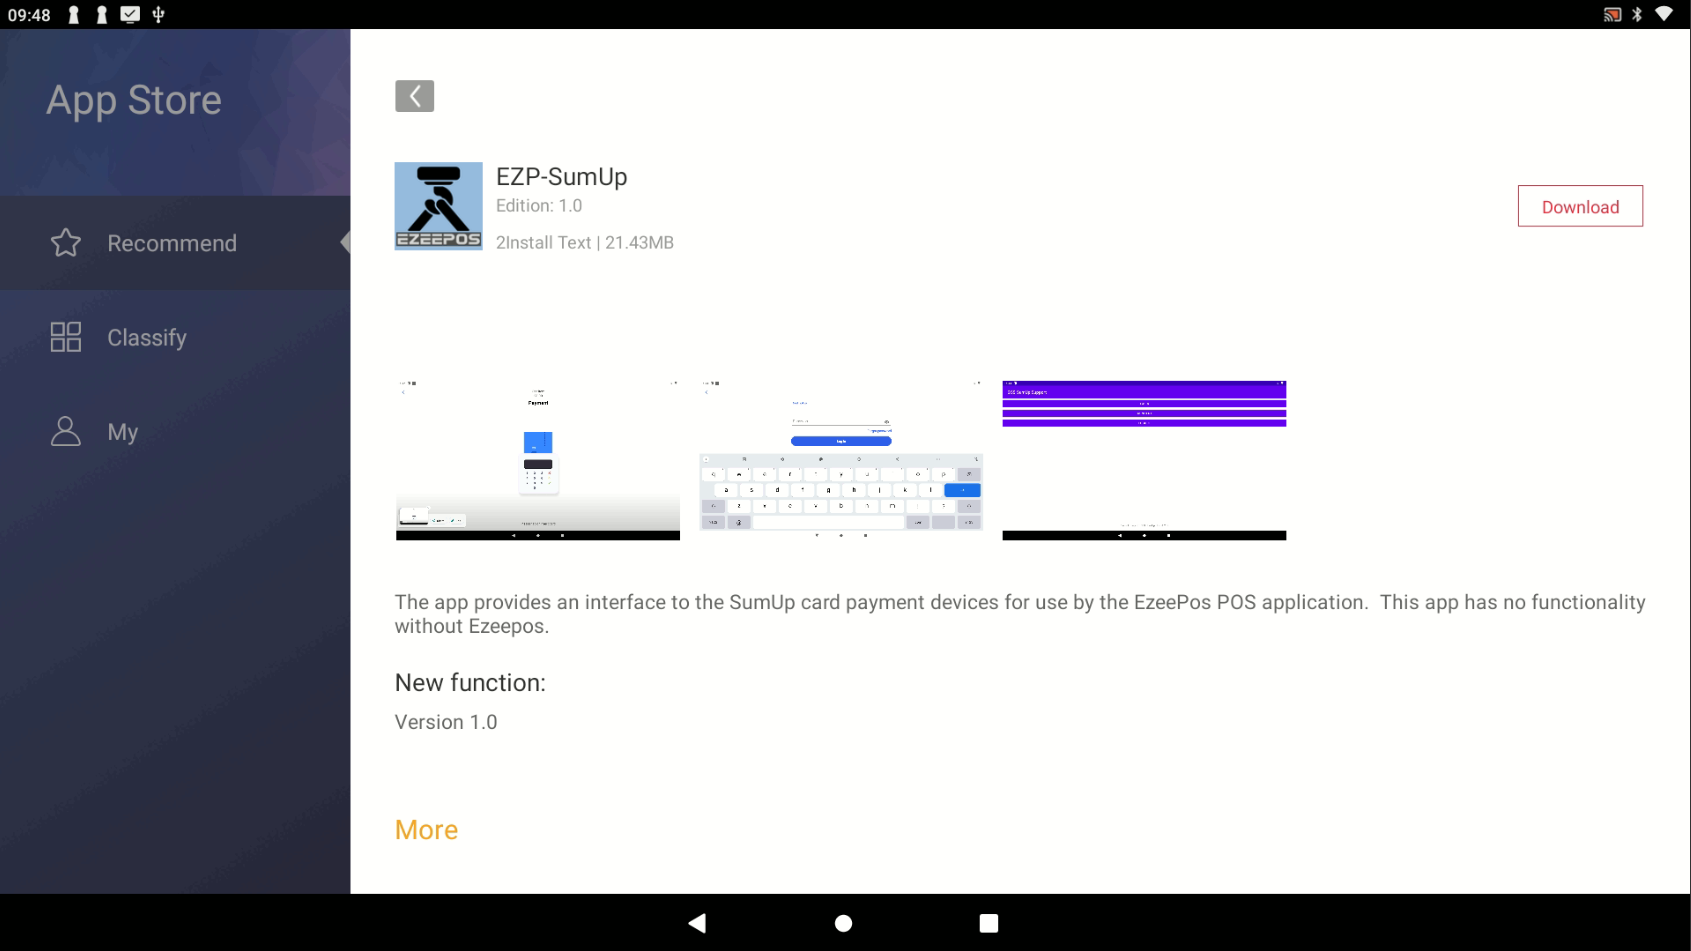
Now that we have enabled SumUp as the Payment Provider, the next step is to download the EZP-SumUp app from the iMin App Store. Simply search for this and you should be able to download the app.
Once installed, this will add an icon to your home screen, however you do not need to open this. Instead, open eZeePOS, refresh your terminal data and then attempt a card sale. This should take you to the SumUp app where it will ask you to login. You will want to login with your SumUp account details:
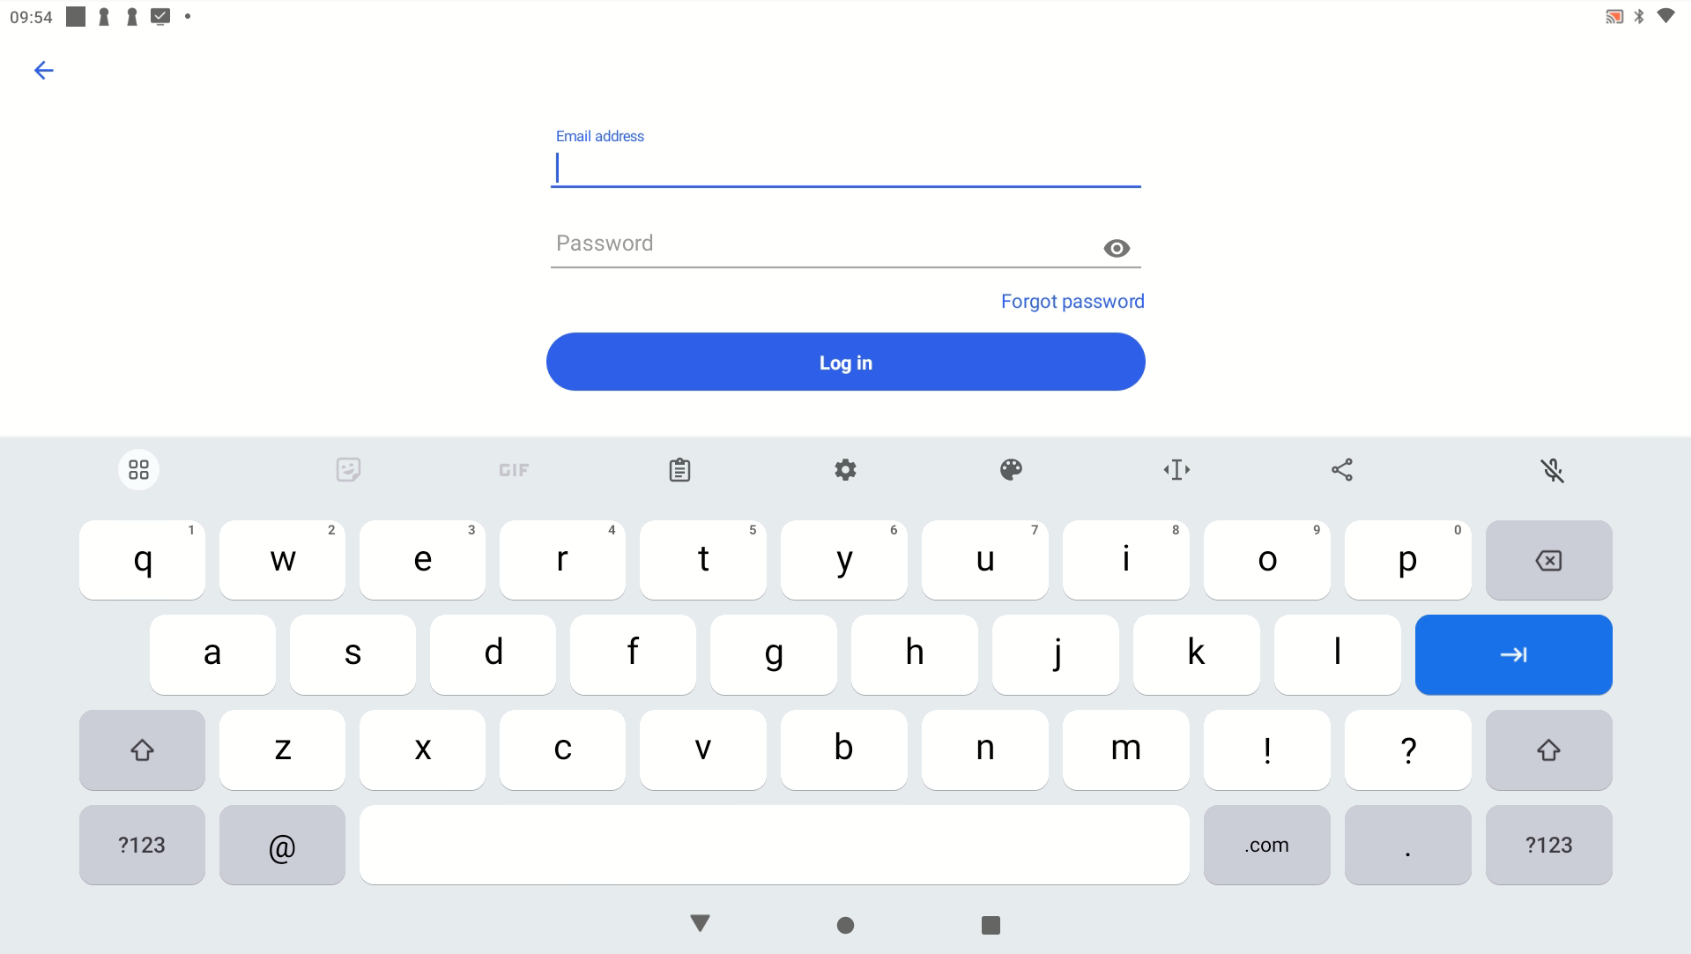
Once your email address and password has been entered, press Log in. This will prompt asking to use Location Services, press Continue.
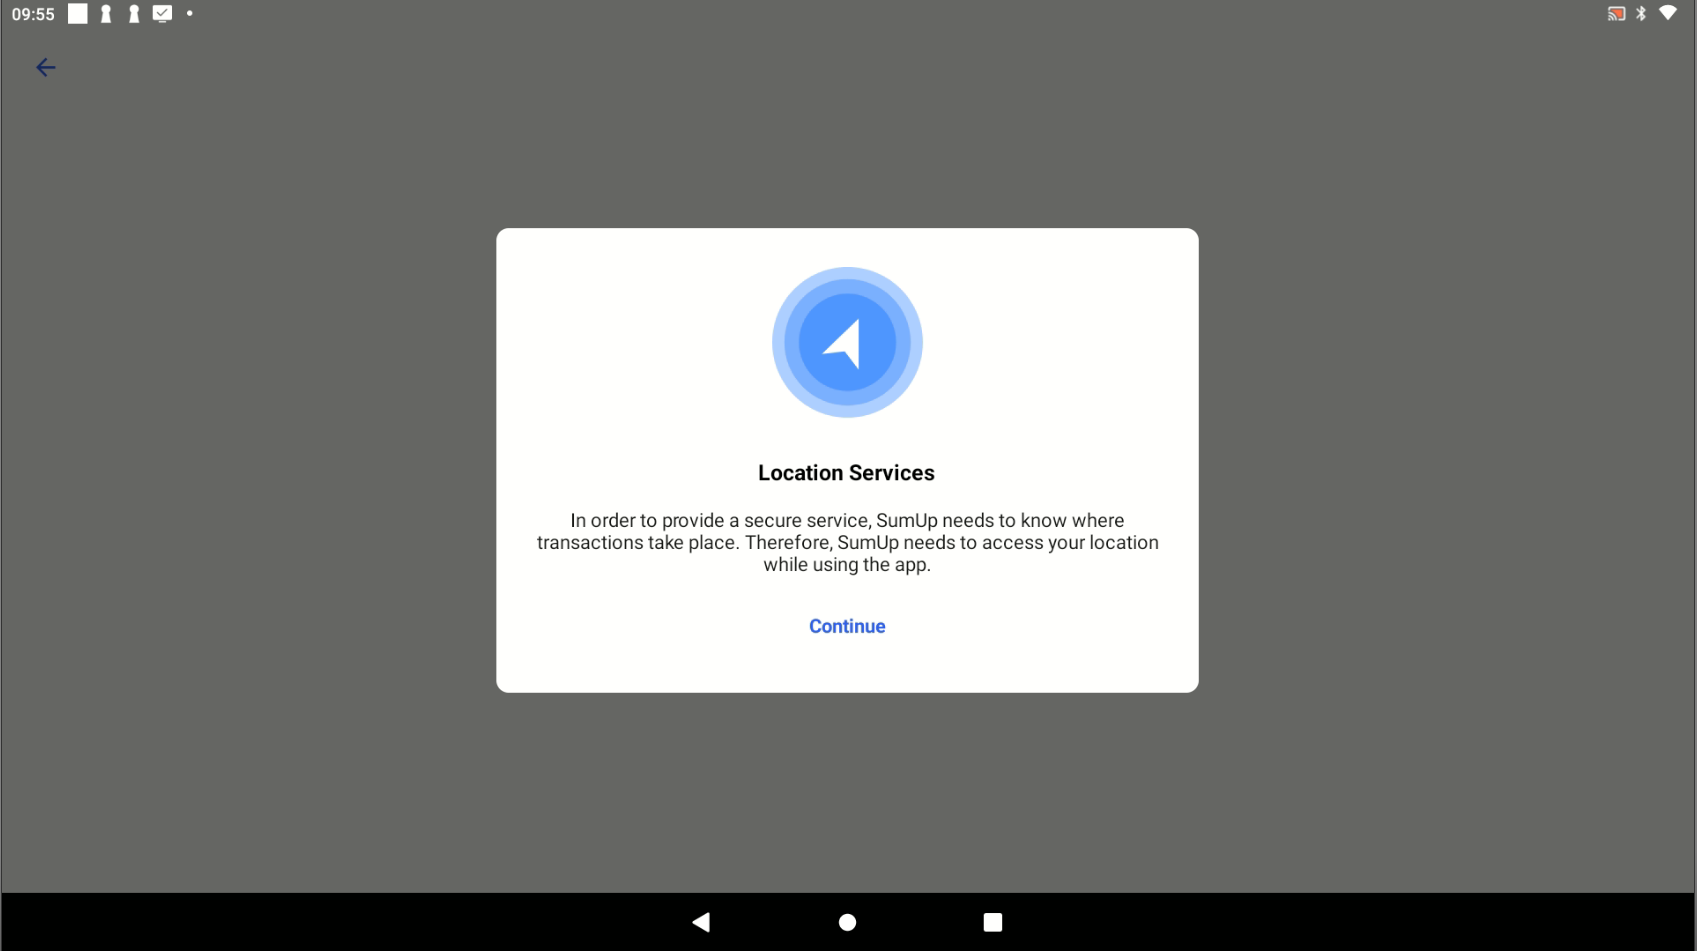
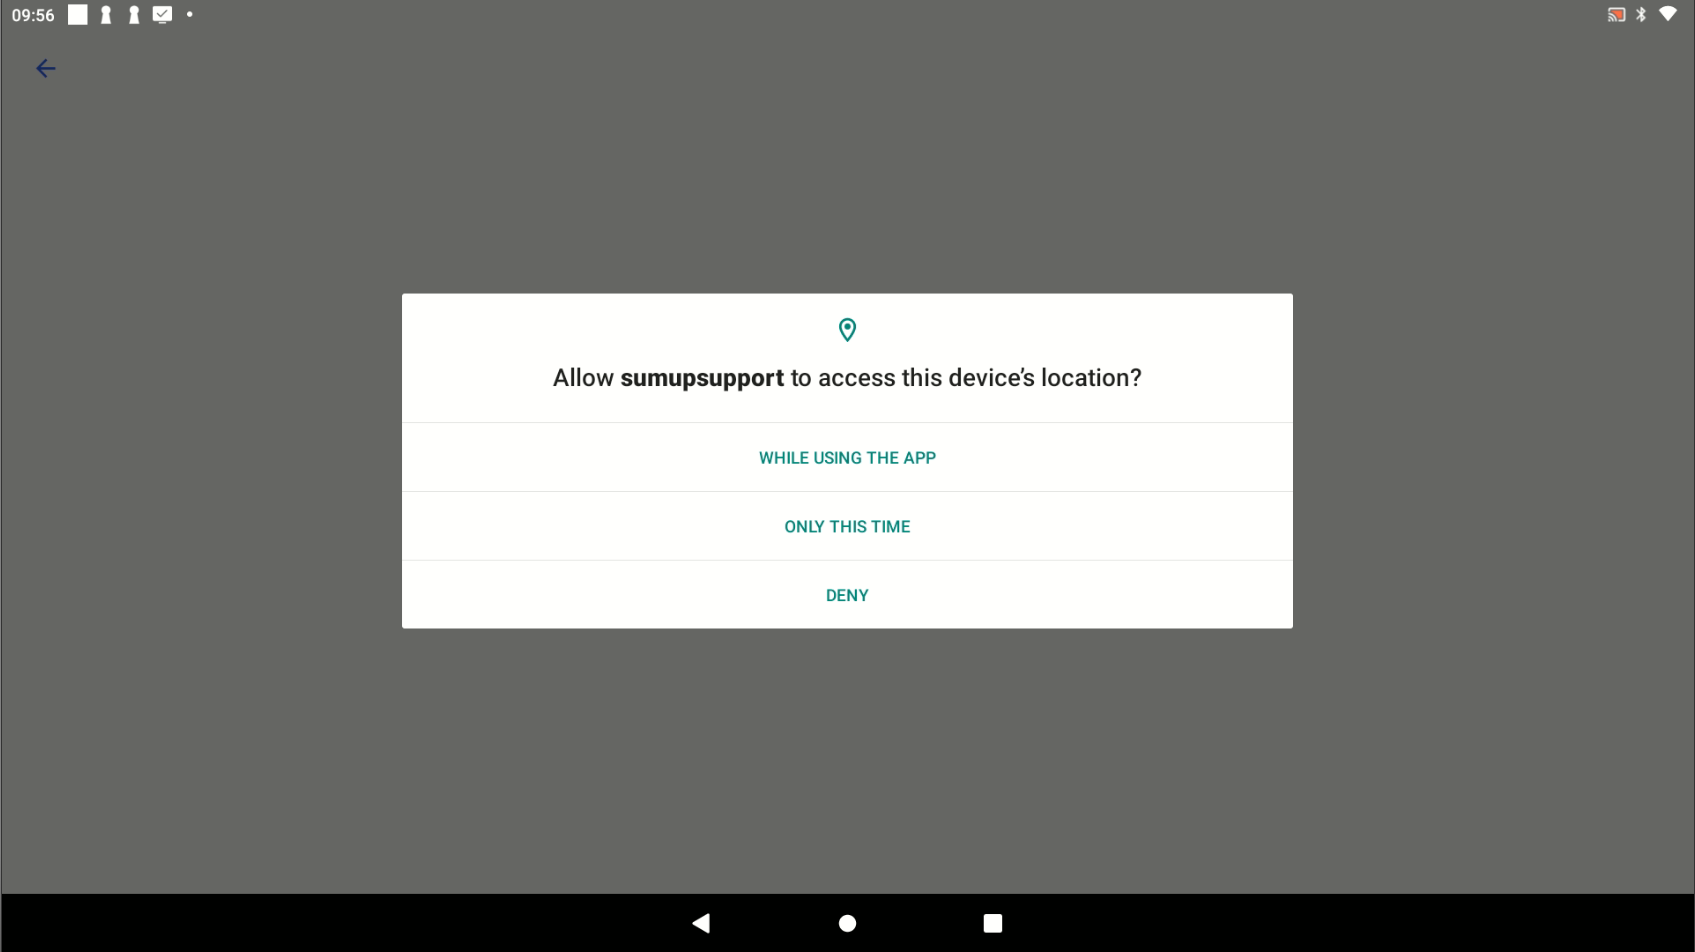
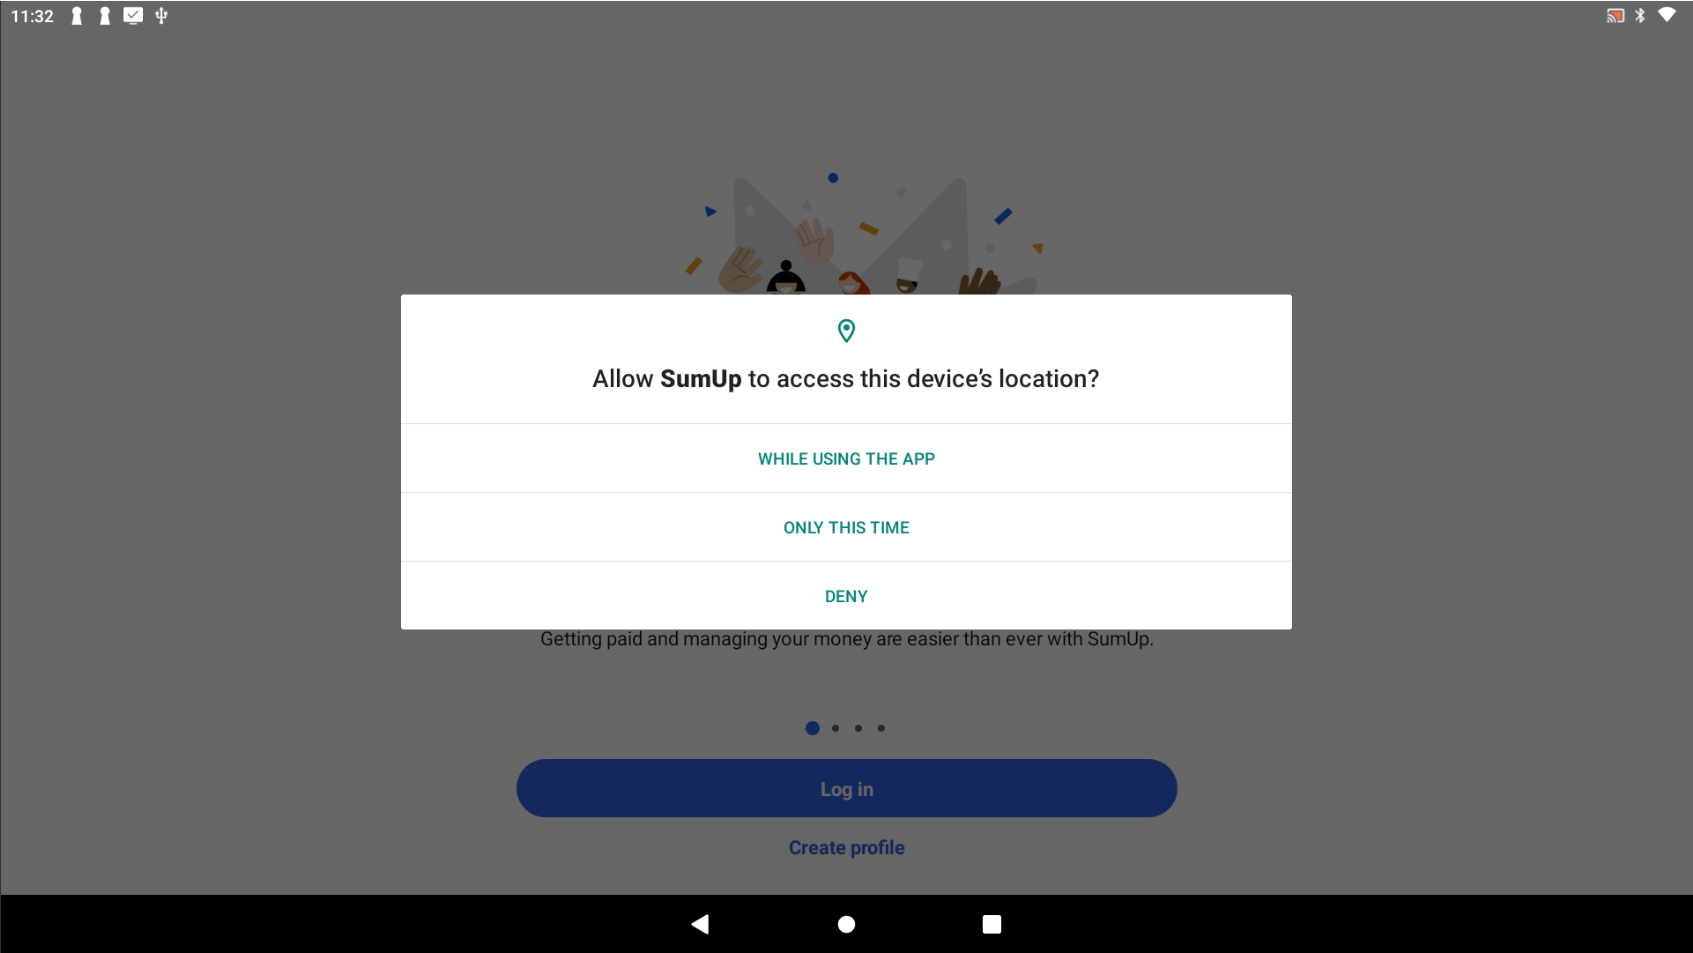
This will then prompt asking allow sumupsupport to access this devices’ location? press While using the app.
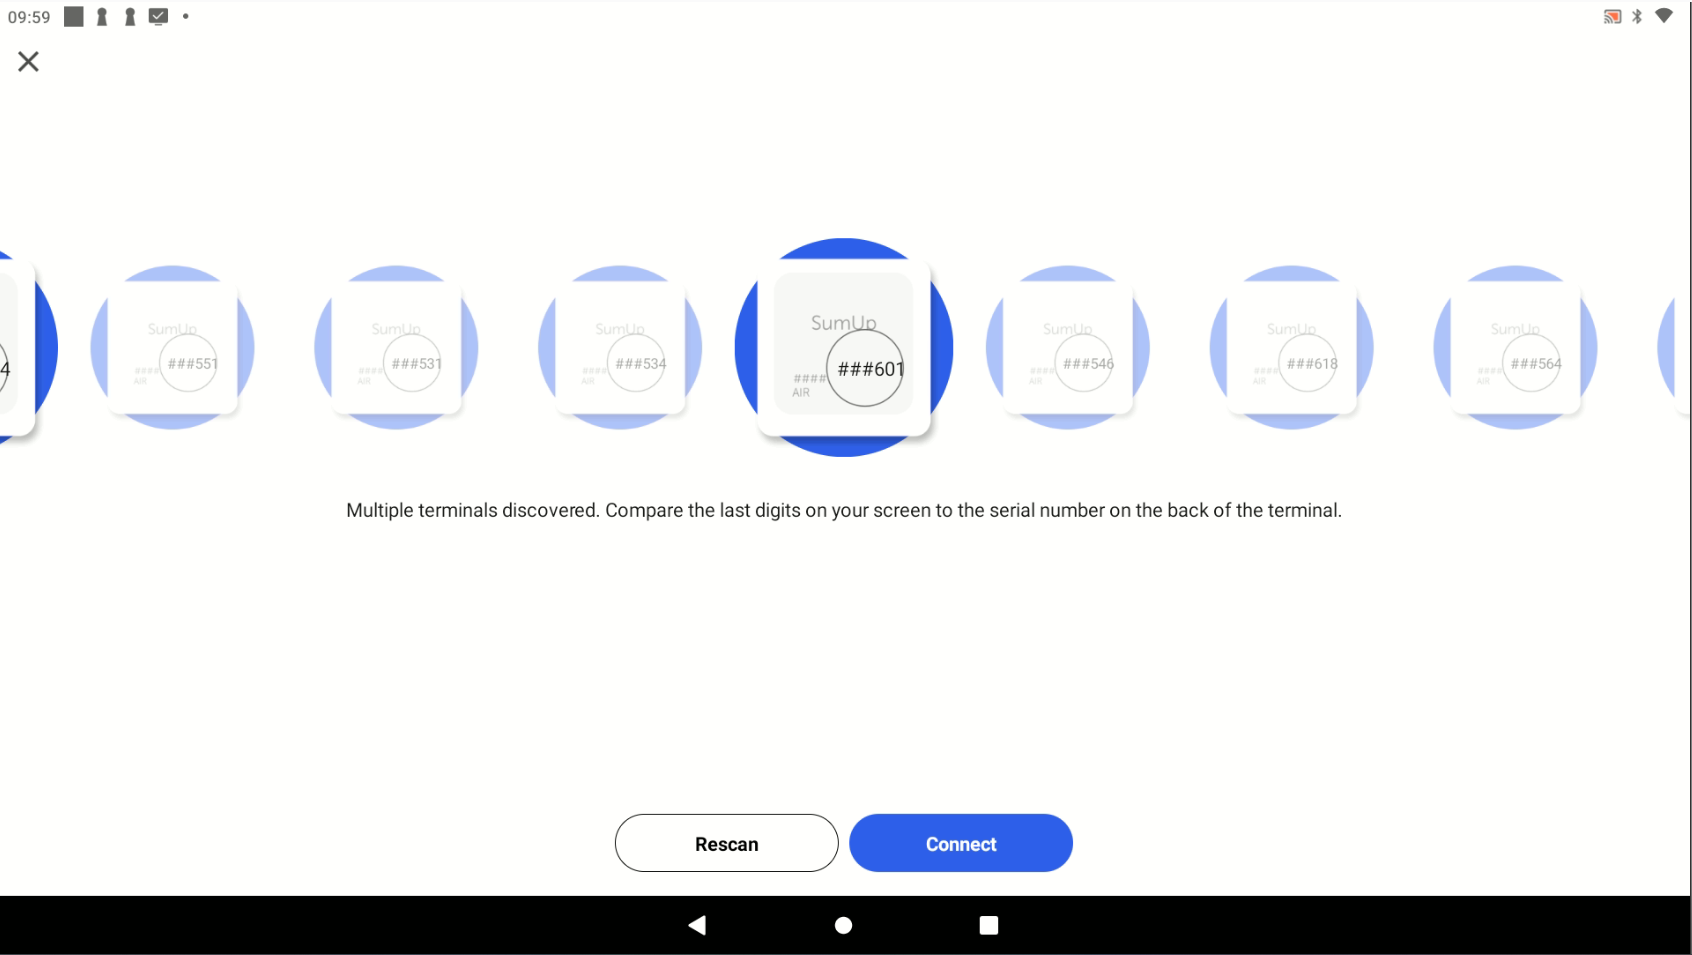
At this point it may take you back to the payment screen, press Card again if it does and it should now try to find a new SumUp device to connect. If there are multiple SumUp devices, swipe to the right until you find the last 3 digits of the SumUp device you wish to connect to and then press Connect
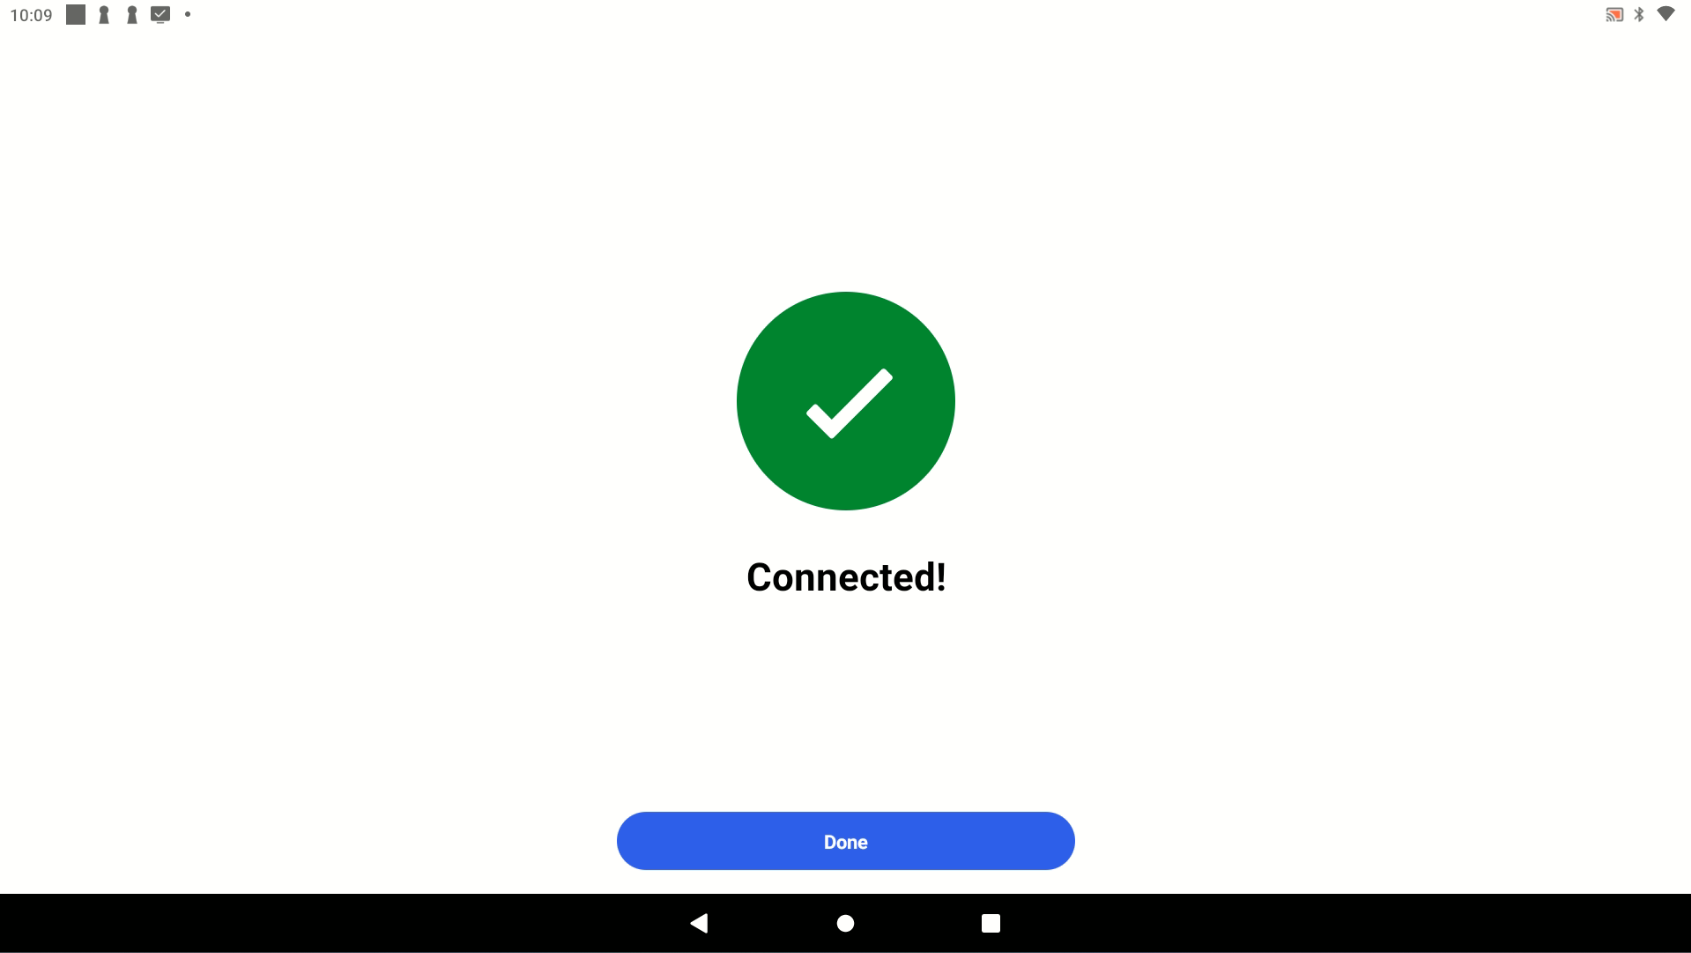
It will now attempt to connect to the device and if connected successfully should say Connected! with a big green circle and a tick. Press Done to go to the next screen.
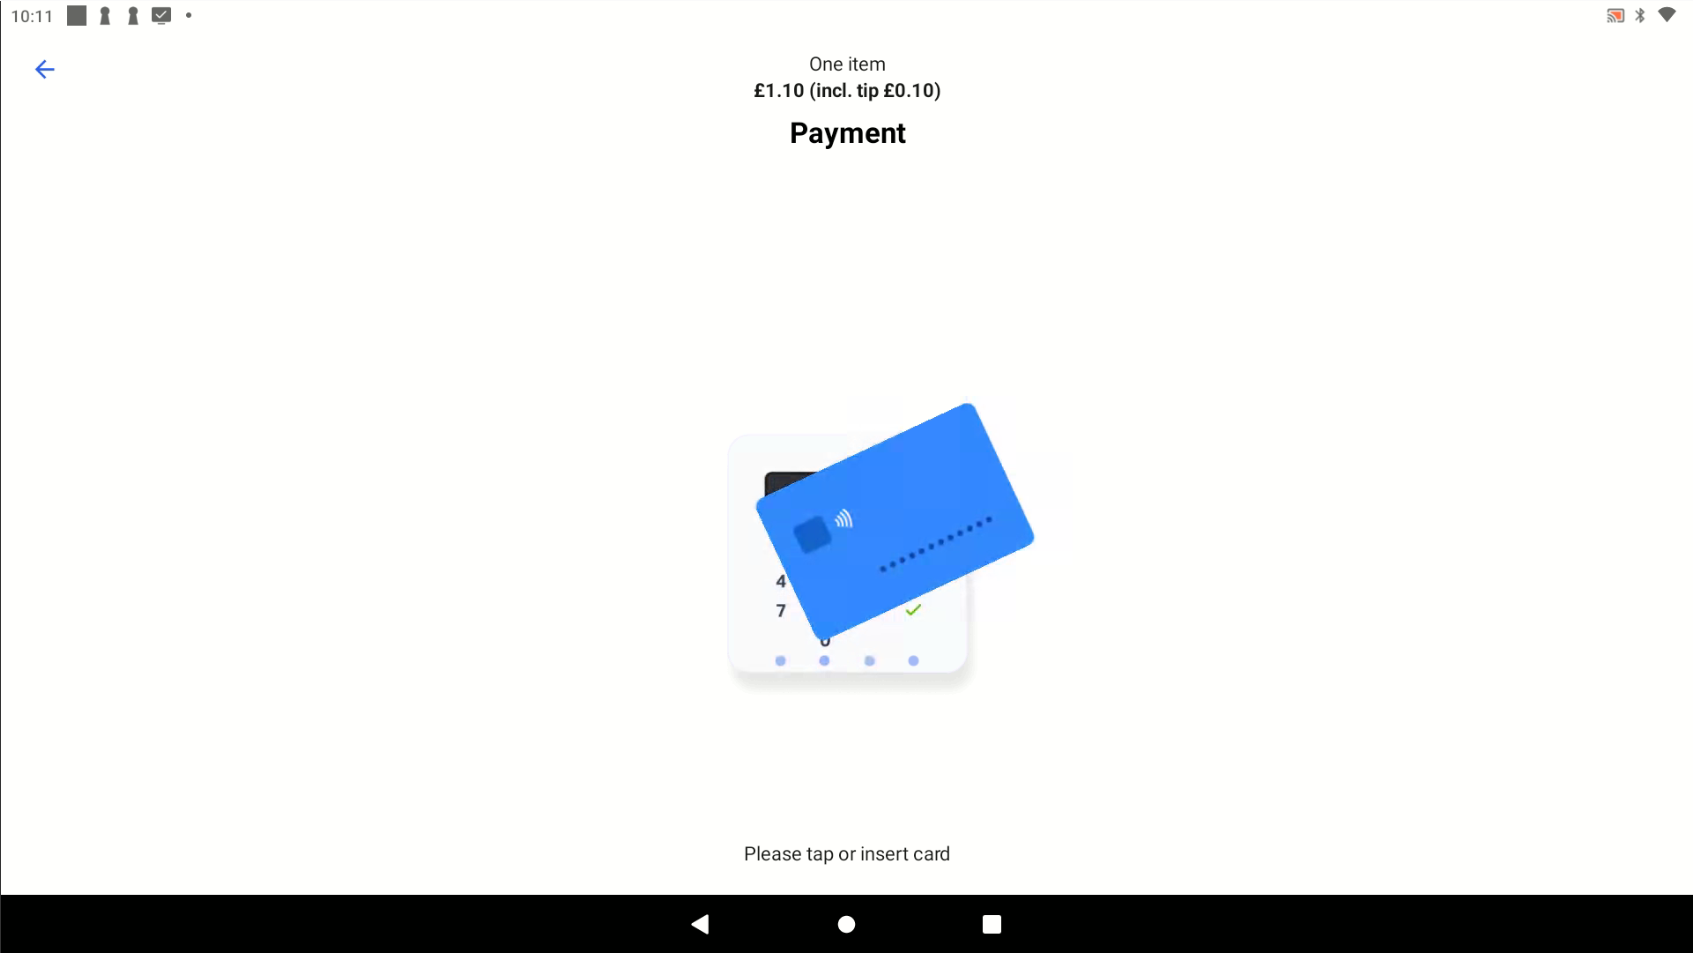
On the next screen it should now attempt to connect to the payment device. The SumUp device should light up and prompt to take card payment. Put your card near the reader if it is contactless, or insert if not and enter your PIN.
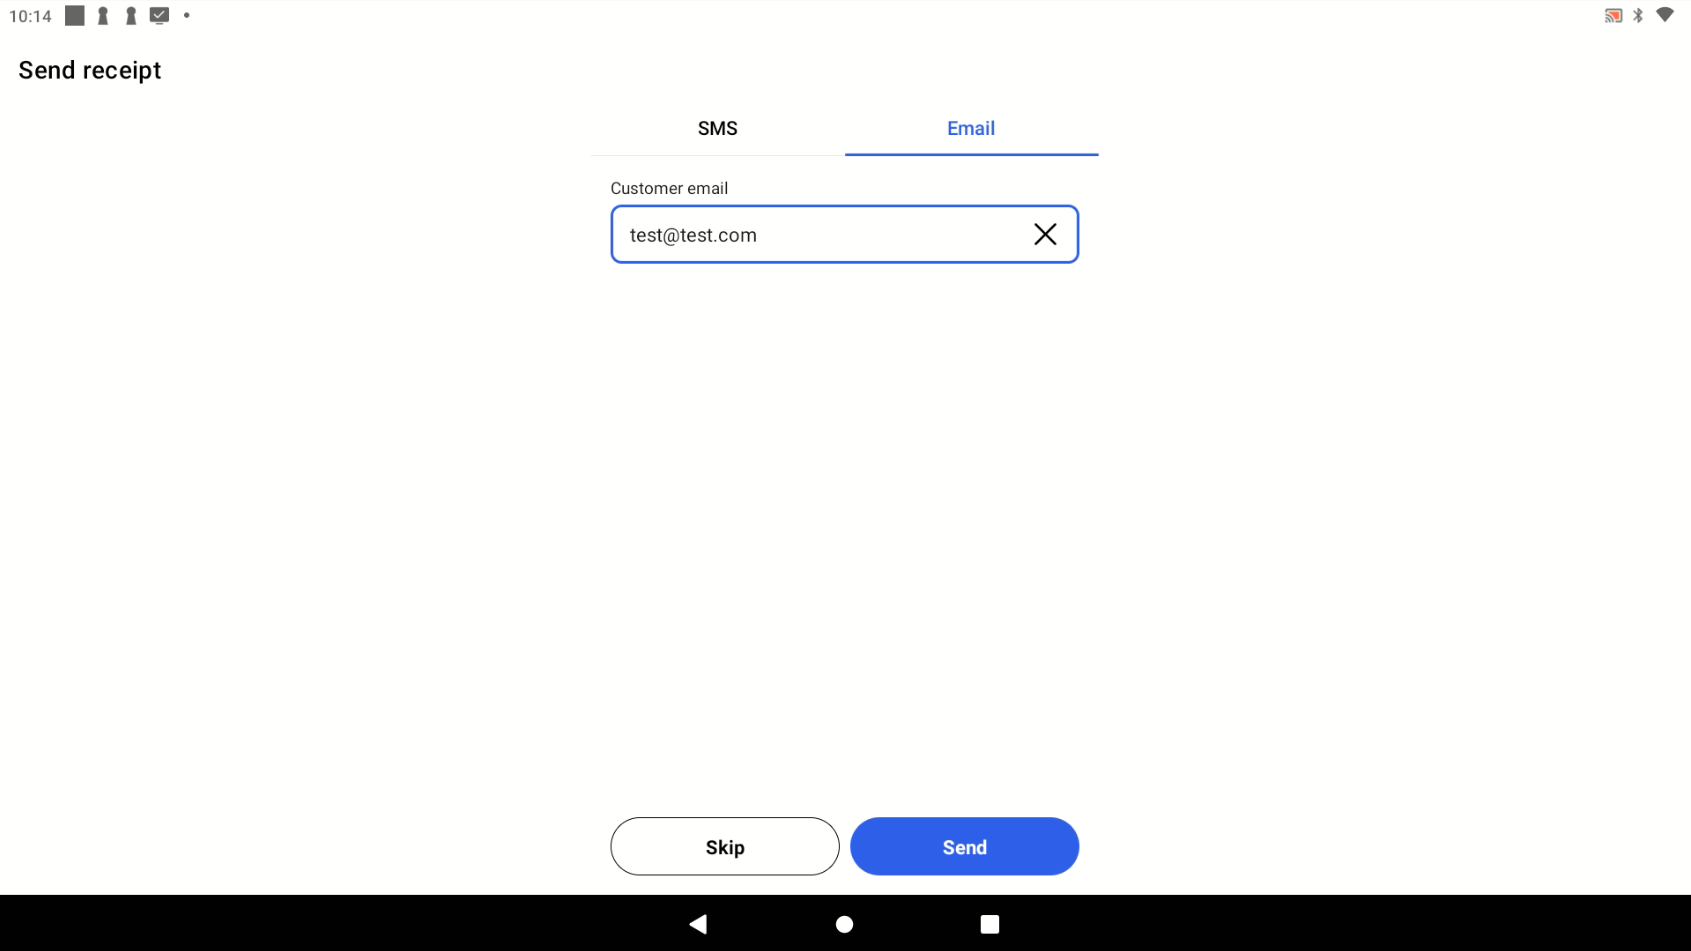
The transaction may timeout if the card isn’t tapped / inserted in time, however if successful, it will tell you the card payment has gone through successfully and will then give you the option to send a digital receipt to the customer. This can either be via SMS or Email, simply choose the relevant tab at the top and enter the customer’s information and press Send. If the customer does not want a digital receipt, you can simply press Skip.
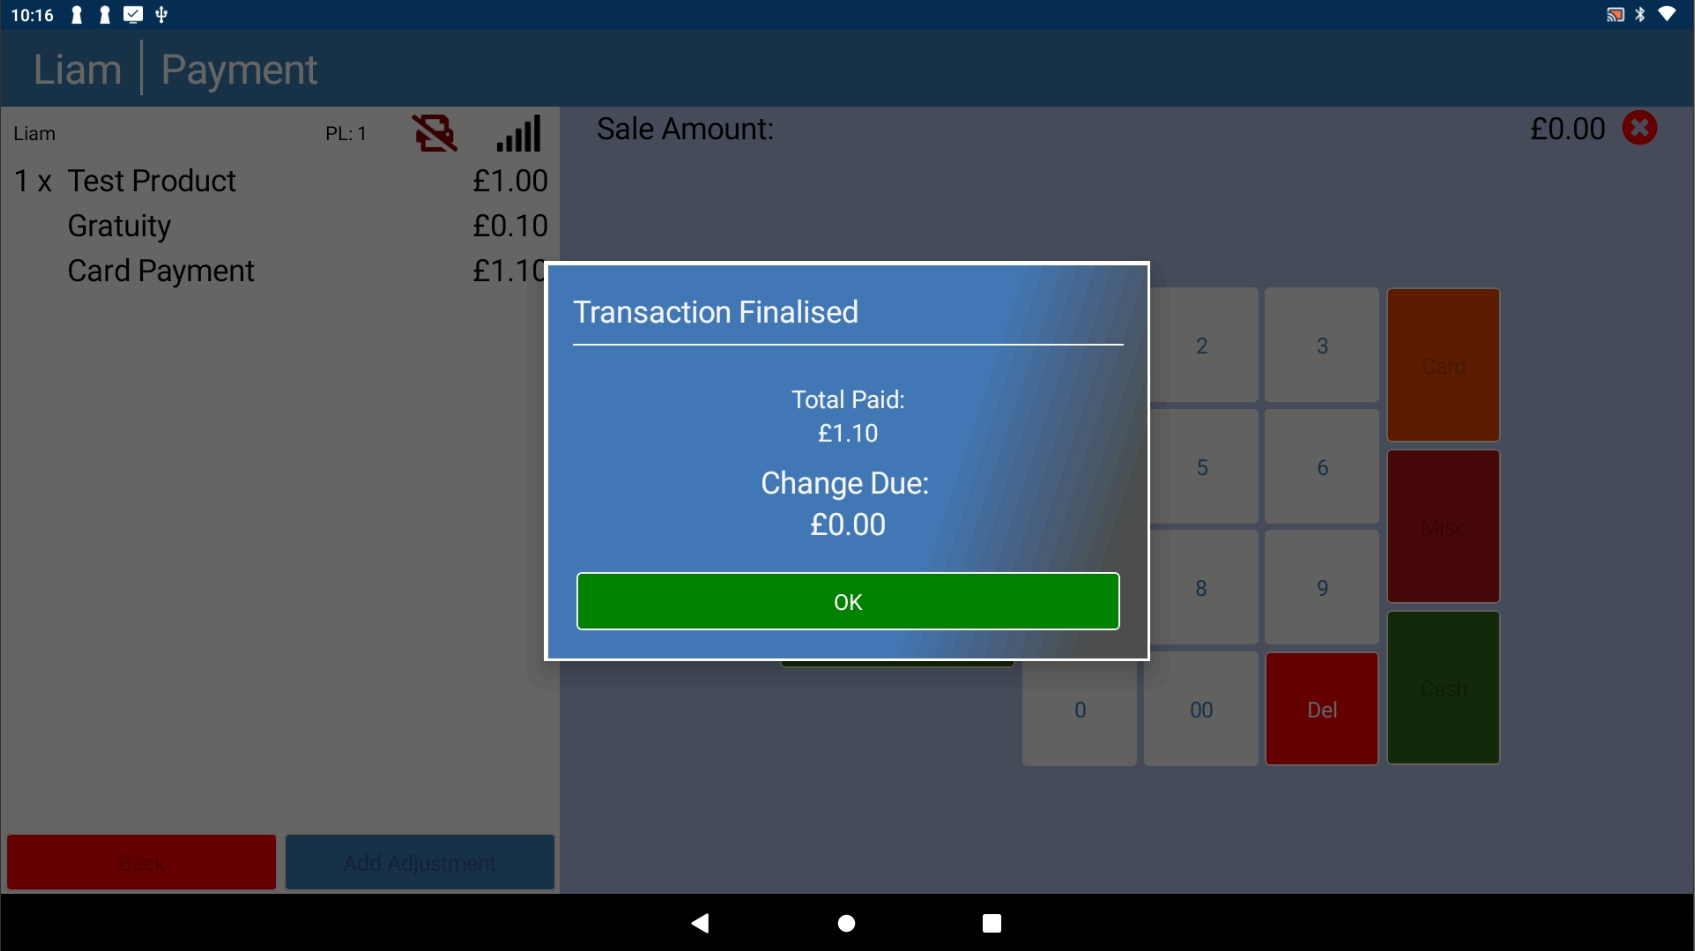
Once this has sent / skipped, it should take you back to the eZeePOS payment screen and confirm that the transaction has been completed. It will then print any physical receipts and / or kitchen tickets and finalize the sale.
How do I do a refund on eZeePOS? #
Processing the refund through the SumUp app #
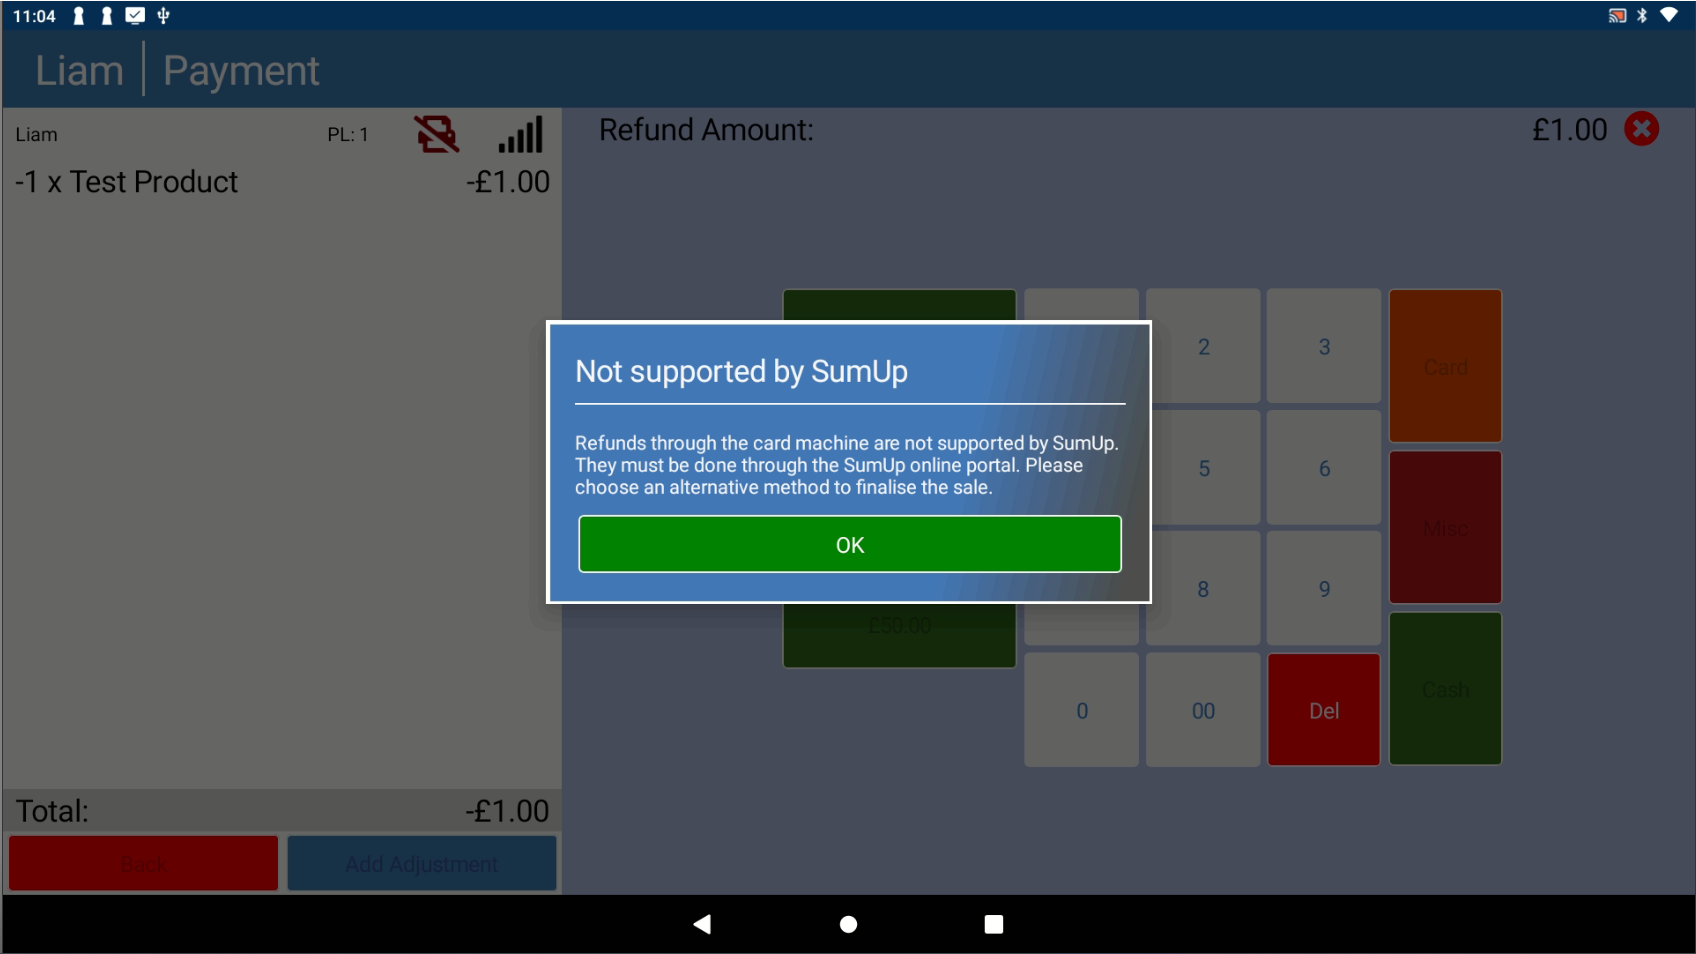
You may notice that when trying to refund a negative sale through SumUp, it will not allow you to do this, prompting you with the below message:
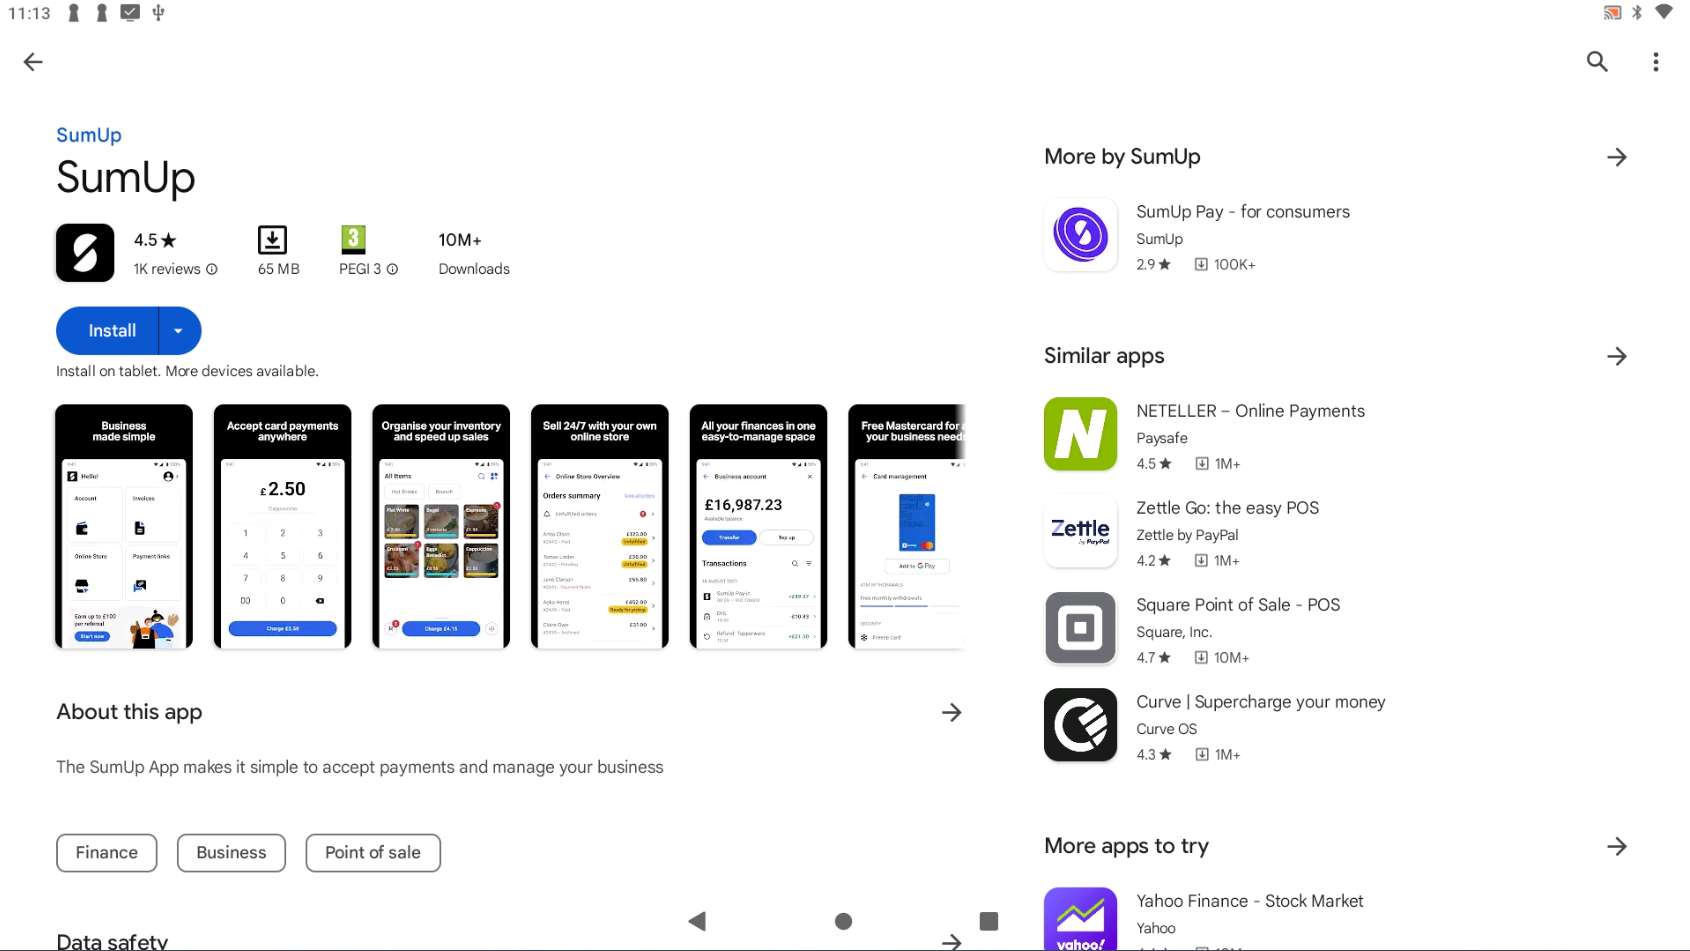
In order to refund a SumUp transaction, there are two things that need to be done. The first is doing the refund via the SumUp app, which is separate to eZeePOS and the SumUp Support App. This can be downloaded from the Google Play Store (if you do not have this, you will first need to get it from the iMin App Store). On the Google Play Store, search for SumUp and install the app.
Once installed, open the app and this will give you the option to Log in. Like before, it will ask to use Location Services, so ensure to click Continue and then While Using The App.
This will take you to the login page.
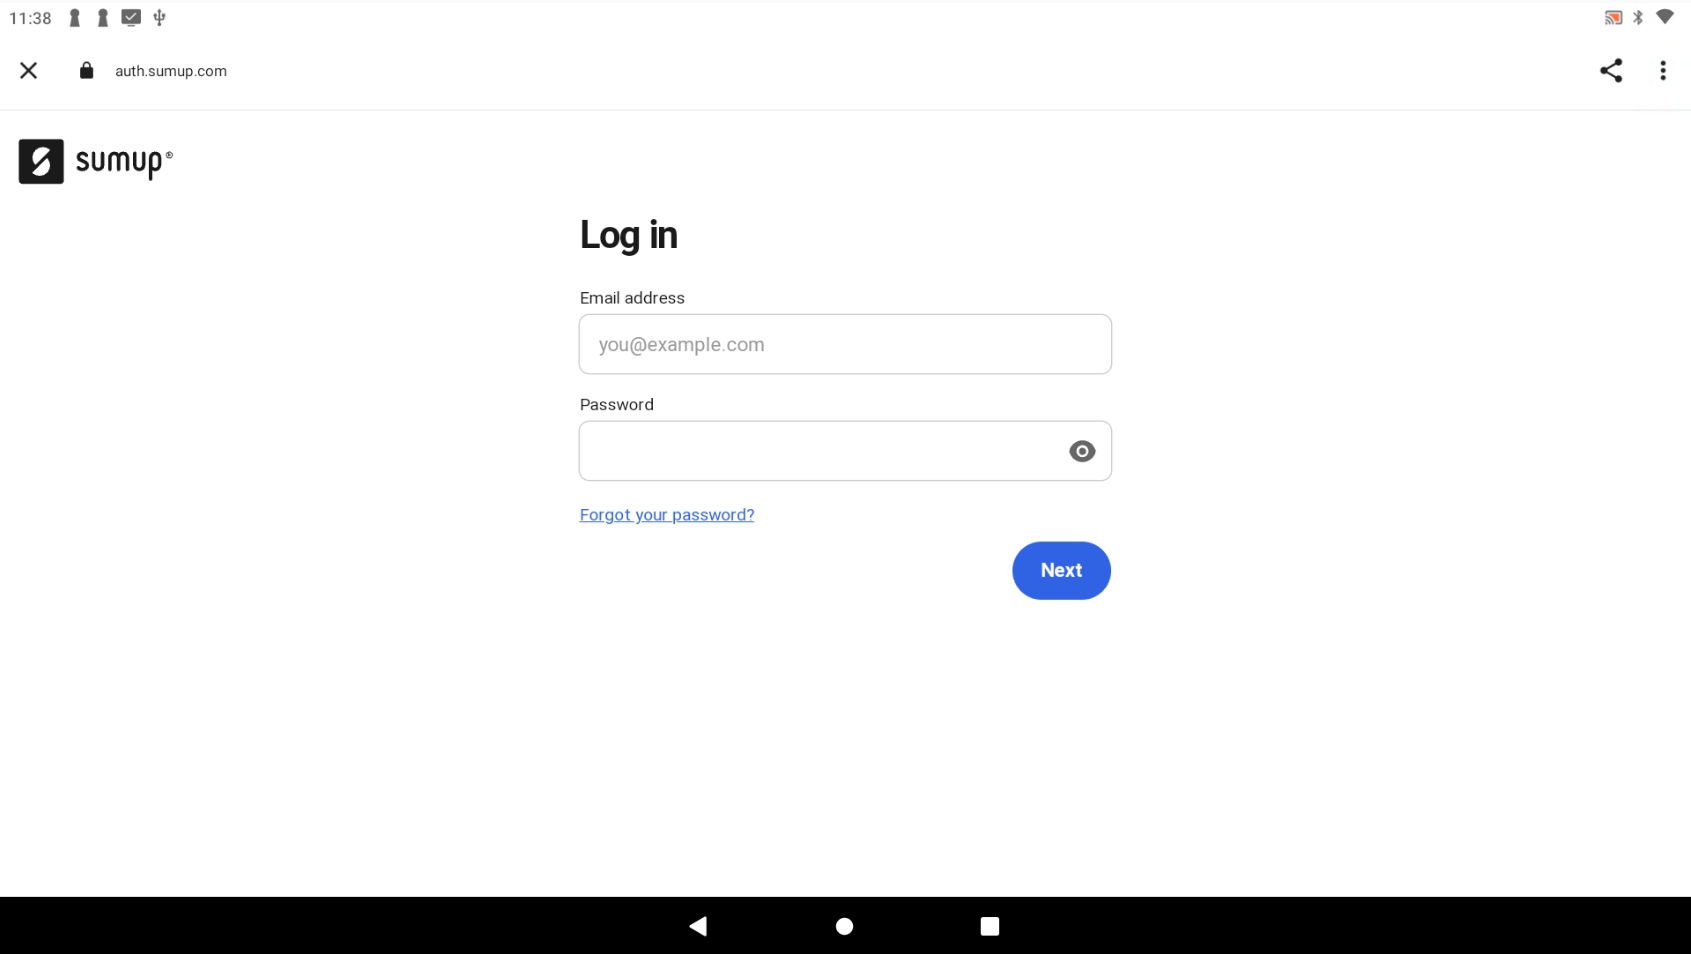
Once you have entered your credentials and pressed Next, this will take you to your SumUp dashboard.
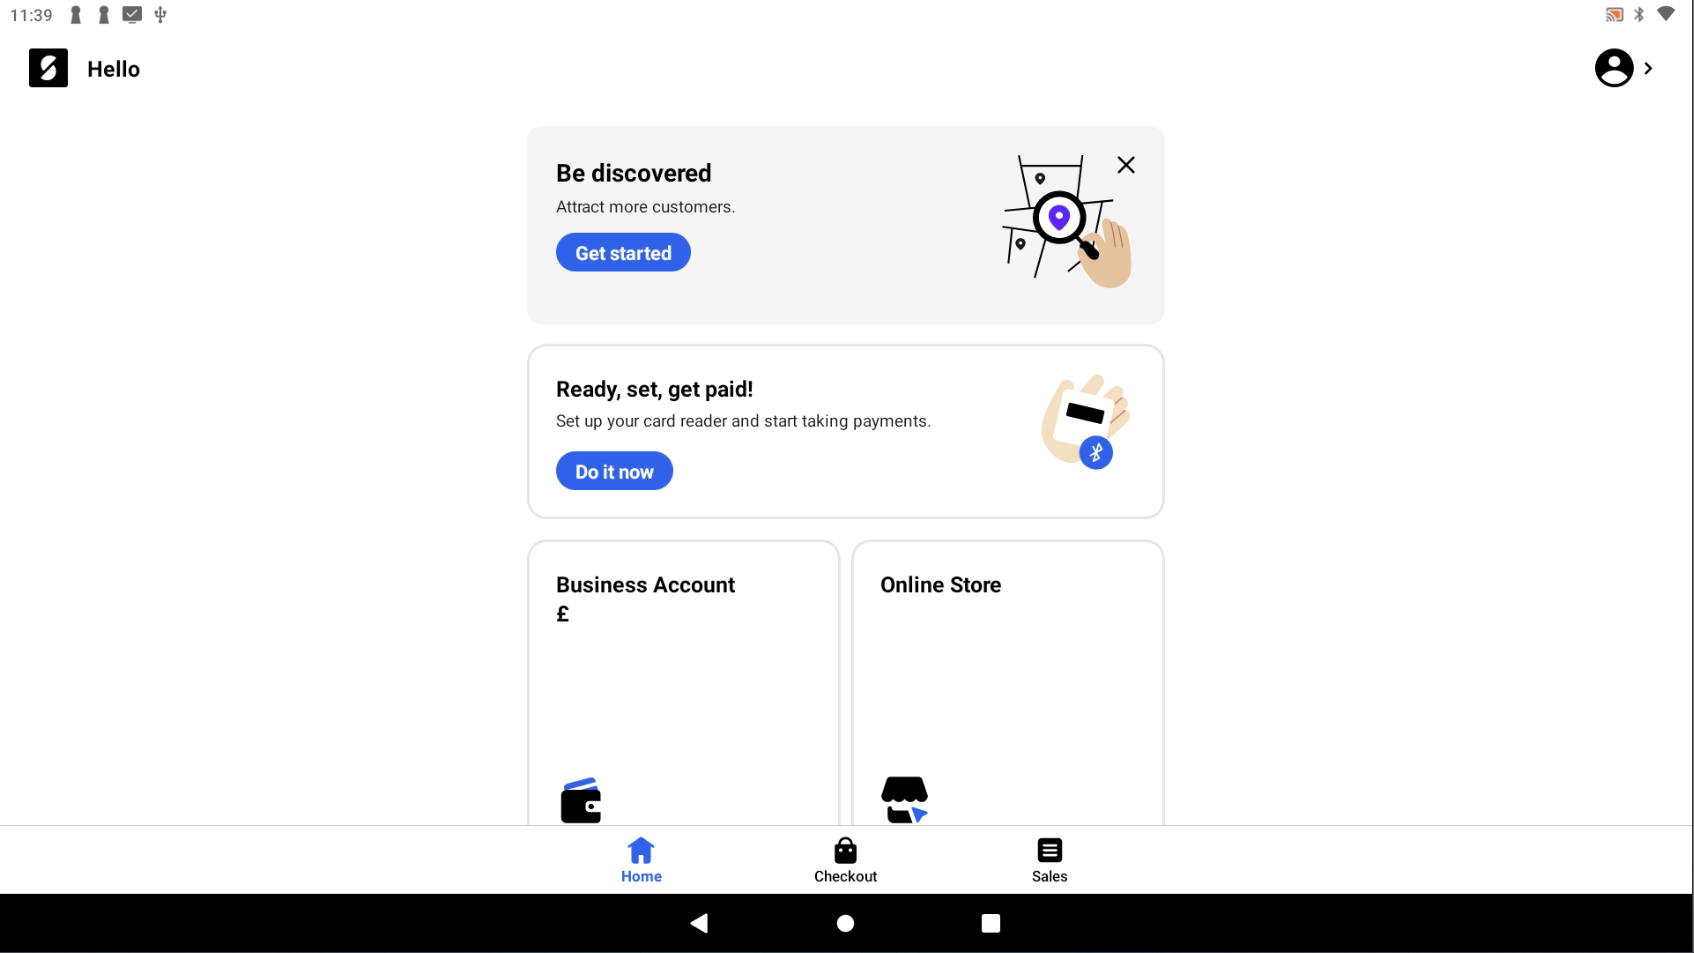
On the bar at the bottom, press Sales and this should take you to your list of transactions. On this page, scroll to the transaction you wish to refund and press it.
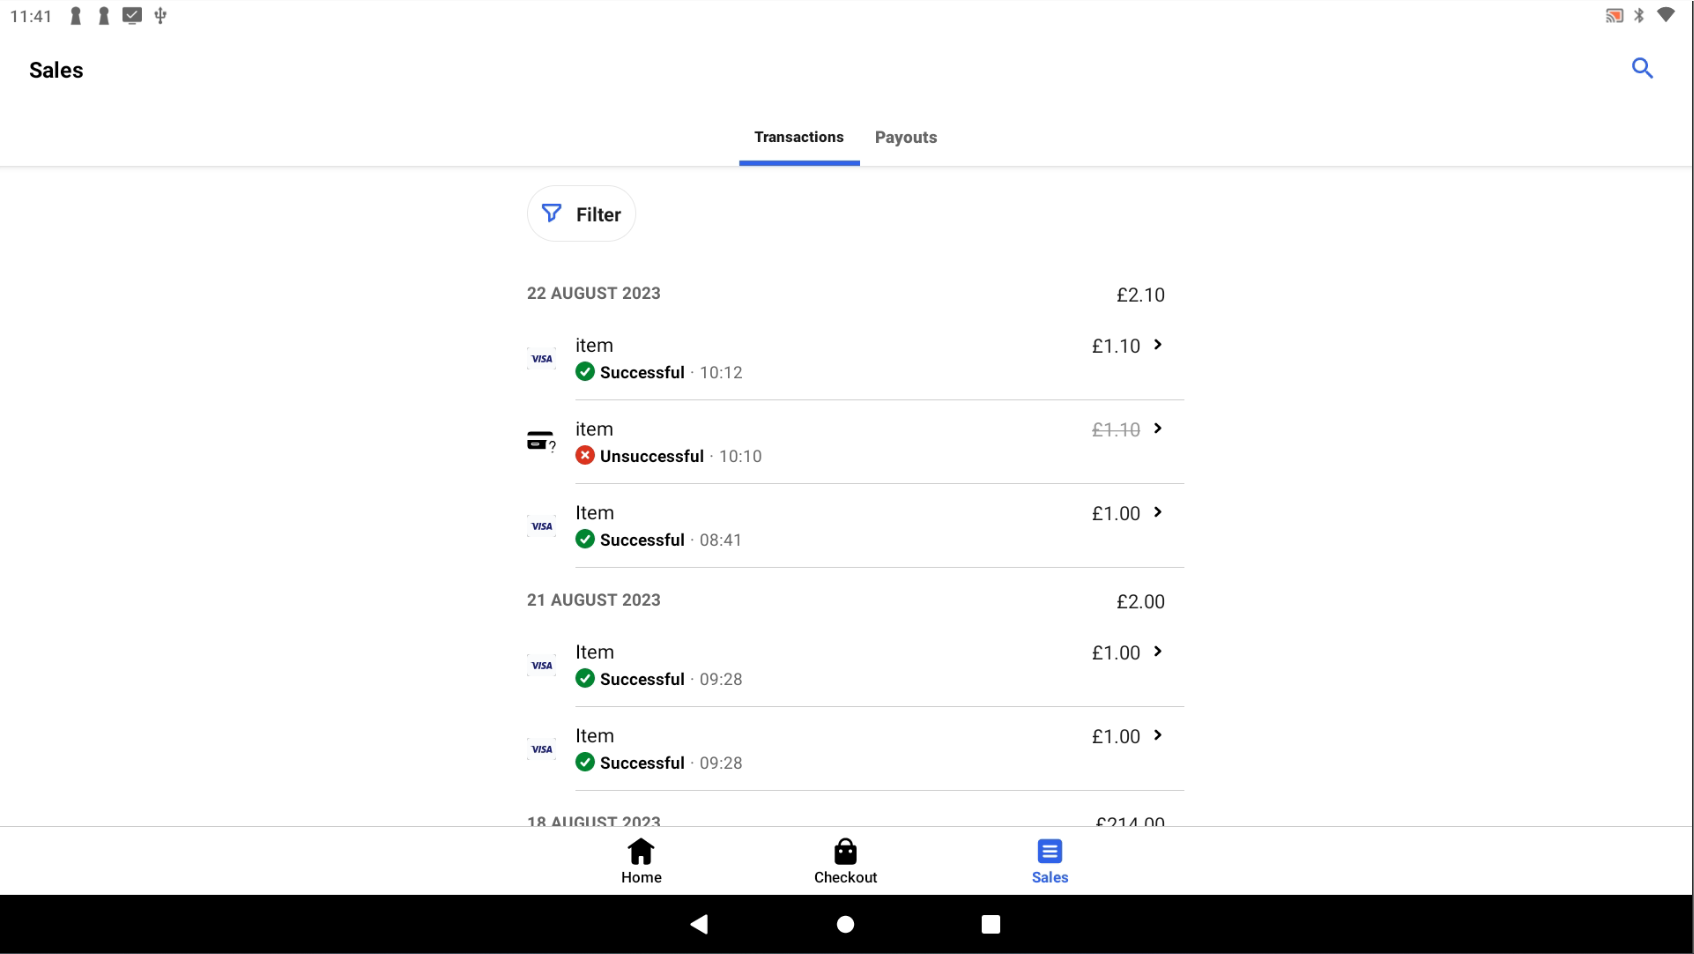
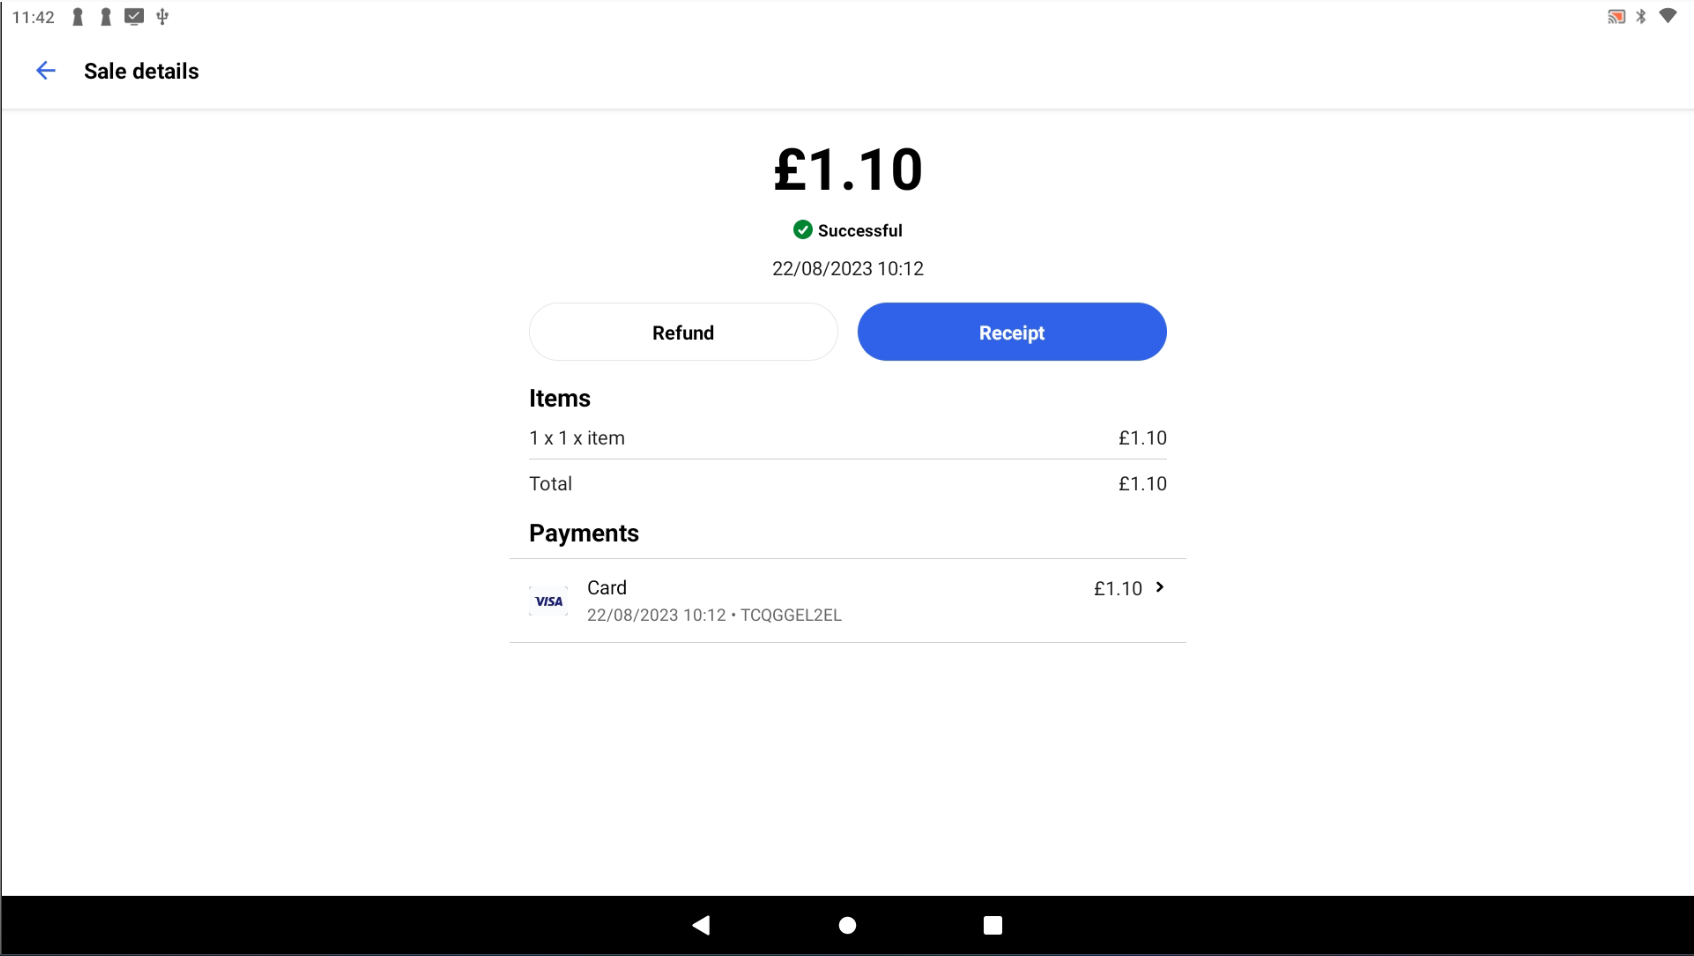
This will give you some information about this transaction. To refund, press the Refund button.
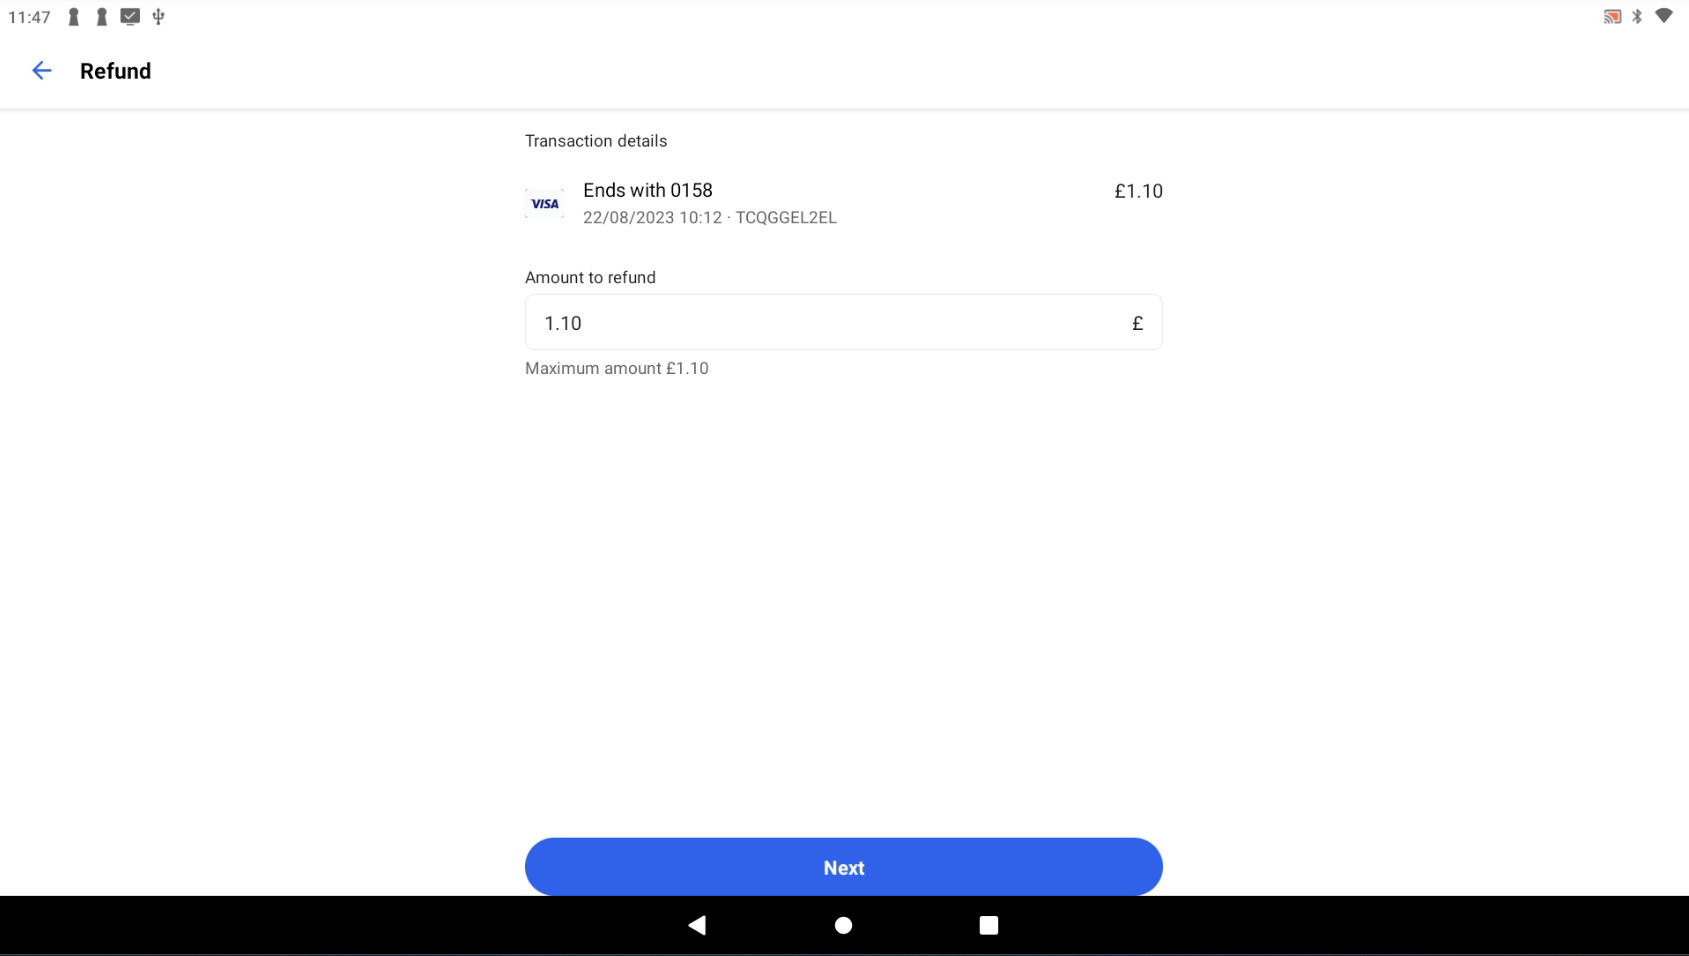
On the next screen, you will have a field where you can enter the amount you wish to refund, enter a value in this box or leave as is and then press the Next button.
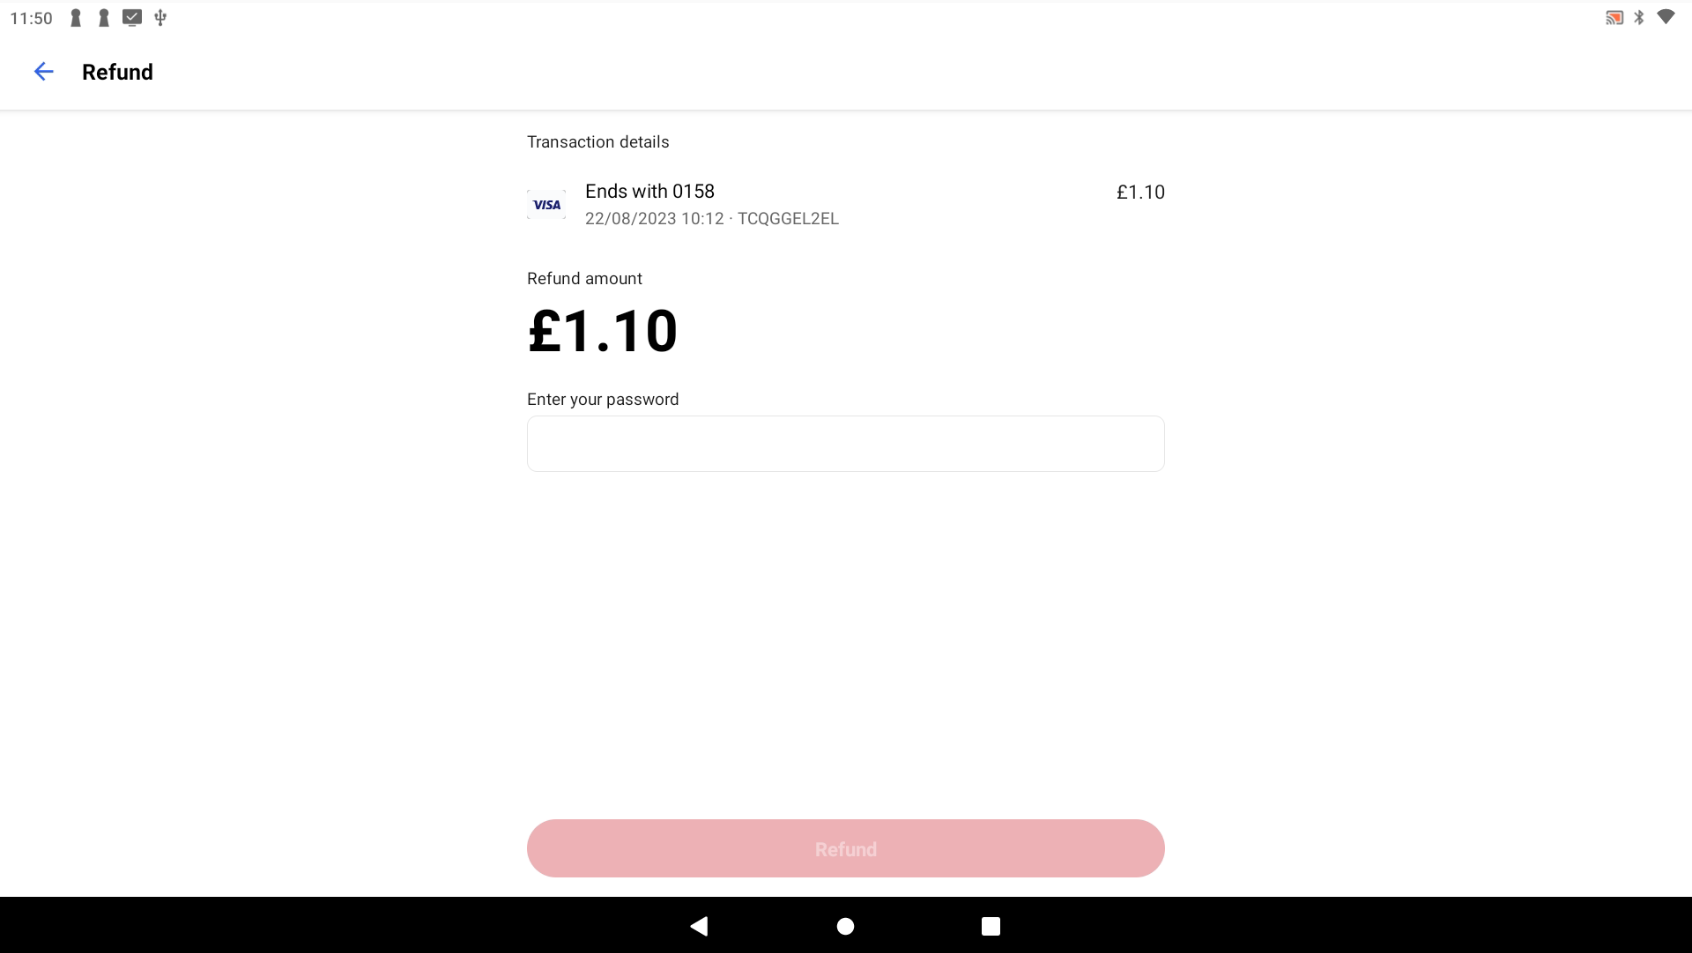
On the next screen, you will be prompted to enter your password to confirm the refund, if you are happy to process the refund, enter your password and press Refund.
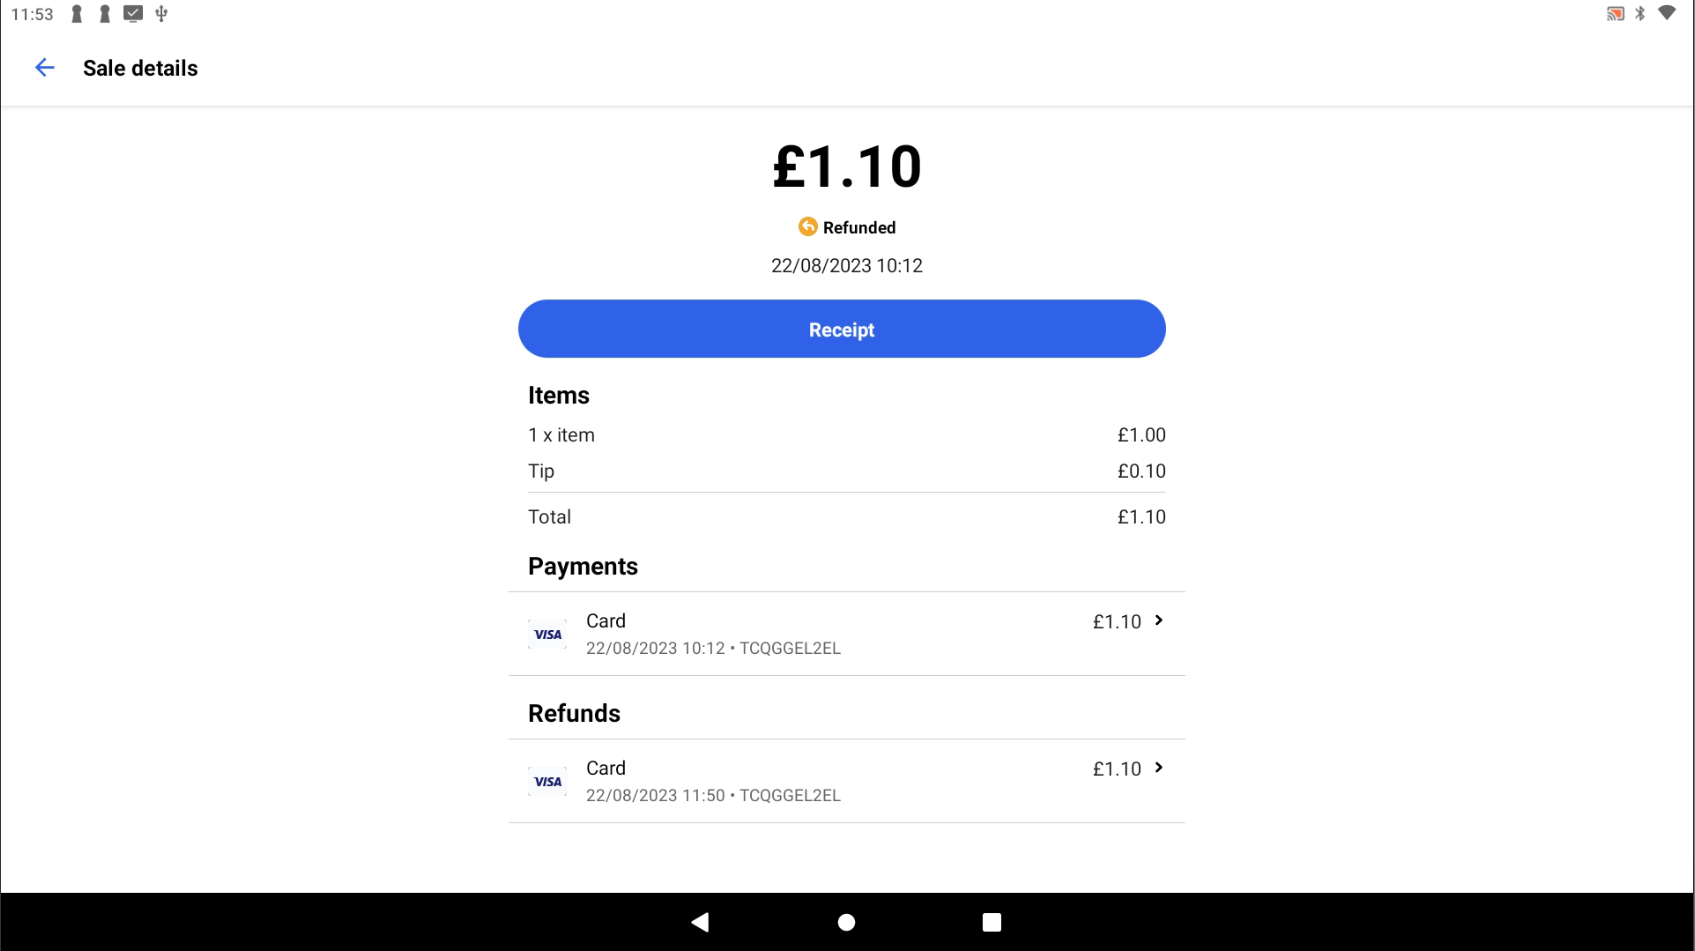
This should now process the refund and once successful, you will be taken to a confirmation page. If you wish you can press the Receipt button to send a digital receipt to customer.
Acknowledging the refund in eZeePOS #
Now that we have completed a refund through the eZeePOS app, we will want to make note of this as a transaction on eZeePOS. For this we will just need to run a refund sale through and finalize it using the Misc tender key. This Misc tender key is not enabled as default so if you do not have this set up, please refer to the following guide: Enabling A Miscellaneous Tender Key – EZEEPos Solution.