In order for us to be able to make a transaction in eZeePOS, you will need to create some products to sell. The eZeePOS app uses the cloud back-office for the product information.
This guide will go through how to create these products and what settings can be applied to them.
From the home screen of eZeePOS Office, along the top bar, click Maintenance -> Products -> Product Programming. This will take you to the following screen:
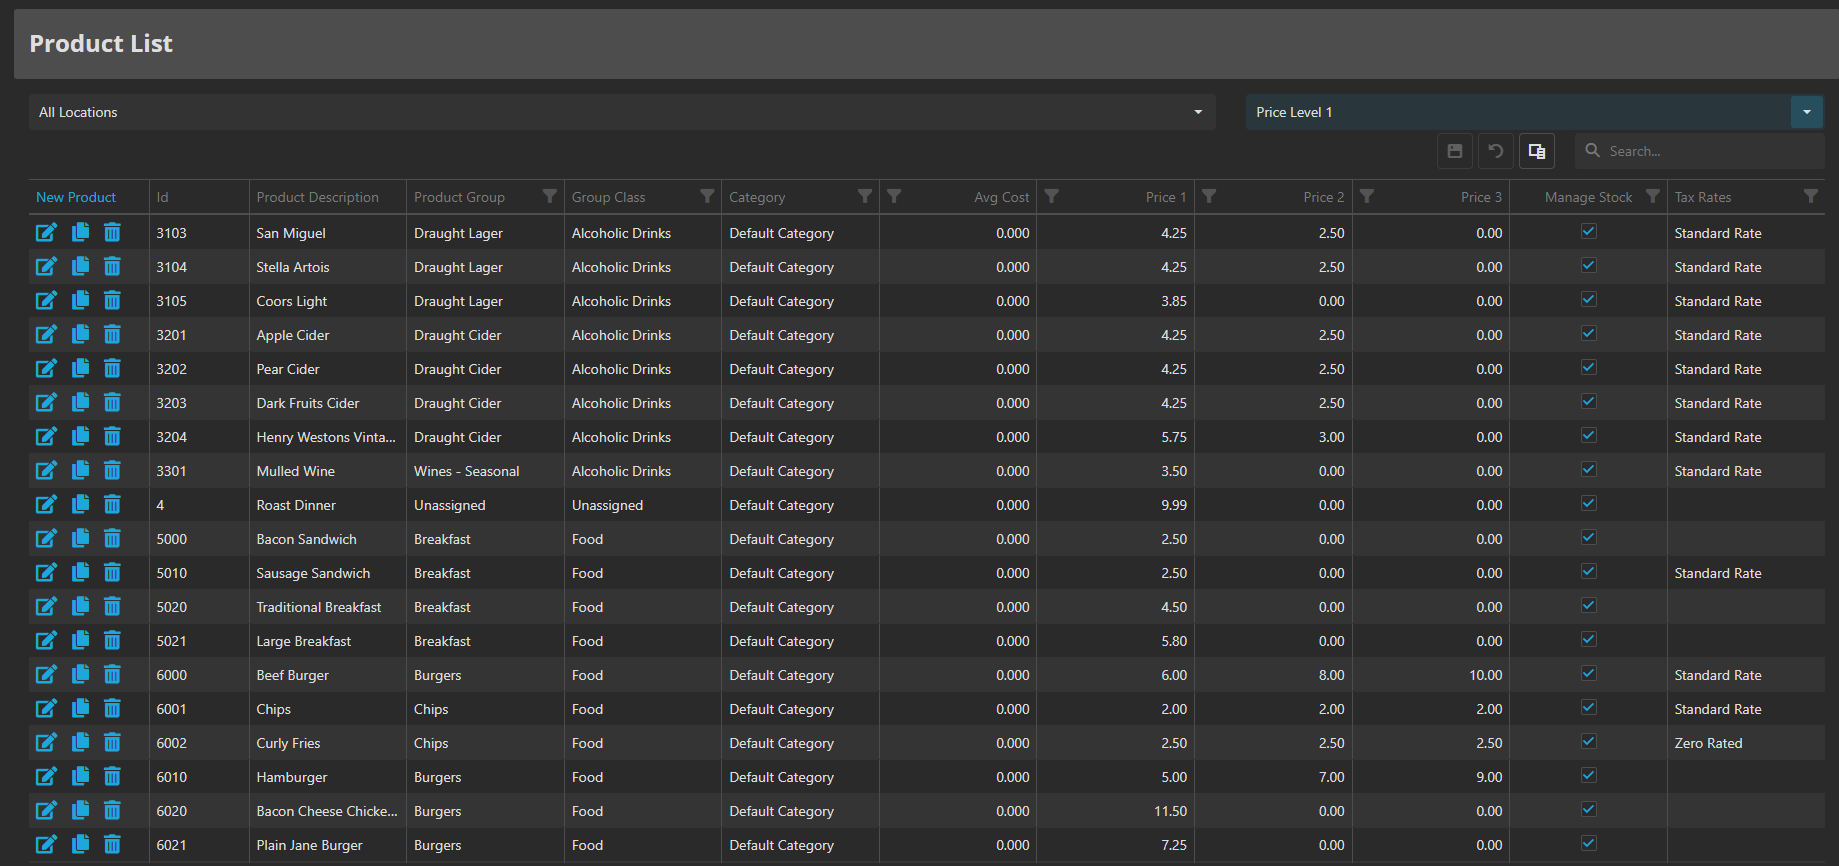
To create a new product, click New Product at the top-left of the screen. This will take you to the New Product page
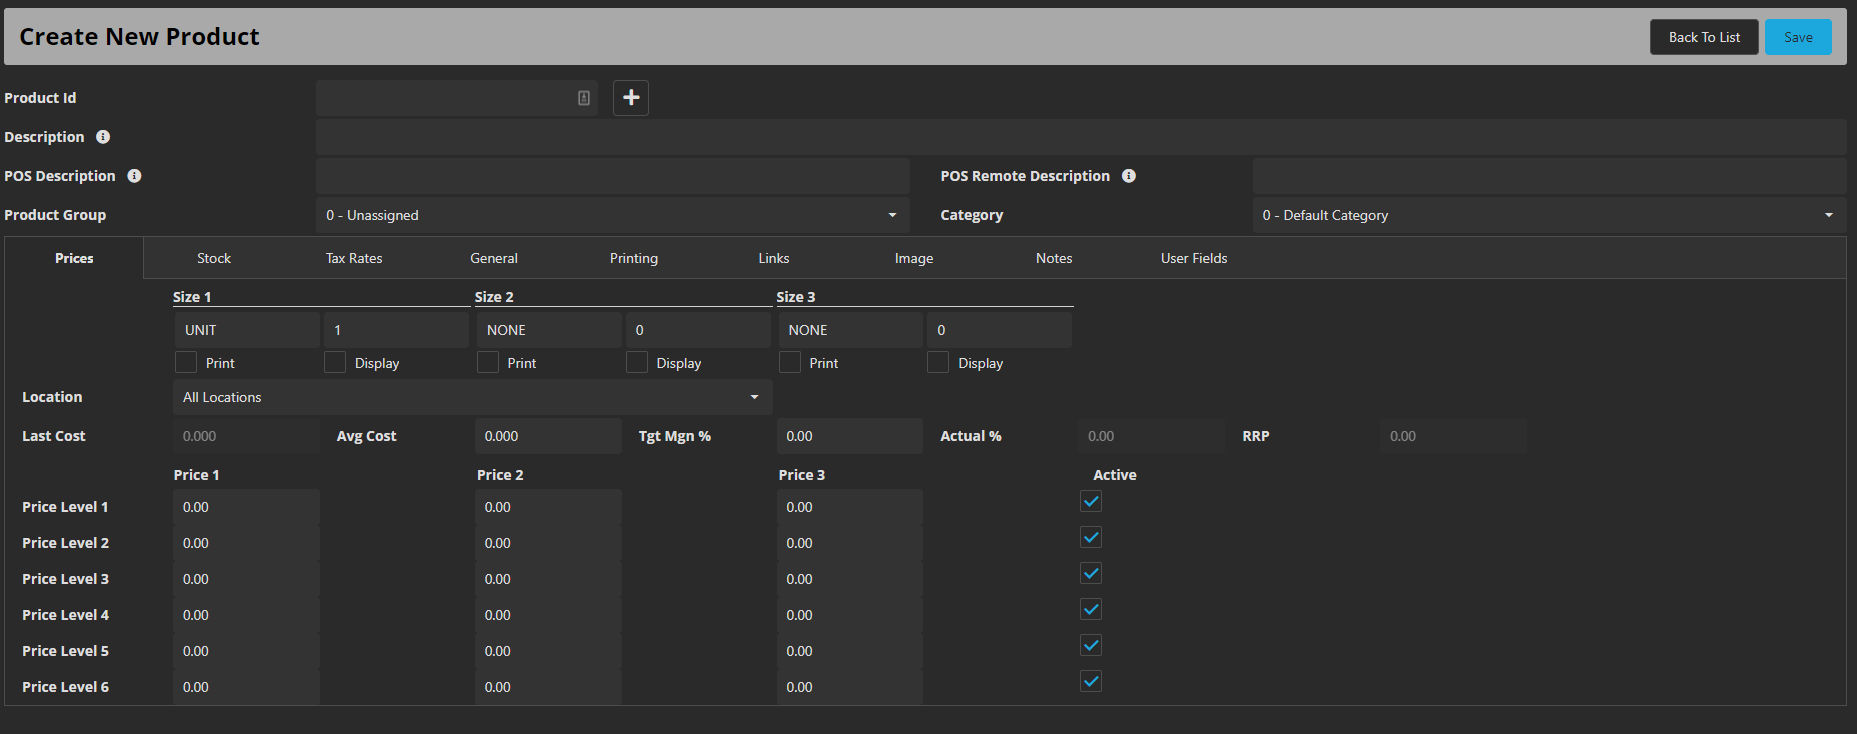
On this page you have the following items:
Product ID: This is the Product Identifier, otherwise knows as the PLU(Product Lookup) number, each product will have it’s own unique number, and must be set. Pressing the ‘+’ button will auto generate a number for this product.
Description: This is the product’s description/ name that is used for the cloud. This does not send down to eZeePOS
POS Description: This is the description the product will show on the main register screen on the terminal.
POS Remote Description: This is the description that will go to the kitchen when this product is sold.
Product Group: This is the group that the product will be linked to, which can be selected by pressing the drop-down box. If you do not currently have any groups setup, please refer to the Creating Product Groups guide.

Underneath these fields you then have a few different sections. The first one is Prices. This is where you can set the price of our products, as well as the units and unit sizes.
Across the top there is Size 1, 2, and 3. These are for if your product has different sizes, for example, a burger. Size 1 may be a single patty, size 2 may be a double patty, and size 3 may be a triple patty. There are two fields for this. The field on the left is the description of the Size, whilst the field on the right is the actual unit size, so in this example a single patty would be 1 whereas a double patty would be 2 as two patties are used.
Below the sizes are a couple of checkboxes. These are Print and Display. If Print is ticked, on the receipt, the unit will print out in front of the product. With the burger example, instead of it just saying burger, it will say Single Burger or Double Burger. If Display is ticked, this does essentially the same thing, but it will display the unit size in the transaction window.
After this you have the Location drop-down box. Although the product file has to be the same across all locations, you can set different prices per location. To do this, click the Location drop-down box and this will give you a list of your locations. Select the location you wish to edit the prices for, and you should then see below the prices change to represent the location you have selected.
This is now where the prices can be changed.
Along the left-hand side is the 6 price levels. Starting with Price Level 1 at the top and going down to number 6. Altogether there are 18 configurable prices that can be set as there are 6 prices for each size. To change a price, simply click the relevant price field and enter the price required.
If there are certain price levels you do not wish to use, you can turn these off by unchecking the box on the right-hand side that says Active.

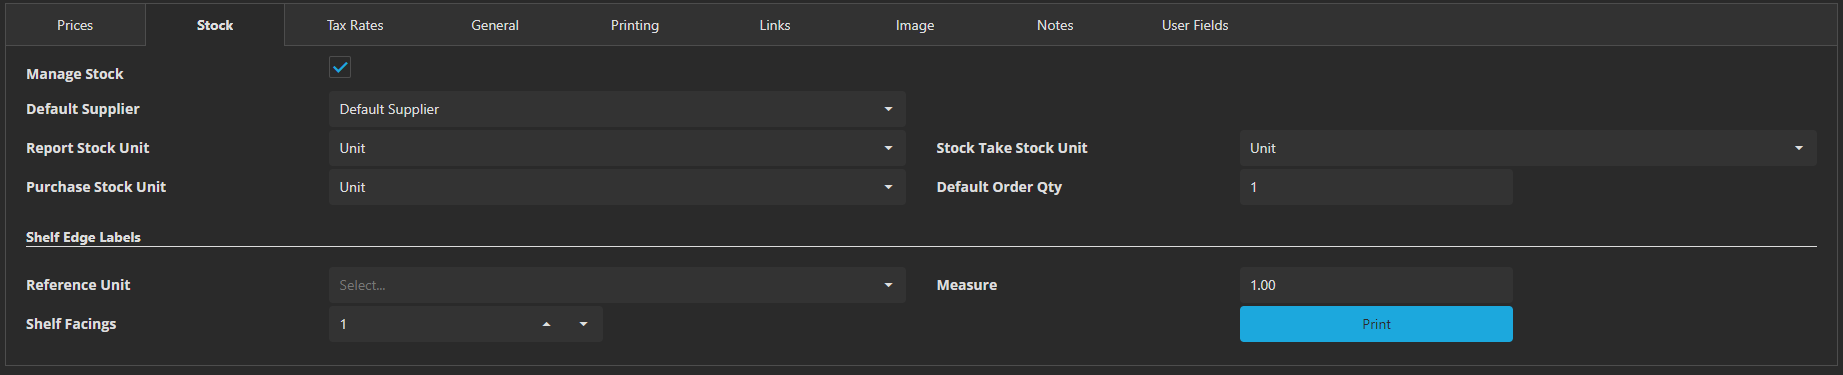
Following this is the Stock tab, this is required for the setting up of Stock. For more information on this, please refer to the following section for Setting up Stock on eZeePOS Office
The tab following this is Tax Rates. To select a tax rate, simply find the tax rate you want this product to be set to and tick the box to the right of it.

After this you have the General settings for the product:
Requires A Price Entry: If ticked, when the product is sold, it will prompt for a price to be sold at.
Negative Price: If ticked, rather than add to the sale, it will take away from the sale total instead.
Item Is Condiment: If ticked, this will set the item to be a condiment and will link to the last non-condiment item that was sold.
Selective Itemiser: Selective Itemisers are used for scenarios where you want certain functions to apply to some products but not others. For example, you may want a discount on all food products but not drinks. You would set an adjustment key to be in Selective Itemiser 1, and then against the product, you can put this in the same Selective Itemiser. When you apply the discount, it will apply this to any products in the same Selective Itemiser.

Printing gives a couple of options in regards to product printing:
Print On Receipt: If ticked, this product will print on the receipt.
Kitchen Printer Group: This will link the product to a kitchen printer group which can then be used for the kitchen printer tickets.

Links is used to link a Product or Memo list to the product. Within here, you can use the Enabled tab to turn the Product / Memo list off or on. More than one can be linked against a product, so the Sequence option can be used to determine which list appears first.

Image is used to assign an image to a product which will then show in Register Mode, as long as the terminal is set to not hide images. You will first need to ensure you have the image uploaded to the Image Library. If uploaded, then all you need to do is click Select Image and choose the image you wish to use.

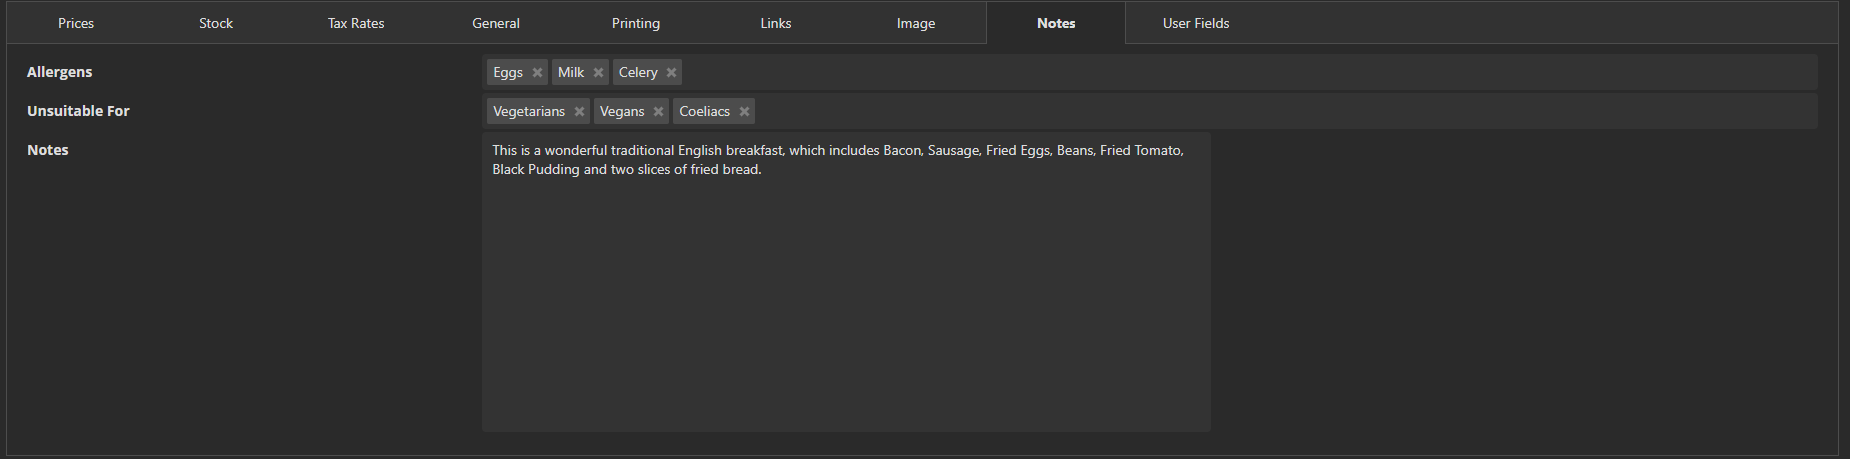
The final tab for the product setup is Notes. This tab is used to provide more information about the product, this includes Allergens, who the product is Unsuitable For, and any Notes about the product. This information will then be shown against the product in the eZeePOS app when long pressing the product.
You should now have completed the basic setup of a product and clicking Save at the top-right of the page will create/ update this product.
To get this product to show in eZeePOS, you will need to refresh the terminal’s data via the app. If you would like more information on how to do this, please refer to the Getting / Refreshing The Program From The Cloud Back Office guide.