Printers in eZeePOS can be set to print out Kitchen tickets. It can be set through eZeePOS Office so that they are linked to Kitchen Groups. This guide will go through how to set these up and how to create Virtual Printers within eZeePOS Office to set certain groups to go to certain printers.
Creating the Kitchen Printer Groups #
From the eZeePOS dashboard, you will want to navigate to Config -> Kitchen Printer Groups. You will be taken to the below screen:

To create a new Kitchen Printer Group, press the ‘+’ at the top-right of the page, this will add a new line below. Here you can enter the Kitchen Printer Group description. Once entered, click Save and this will be added as a new Kitchen Printer Group. The Id will also be automatically generated.

Now that the Kitchen Printer Group has been created, you will need to link this to the product. To do this, you will want to go to Maintenance -> Products -> Product Programming. In here, click the Edit icon on the product you wish to link to the Kitchen Printer Group. On the Product Edit screen, there will be a tab for Printing, click this. You should now see a drop-down box for Kitchen Printer Group, click this and then choose the Kitchen Printer Group you wish to product to be linked to. Once done, click Save and the product should now be linked to this KP Group.

Creating the Virtual Printer #
Now that you have created the kitchen groups and linked them to some products, you can now create some virtual printers. A virtual printer is used to tell the actual kitchen printer itself what to print. For example, you may create a virtual printer which has the Starters and Mains kitchen groups. You can then link this virtual printer to the kitchen printer in eZeePOS, and this will print the products linked to this virtual printer.
To create this virtual printer, you will first want to navigate to Config and then Locations. You should be taken to a screen similar to the below:
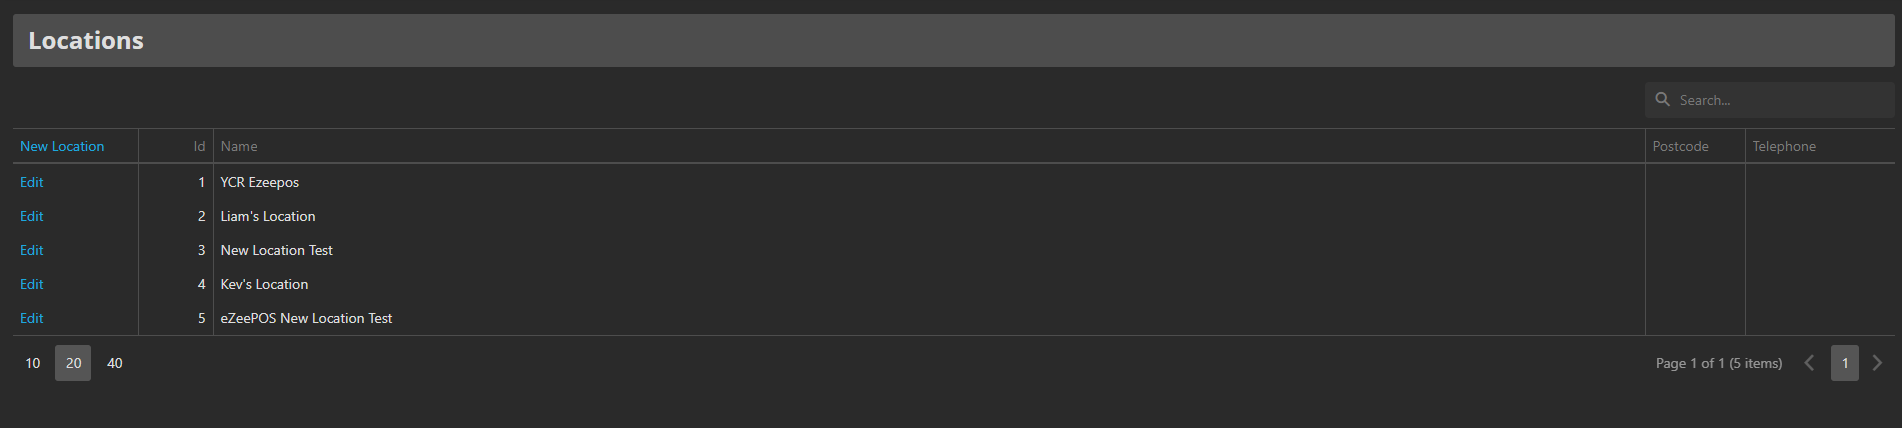
You will want to find the location you wish to create the virtual printer for and then press Edit on the left-hand side. You will then be taken to a screen with settings specific for the location selected.
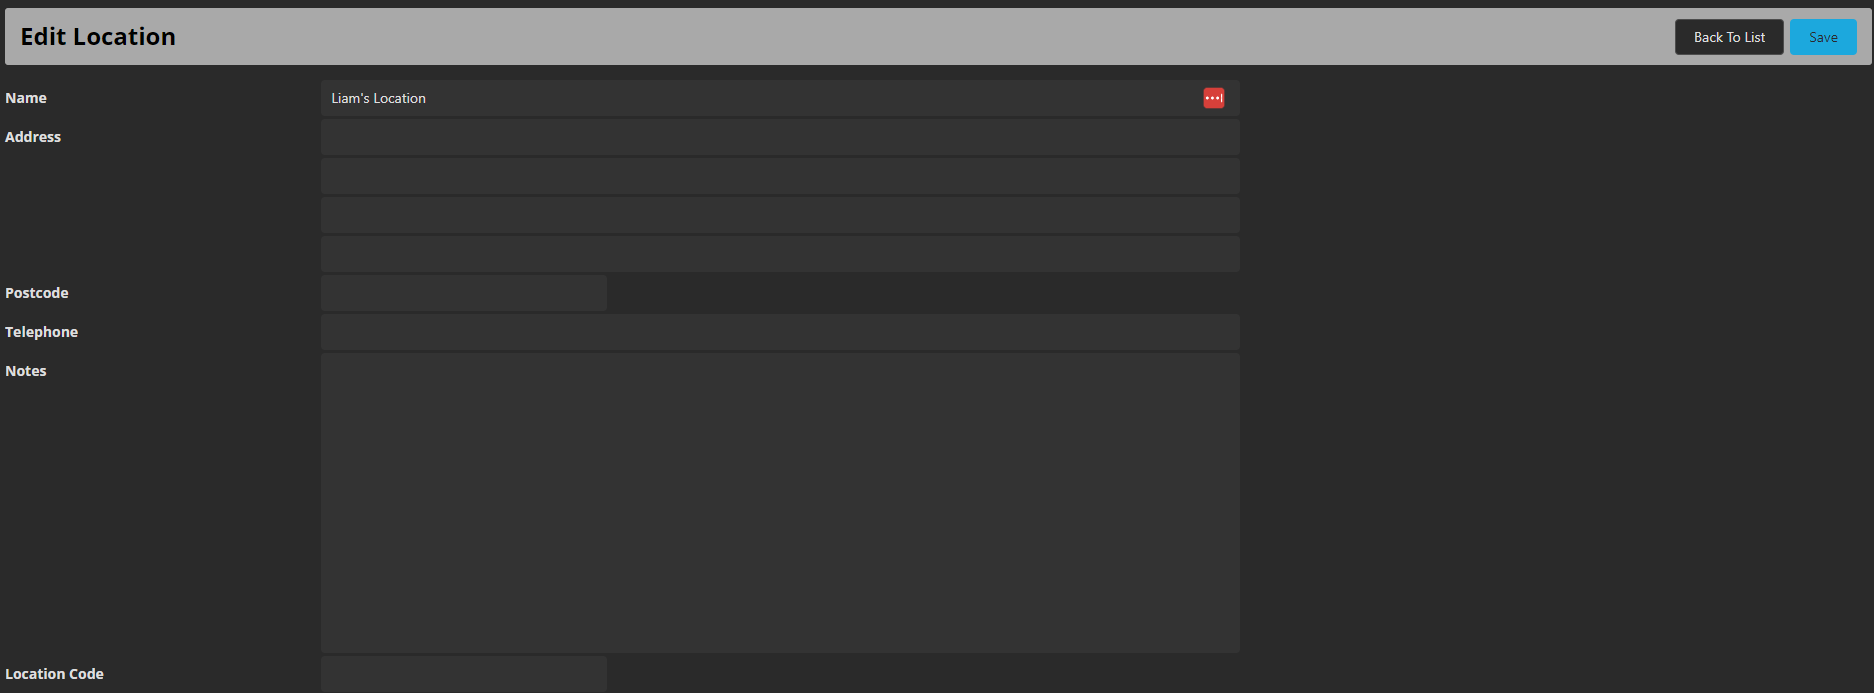
On this screen, scroll down to the bottom and you should see an eZeePOS KP Route section.

To create a new virtual printer, press the + at the top-right of this section. This should then create a line, and allow you to enter a Virtual Printer name in the left-box, and select which Kitchen Printer Groups it will print in the right-box. Once you have entered a name and selected which groups to print, press Save on the right-hand side of this section.

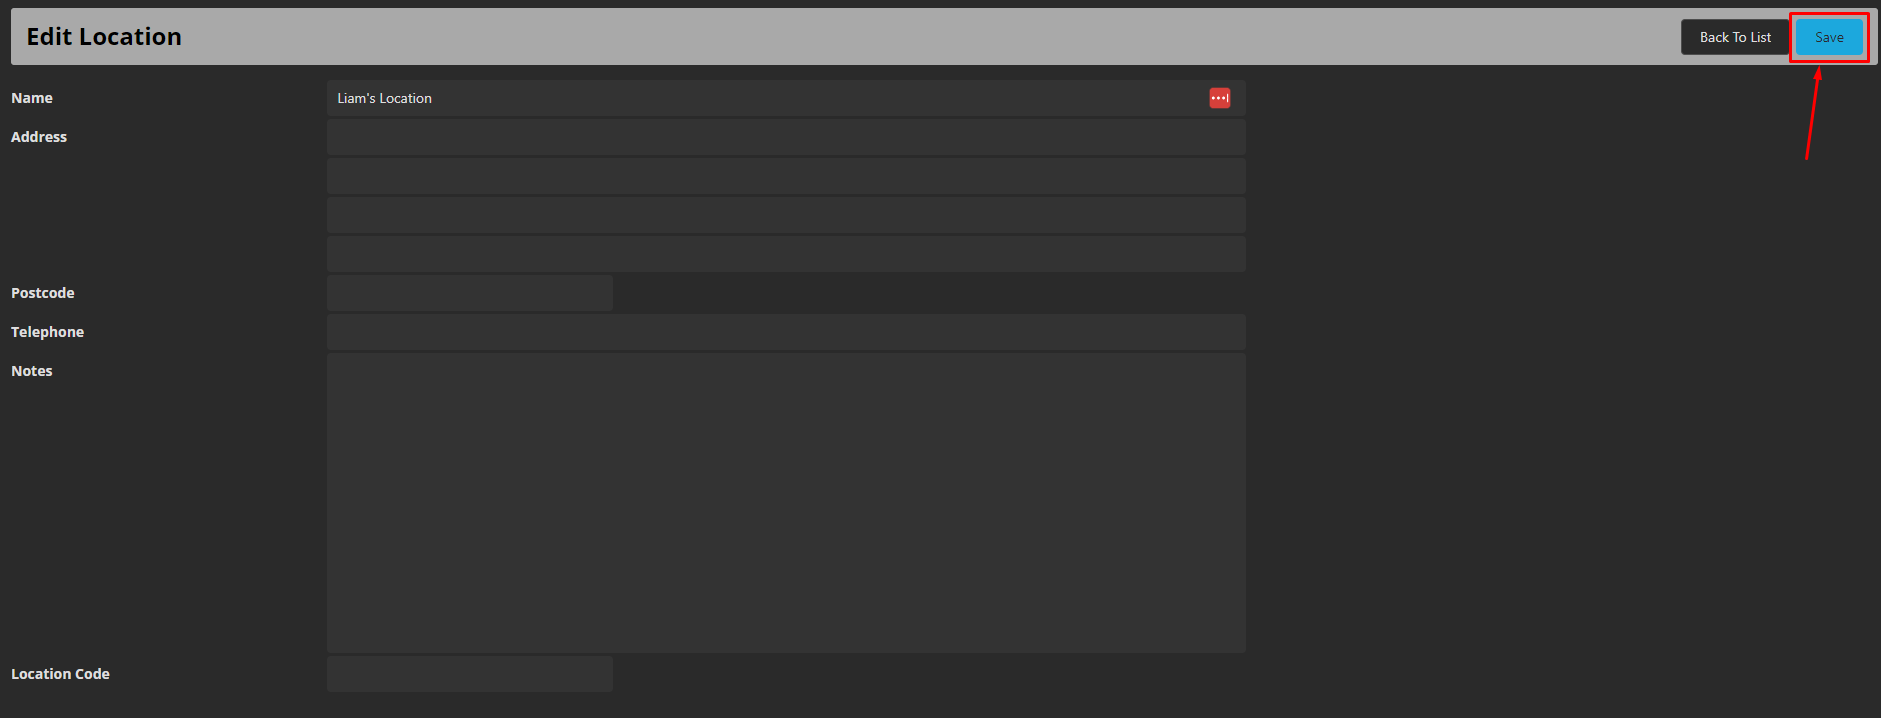
You will then want to press Save at the very top-right of this page.
Linking a Virtual Printer to a Kitchen Printer #
Now that you have created a virtual printer, you can link this to a printer in eZeePOS. To do this, from the login screen, enter the Back Office and go to Printers. You may see none, one, or many printers in here depending on how many have been setup previously.
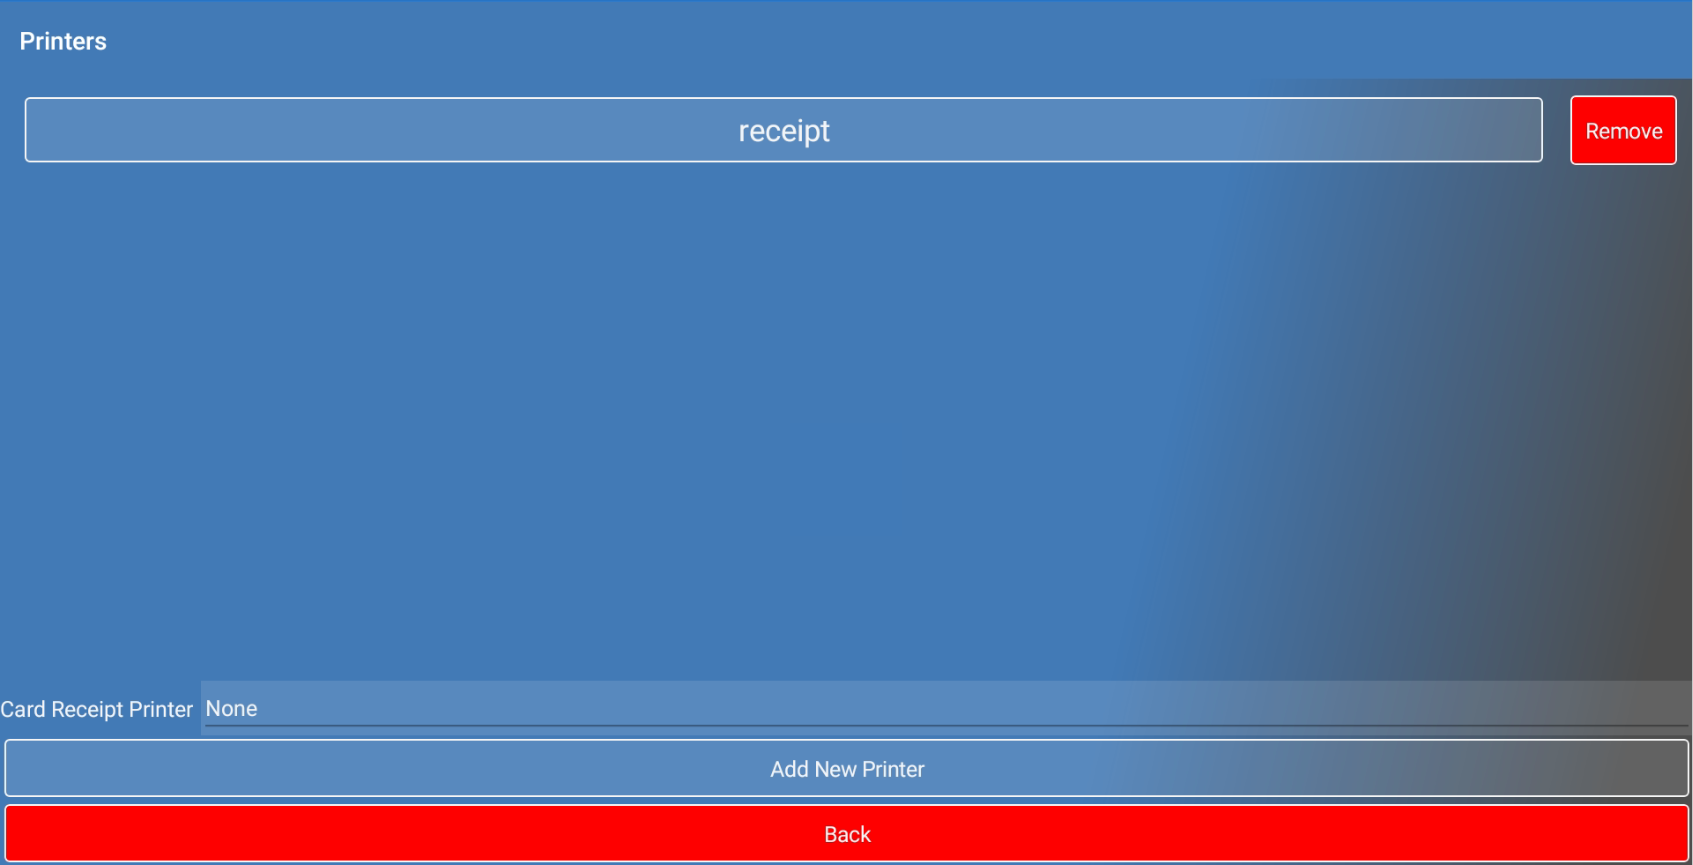
From this screen, press the Add New Printer button. This will take you to the new printer screen. Here, you can set up your printer as normal, however, as you get to the bottom of the page you should have an option for Prints Kitchen Tickets. To the right of this there should be a box which says None. If pressed, you should then be able to select one of the virtual printers we just created.

Once selected, hit Save. Now, any products you sell which which are linked to the virtual printer group linked to this printer should print as a kitchen ticket.