The image library is used in eZeePOS Office to apply images to certain things, like adding a image to a product which can be shown on the eZeePOS app. This can also be used when choosing an image for the receipt and kitchen logo headers.
Firstly, you will want to get some images ready to add to the eZeePOS Image Library. You will want to ensure that the images are 1MB or less in size.
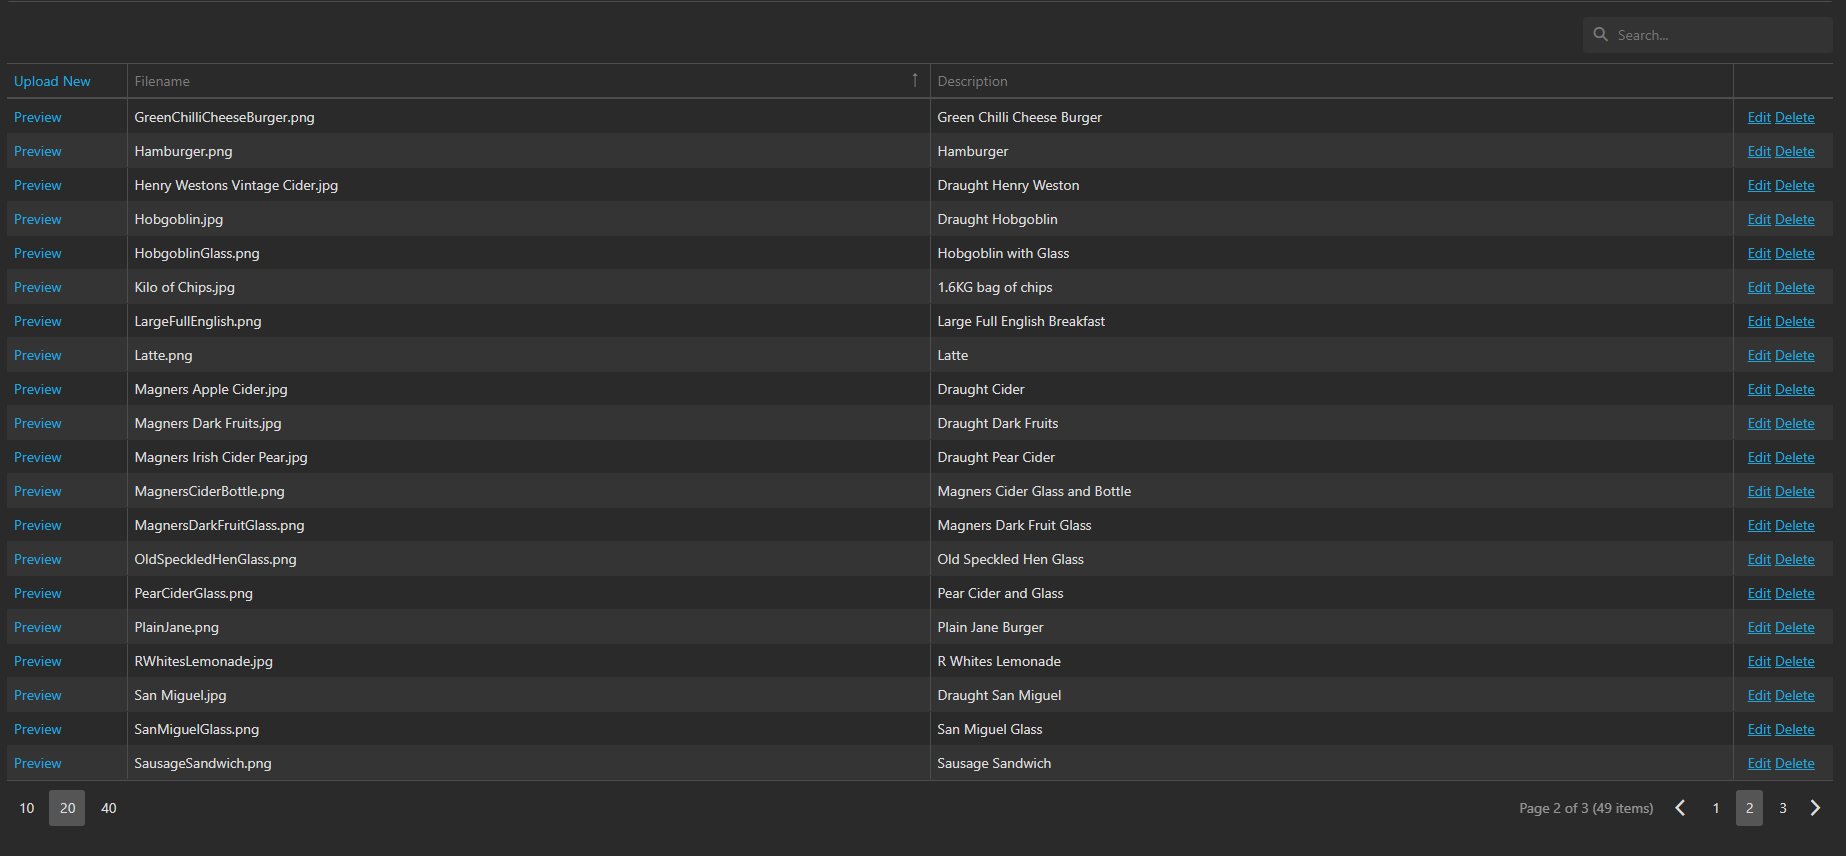
Once you have your images and products created, navigated to Maintenance and then Image Library. You will be taken to a screen like below:
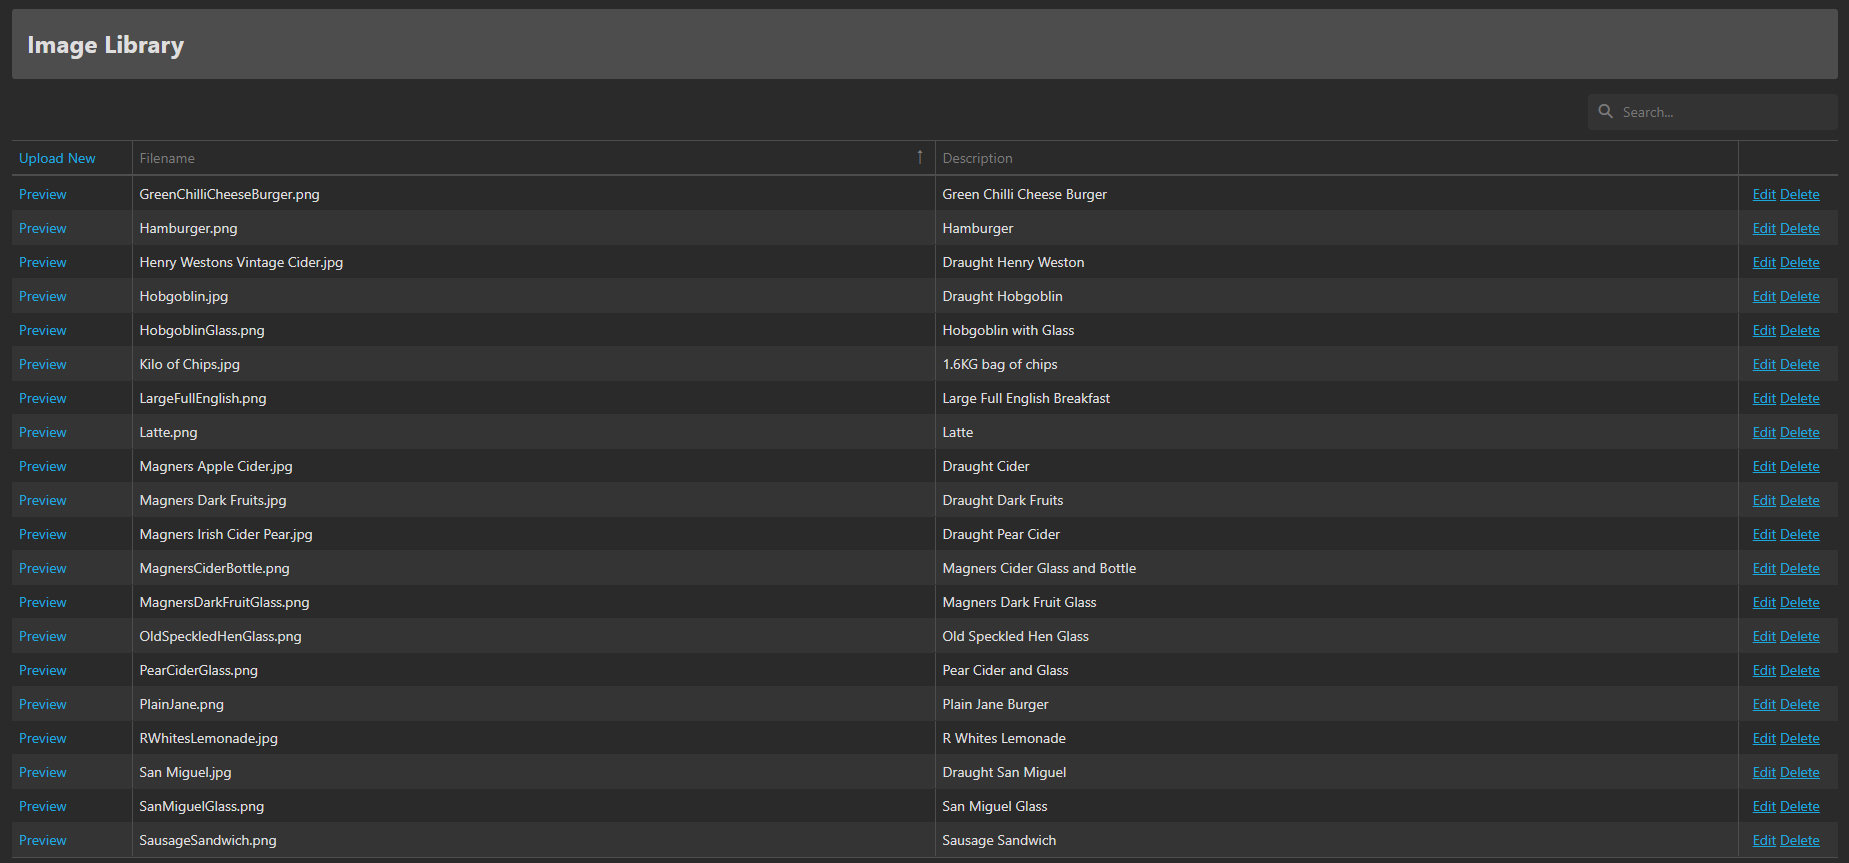
At the top-left of the screen there is a button for Upload New, press the and you will be taken to the Upload New Image window
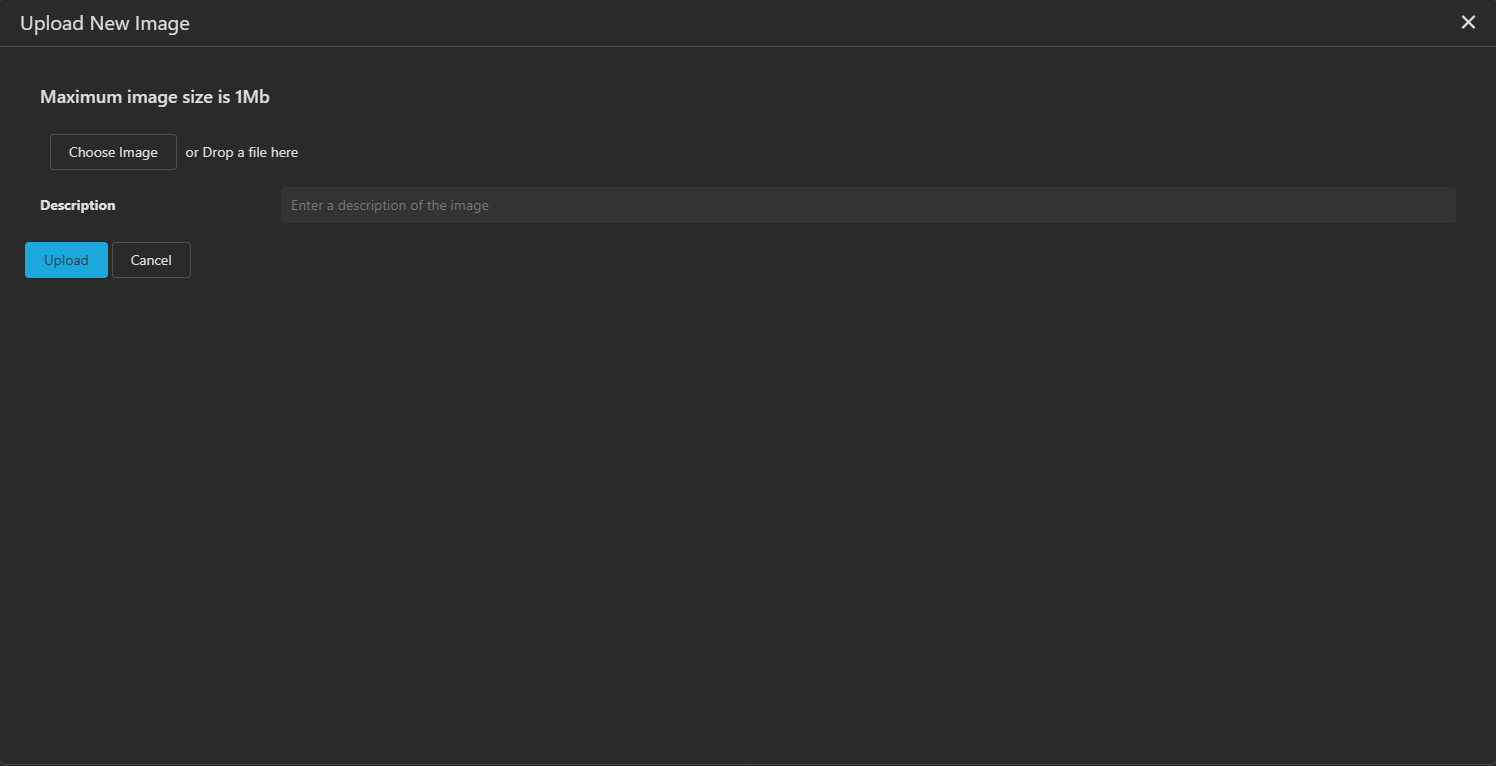
On this new window, click the button which says Choose Image. You can also drop a file here if you have it available to drag and drop. Pressing Choose Image will open a file explorer window where you will be able to navigate and find your image. Once you have found it, click it once to highlight it, and then click Open. (Please note that depending on the browser, device, and Operating System you are using, the UI may be a bit different, the example in the images is on Windows 11 with Microsoft Edge as the browser)

This will now have added the image to the Upload New Image window. You will know if it has been selected successfully as the image now will show with Ready to Upload in small writing underneath.
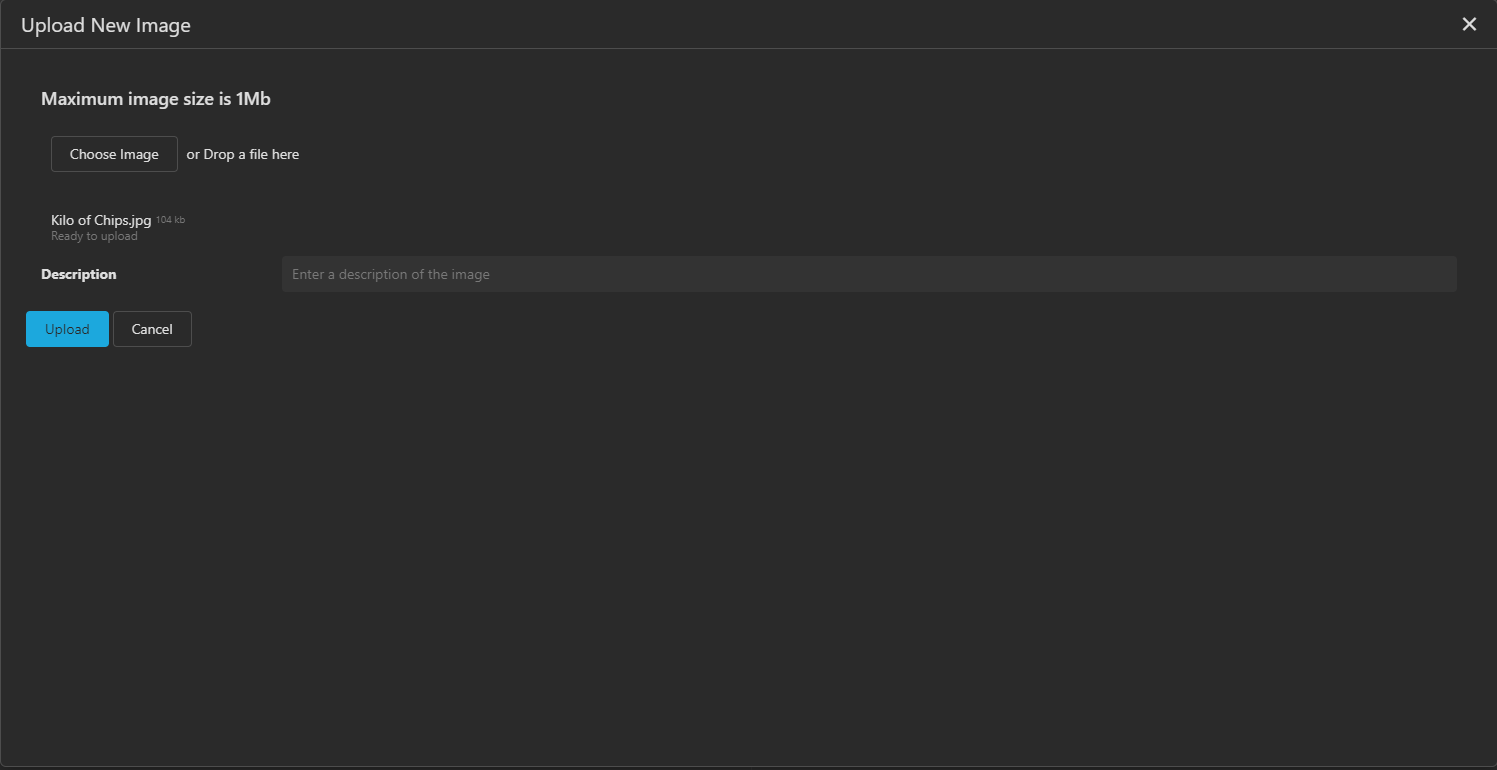
You can now enter a description if you wish. This is just to give some more context to what the image is. It is not necessary to add a description to the image. Once you are happy with the above information, click Upload. This should now add this image to your Image Library.
This image library can be used to add an image to a product, as well as add an image to an iMin Receipt or Kitchen print-out.