After some sales have been made through eZeePOS, we will want to be able to view the sales information in a report format. With eZeePOS Office, there many different reports that can be run to view, filter, and maintain this sales information.
For us to be able to view a report, we will first want to navigate to Reports and then Listing Reports. You will be taken to the below screen:
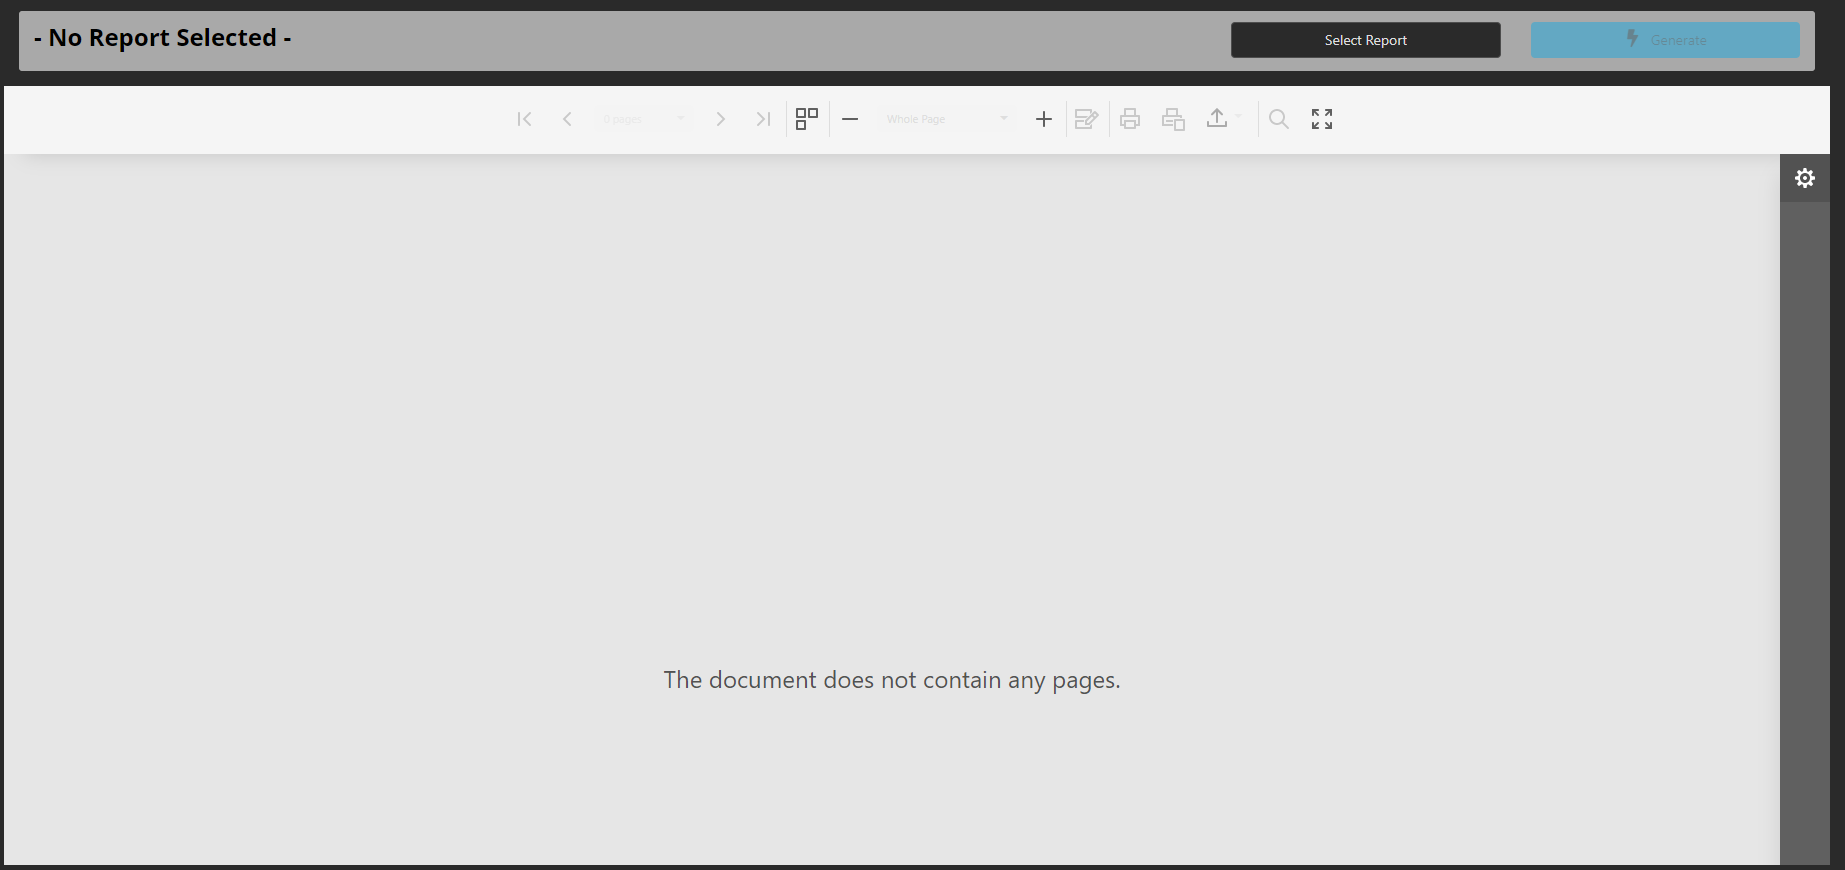
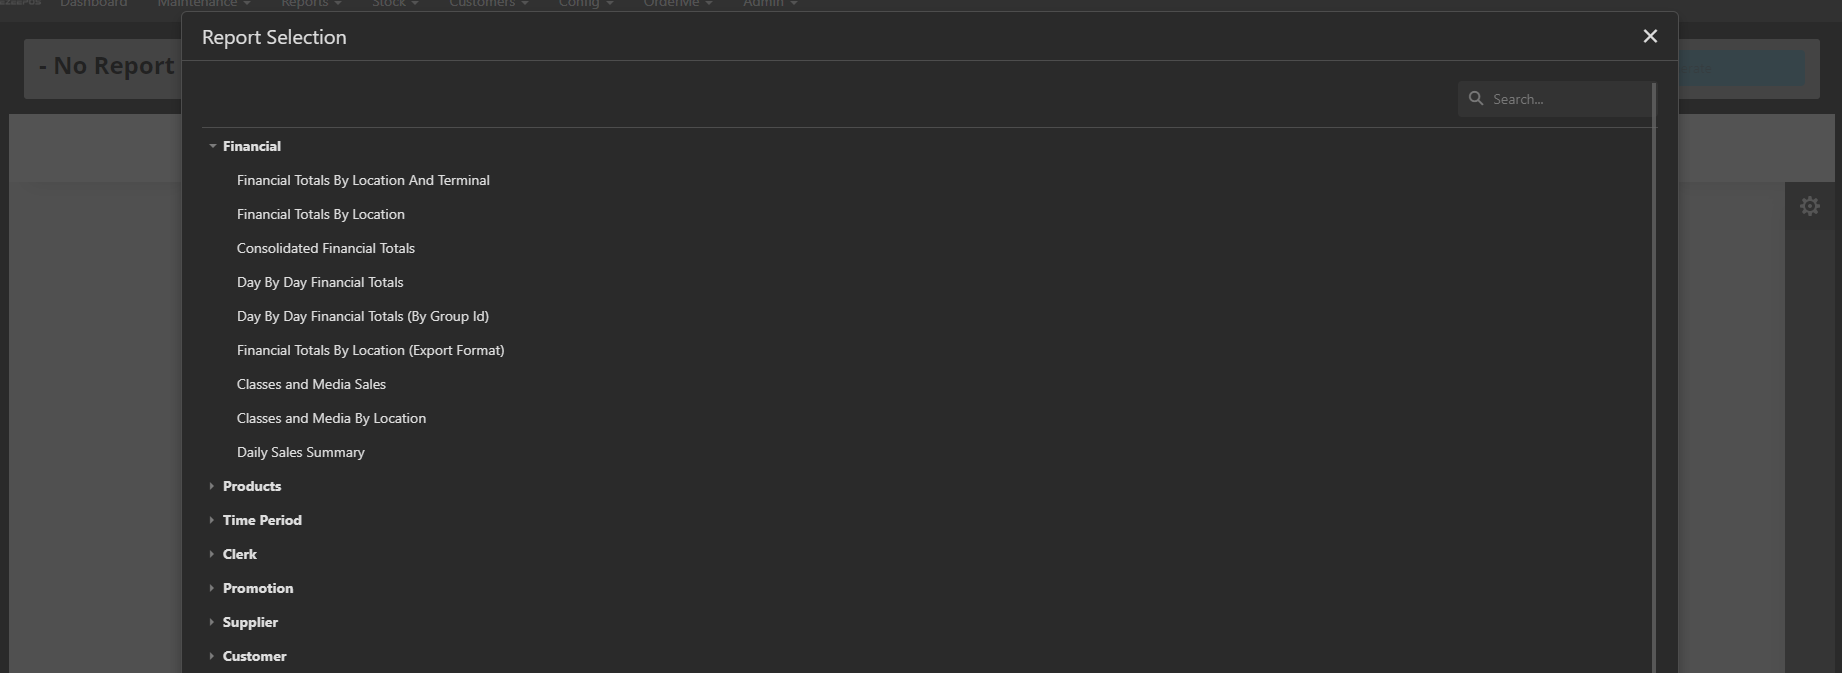
When you first get to this page, you will have two buttons at the top: Select Report and Generate. At first Generate will be greyed out. To select a report, click the Select Report button and this will open up a list of different types of reports. To choose a report, select the blue folder next to one of the report groups, and this should show you a list of reports you can run. Click one of these reports and then click Select. We should now have a few more options available.
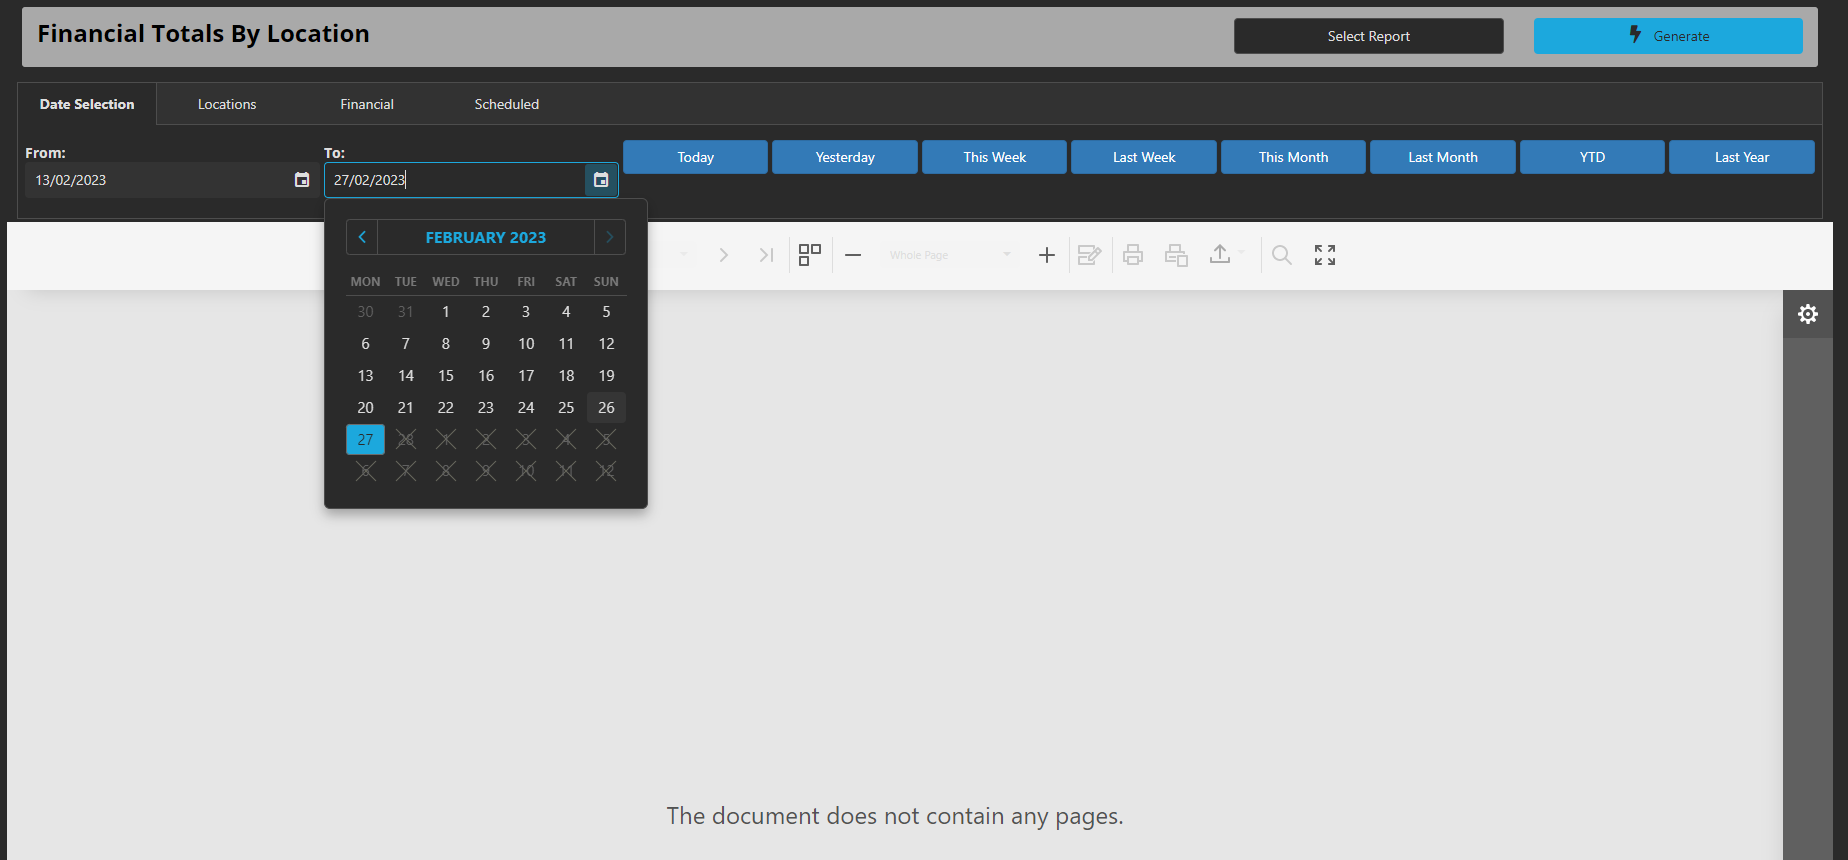
First we have Date Selection. This allows us to choose which dates we want to run the report from and to. To do this, either enter the date in the following format: DD/MM/YYYY, or press the little calendar icon and this will open up a calendar window where you can select a date. You can also select preset date periods by pressing on of the blue buttons next to the date selection, and this will set the dates based on the button you press.
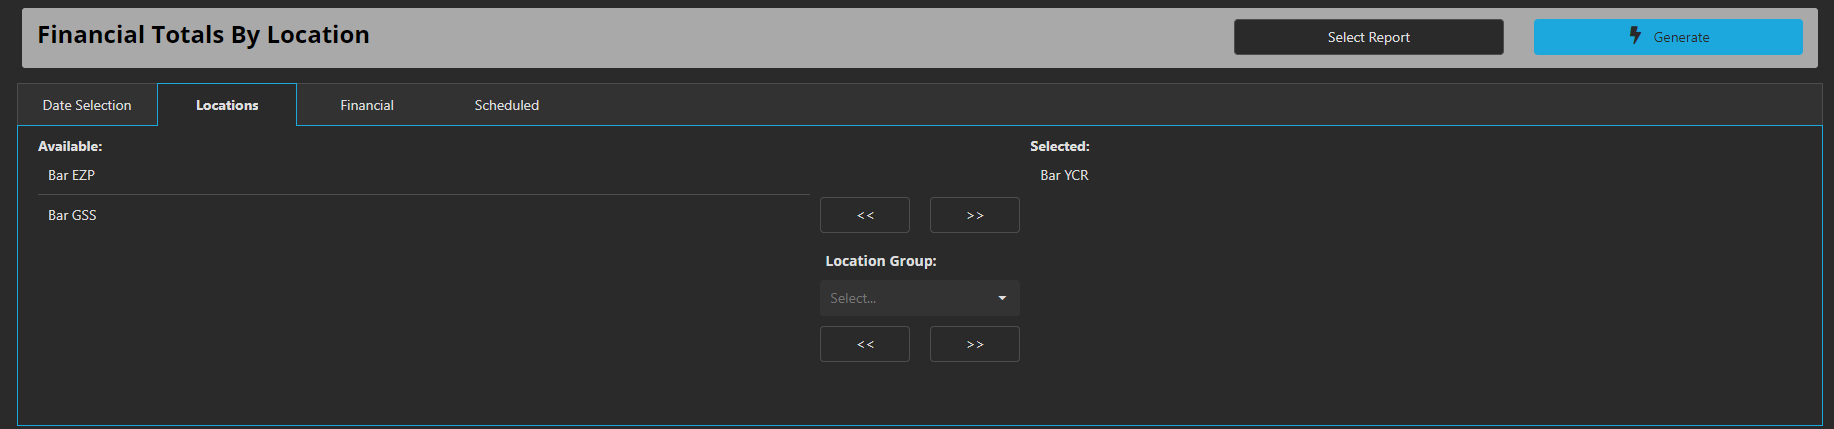
The next tab after this is Locations. If on your eZeePOS tenant you have more than one location, this is where you will choose which locations you want the reports to run for. You can select, one, many or all locations, and eZeePOS Office will generate the reports based on which locations you select. For the locations you wish to view sales data for, ensure that they are in the right Selected field. Any in the Available field will not be included in the report when it is generated.
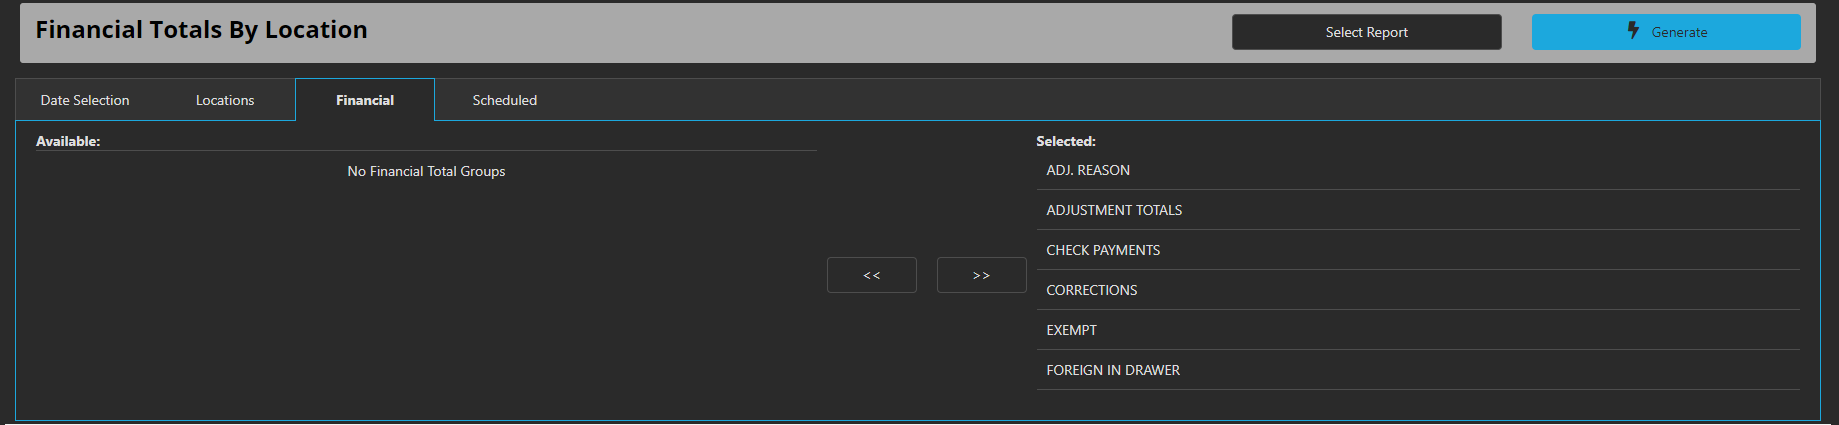
To the right of the Locations tab is the Financial tab. This tab allows for you to choose which sections of the report are generated and displayed. Just like Locations, any fields you wish to show on the report need to be in the Selected field, any in the Available field will not show on the report.
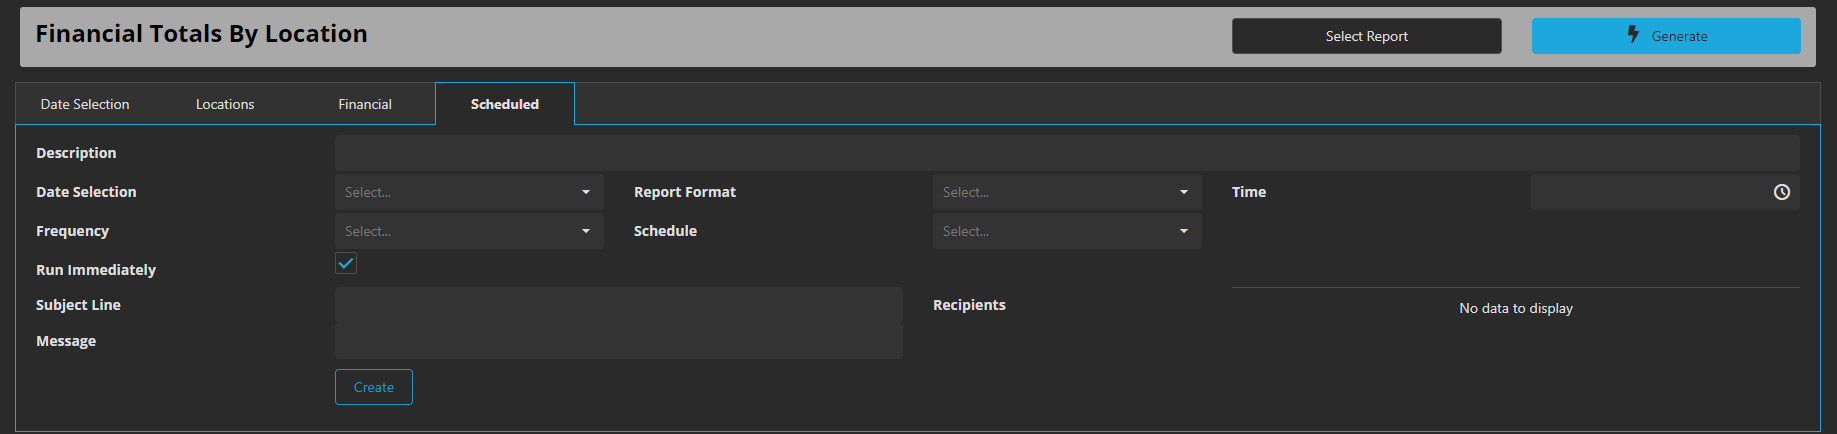
The final tab we have here is Scheduled. This allows for reports to be scheduled on a set basis so that they will be automatically emailed to a user of the cloud site. Please note that this requires setting up an SMTP server and configuring eZeePOS with this information. Please speak to your reseller for more information about this.
Once you have configured the report to show the information you need, press the Generate button at the top-right of the screen and below you should now see your generated report.
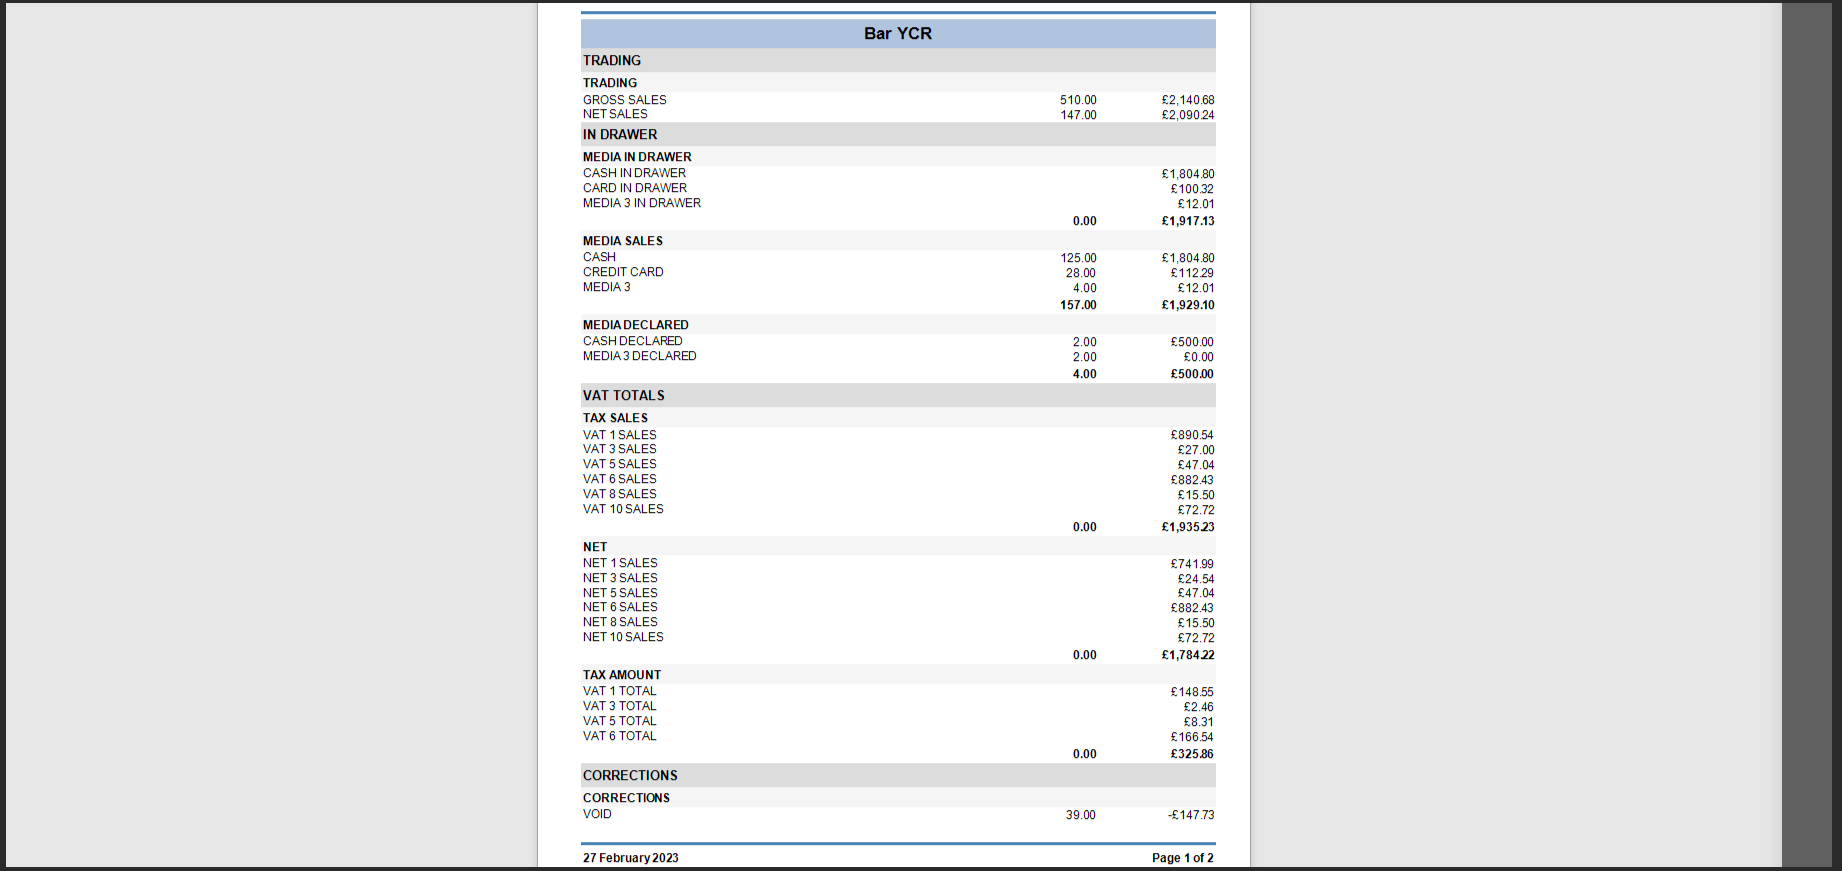
Above is an example of how a report will look. If there is a lot of sales information, this may go across more than one page. You can navigate through pages by either pressing the arrows at the top-left or select the page from the drop-down box in-between these arrows.