Once we have our products enabled for stock management, we can look into doing our first stock take. Before we can do this however, we will first need to take a Snapshot of the current stock.
Because this is our first time doing this, the snapshot will be blank, but it still needs to be done in order for us to update the stock count. To do this, navigate to Stock and then Take Snapshot. You will be taken to the below screen:

We will first want to choose the location which we are taking the Snapshot for. You will need to do this for each location that you are doing a stock take. Select the location from the drop-down list and once selected, click Create. This will take a snapshot and then take you back to the dashboard.
It is at this point you would do a physical stock count of all your products in the location you have taken a snapshot of.
In eZeePOS Office there is a Stock Count sheet that can be generated that is populated with all the products that have stock management enabled at the time of the snapshot.
To get this, you will want to navigate to Reports -> Listing Reports. In here, click Select Report and then Products -> Stock -> Stock Count Sheets. Click this and then click Select. Under Locations, choose the Location(s) you wish to generate the stock count sheet for and make sure they are in the Selected field on the right. You can also click the Product Group tab and select which groups you wish to be added to the Stock Count sheet. Once selected, click the Generate button and this should generate the Stock Count sheet, similar to the below image:
It is at this point you would print off this document and take a physical stock count of your products,. Once you have done this, you can proceed with updating the stock count on eZeePOS Office. To do this, go to Stock -> Stock Take -> Enter Count. You will be taken to the below screen:
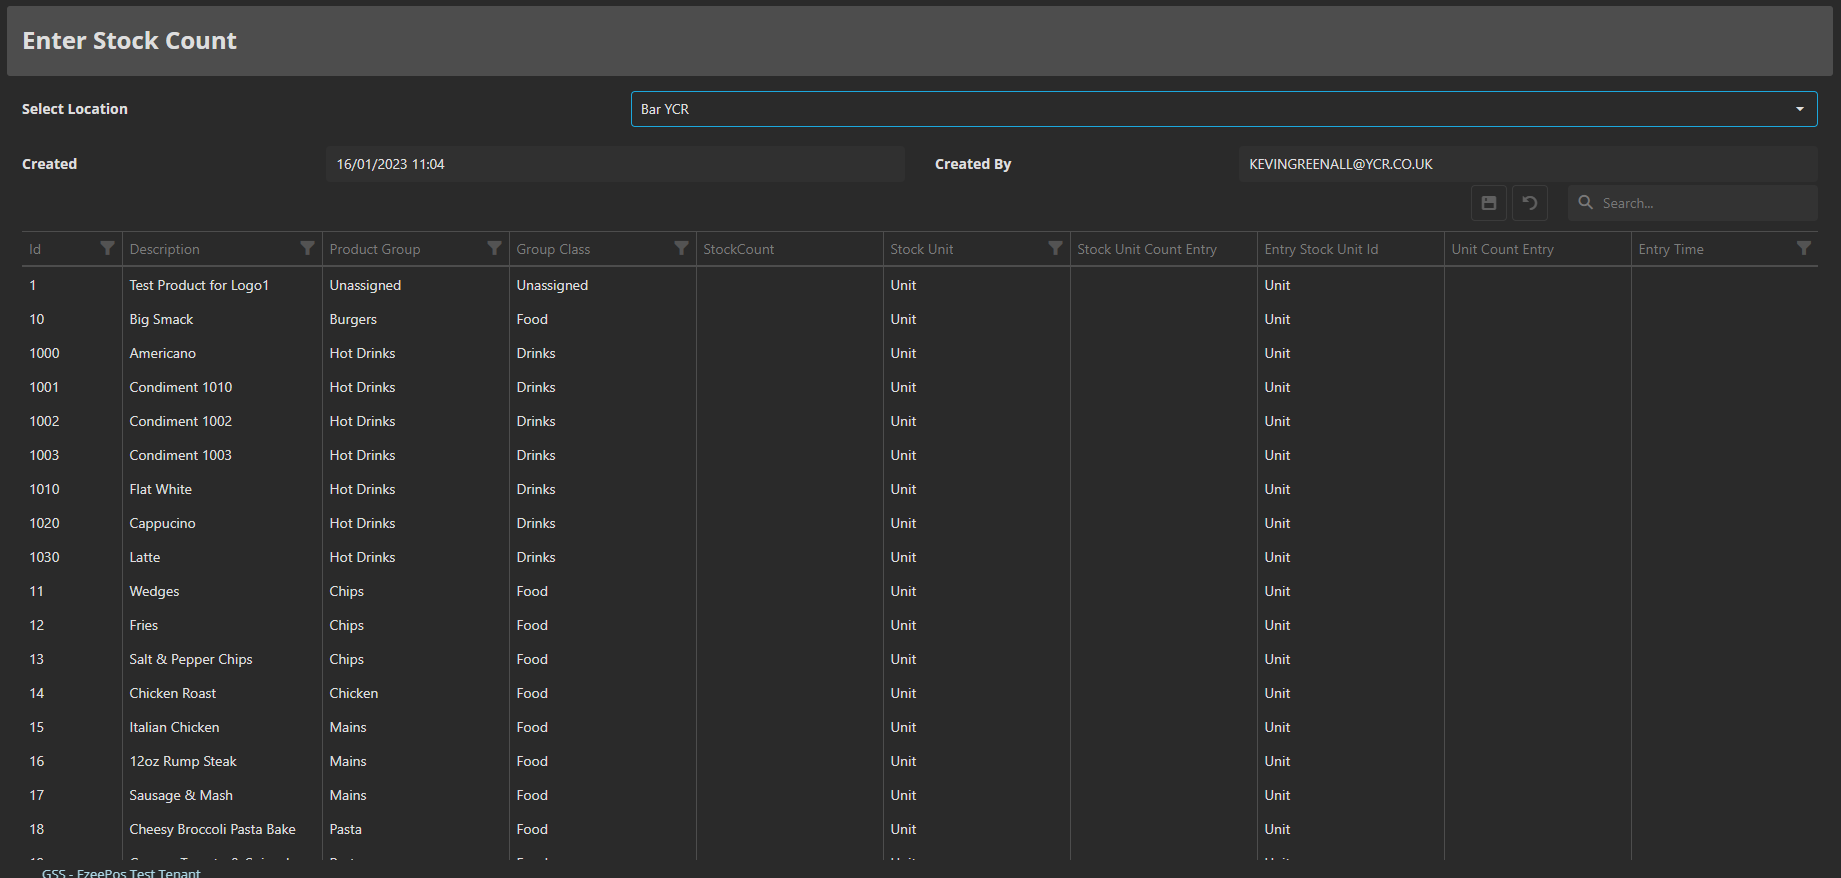
On this screen, from the Select Location drop-down box, choose the location you are entering the count for, and this will show all the products to enter the count for. To enter the counted stock, in the Stock Unit Count Entry column, select the field you are entering the count for, and this should allow for you to enter the amount.
If you wish to minus the stock count, you can do so by entering the a minus symbol before the number value. To the right of this you can also choose the Stock Unit type from the drop-down list.
To the right of this is Unit Count Entry, this is there specifically to add Units of a product, for example, you may have a crate of 24 Budweiser, but you wish to also add one bottle. This can be done by entering a value into the Stock Unit Count Entry field.
Once you have entered in the count for all your products, you can then click the little Save icon which will update the Stock Count fields accordingly. This will also then populate the Entry Time field with a date and time.
The final step to complete the Stock Take is updating the stock. This will take the values you have inputted on the Enter Stock page and update the stock accordingly. To do this, navigate to the Stock – Stock Take – Update Count. You will be taken to the below page:

On this page, you will want to choose the location where the stock is being updated from the drop-down box. This will then tell you who created the snapshot and when it was created.
There is also a box that if checked, when the count is updated, any products which have not had a stock value entered will be set to 0. It is critical that this is only ticked if you wish for these uncounted products to be set to zero, otherwise it will require inputting the stock information again.
To update the stock count, click Update and this will complete the stock taking process.