Once some drop-down screens have been created, we can set a terminal or an employee to default to this once signed on. This can be done through eZeePOS Office.
Setting the terminal default Drop-Down screen
The first option is to set the default drop-down screen for the terminal itself. This means that when an employee signs on, and they don’t have a drop-down screen assigned to them, they will use the terminal default drop-down screen.
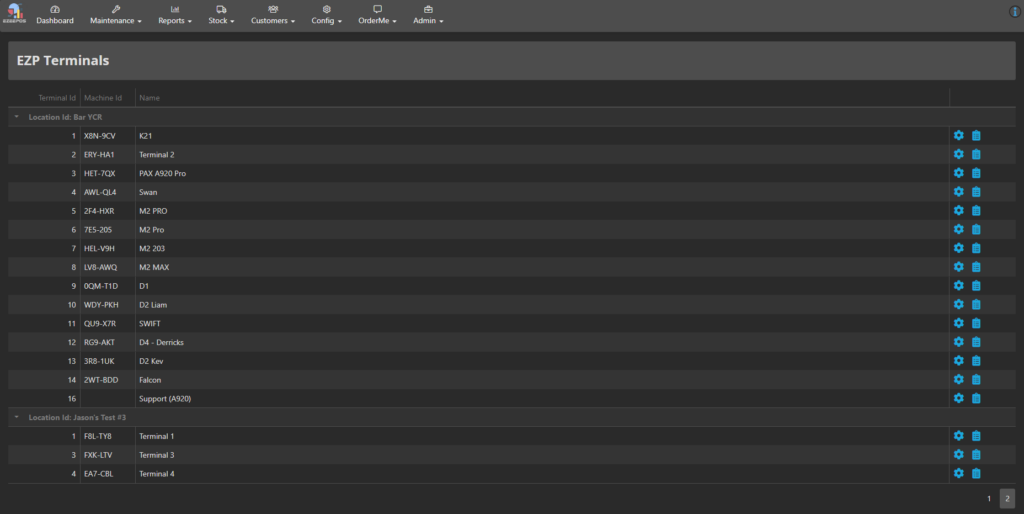
To set this, you will want to navigate to Config -> Terminals -> EZP Terminals. Find your terminal that you wish to change the default drop-down setting for and then press Settings Cog icon.

On the terminal configuration screen, the bottom options from the top list of options should be Default Drop Down. To the right of this, you should be able to click the drop-down box and see a list of the Drop-Down screens you have created. Choose the one you wish for the terminal to use. Once selected, hit Save.

Once done, on eZeePOS, refresh your terminal’s data. Now, when signing on, instead of going to the All Items screen, it will go to the selected Drop-Down screen.
Setting the employee default Drop-Down screen
The employee can also be set to have a default drop-down screen. This will take priority over the terminal default drop-down screen.
To do this, you will want to navigate to Maintenance -> Clerks -> Clerks. On this screen, find the clerk you wish to change the default screen for and click Edit. This will take you to that specific employee’s settings. The very bottom option on this screen is Default Drop Down. Click the drop-down box to the right-hand side of this and choose the drop-down you wish this employee to use. Once selected, press Save at the top-right of the screen.

Again in eZeePOS, refresh your terminal’s data. Signing on as this employee will now go to the drop-down screen set against them, rather than using the terminal default drop-down screen.
