Kiosk groups will need to be created in order to display on the Kiosk application, and also to group together products. The concept of Kiosk Groups work similar to Mobile Groups in the sense that you will have have the top-level kiosk groups, and then kiosk groups and / or product groups within these top-level groups. To get started, you will want to navigate to Config -> OrderKiosk -> Kiosk Groups. In here, you will want to press New Group at the top-left of the page.

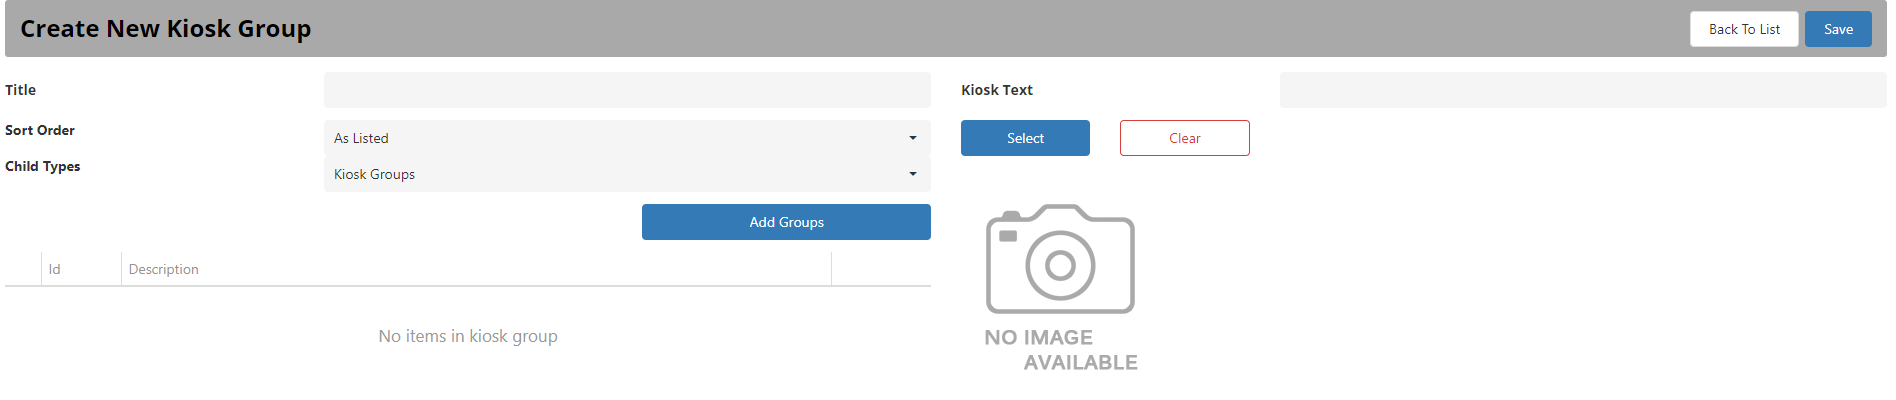
This will take you to the Create New Kiosk Group page. At the top, you will be able to set a Title of the group and what text it will display on the kiosk. Below this is the Sort Order drop-down box. This allows you to choose whether the products (if Child Type is set to Products) are ordered As Listed, by their Product ID, or by there Description. There is also the Child Types drop-down box which lets you determine whether this groups children will contain products or more Kiosk Groups. The final part of the top section is the image which allows you to set an image for the Kiosk Group.
To add Products or Kiosk Groups, press the Add Groups / Add Products button, depending on what the Child Type is set to. This will open a new window to allow you to select the Products or Kiosk Groups you wish this Kiosk Group to show when pressed.
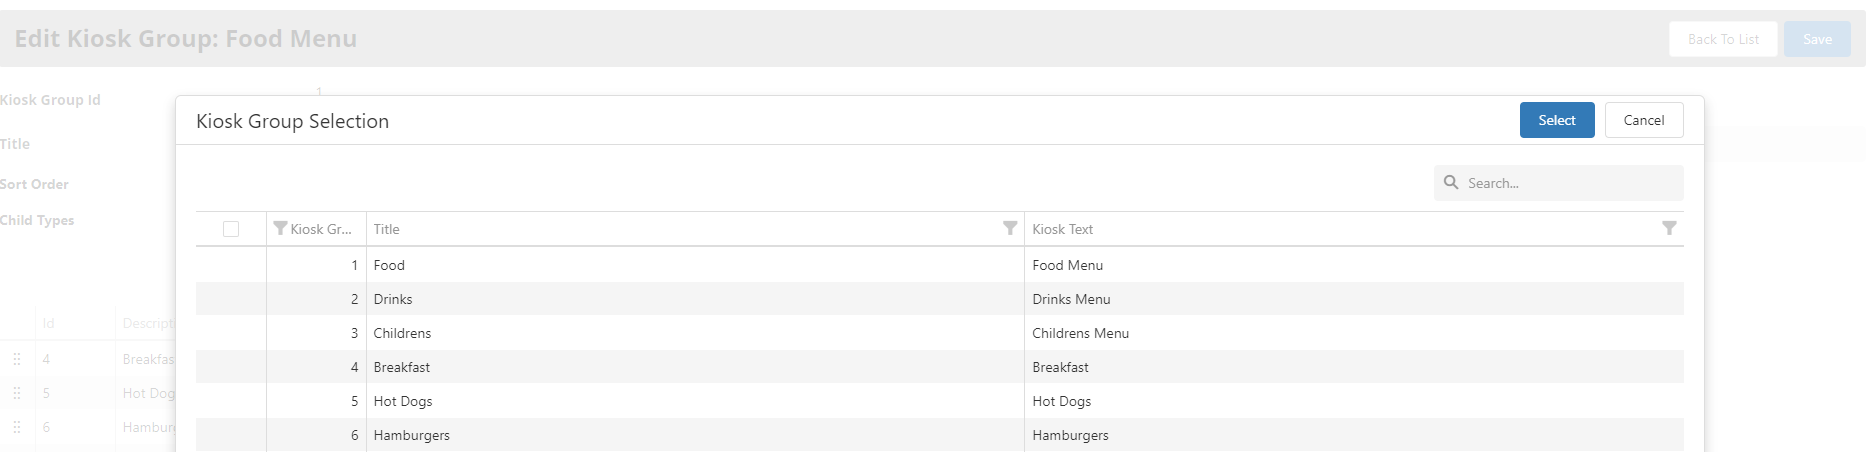
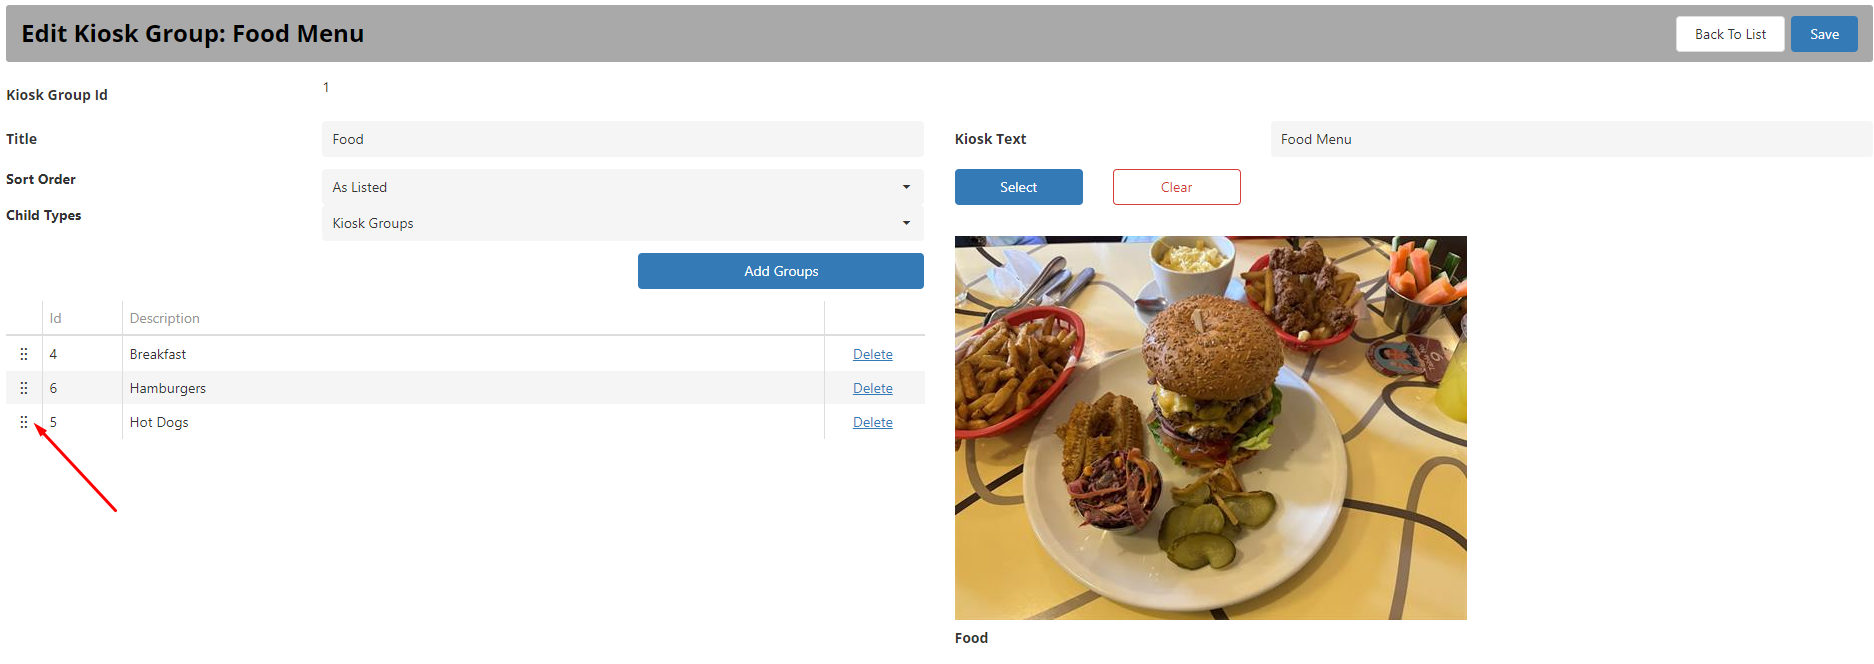
Once you have selected the groups required, press Select at the top-right of the window. This should now show your Products / Kiosk Groups on the previous screen. If you wish to move the order in which the Groups are in, you can drop and move them as required via the drag-and-drop box on the left side of the group.
Scheduling #
The final section of this page is the group scheduling section. This section can be used to schedule when a Kiosk Group shows. This could be useful for such thing as breakfast groups / products which are only available during early hours of the day. The first part of the scheduling is the date selection. This is used to set which day these groups / products show. To set this, simply check or uncheck the days you do / don’t want the groups / products to show on.

Below this is the second part to scheduling, and this allows you to see three different time schedules. For example, you may have some products that are only available at specific times of the day. Again, lets use the example of breakfast. You may want this only to available between 6AM and 11AM every morning. To do this, go to the Schedule 1, and put in the left field the time in which the group is activated, and in the right when it ends. 3 different schedules can be setup, so for example you could have 6AM-11AM in schedule 1, 12PM – 3PM in schedule 2, and then 6PM – 9PM for schedule 3.

Once you have added everything required, press the Save button at the top-right of the page.