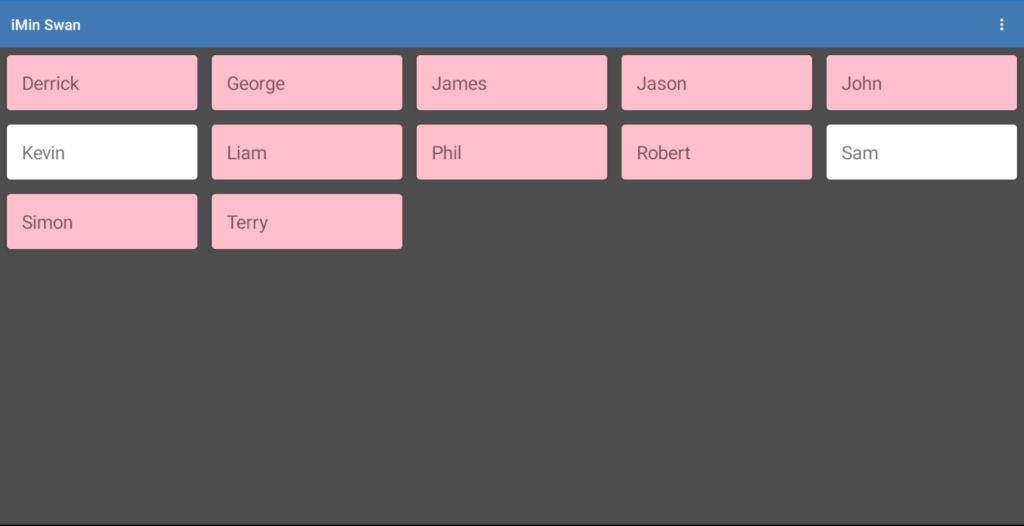
In order to use eZeePOS, you will need at least one employee who will be able to sign-on and complete a transaction. You can create an employee within eZeePOS Cloud Back Office.
To create an employee, you will first want to navigate to Maintenance -> Clerks -> Clerks. You will be taken to the following screen:

To create a new employee, press the New Clerk button at the top-left of the screen. You will be taken to the Employee setup page

To begin there is the top section, which is information about the employee:
Clerk Name: This is the employees name, which will be used to identify who has made a transaction, held a check, show overall sales totals, etc.
Password: A numeric password can be set against an employee, which means that when they press to sign-on, it will prompt for a password in order to do so. If this field is left blank, then a password will not be required.
Group: Each employee can be assigned to a group, which can be used to group employees together, which can then be used for viewing reports and seeing totals for each of these groups.
Underneath this section are the Clerk Options:
Manager: If checked, this will set the employee to be a manager. Some functions may be manager only, so to be able to use these functions, a manager will be required. This will also cause the employee button to show as red on EzeePOS.
Training: If ticked, this will set the employee as a training clerks. This means that any transactions made will not affect the main financial totals, and will have its own header on the reports.
Sign Off at End Of Sale: If this flag is checked, when the employee finalises a sale, they will be signed off and EzeePOS will return to sign-on screen.
Once you have confirmed the settings required for the employee, press the Save button at the top right of the screen and this will add the employee.
In eZeePOS, you should now be able to run a Terminal Refresh within the Back Office and the employee should appear on the sign-on screen. Any employees set as management will display in red.

