Tips for a smooth POS setup in hospitality venues
A point of sale (POS) system is defined as the combination of hardware, software, and payment processing that records every transaction at your venue. Getting it right from the start is the difference between a confident team serving customers at pace and a launch day that falls apart under pressure. A methodical POS setup covers hardware preparation, software configuration, thorough testing, and staff training before a single real customer pays. These tips for seamless POS setup are built specifically for UK hospitality operators running cafés, bars, restaurants, and quick-service venues.
1. Prepare your hardware before anything else
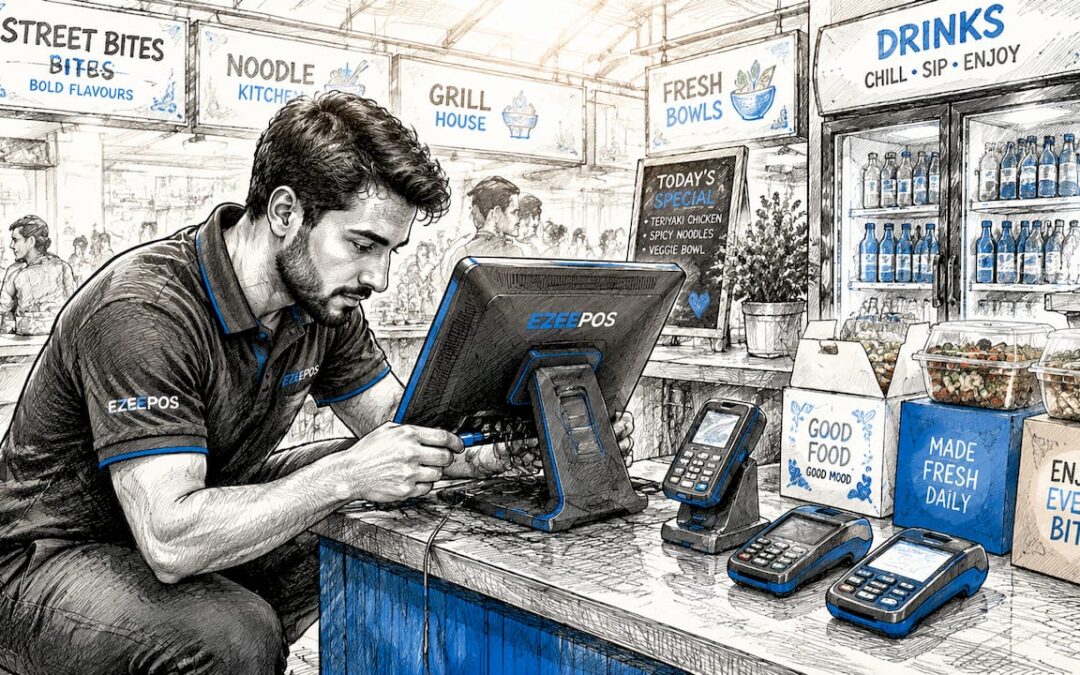
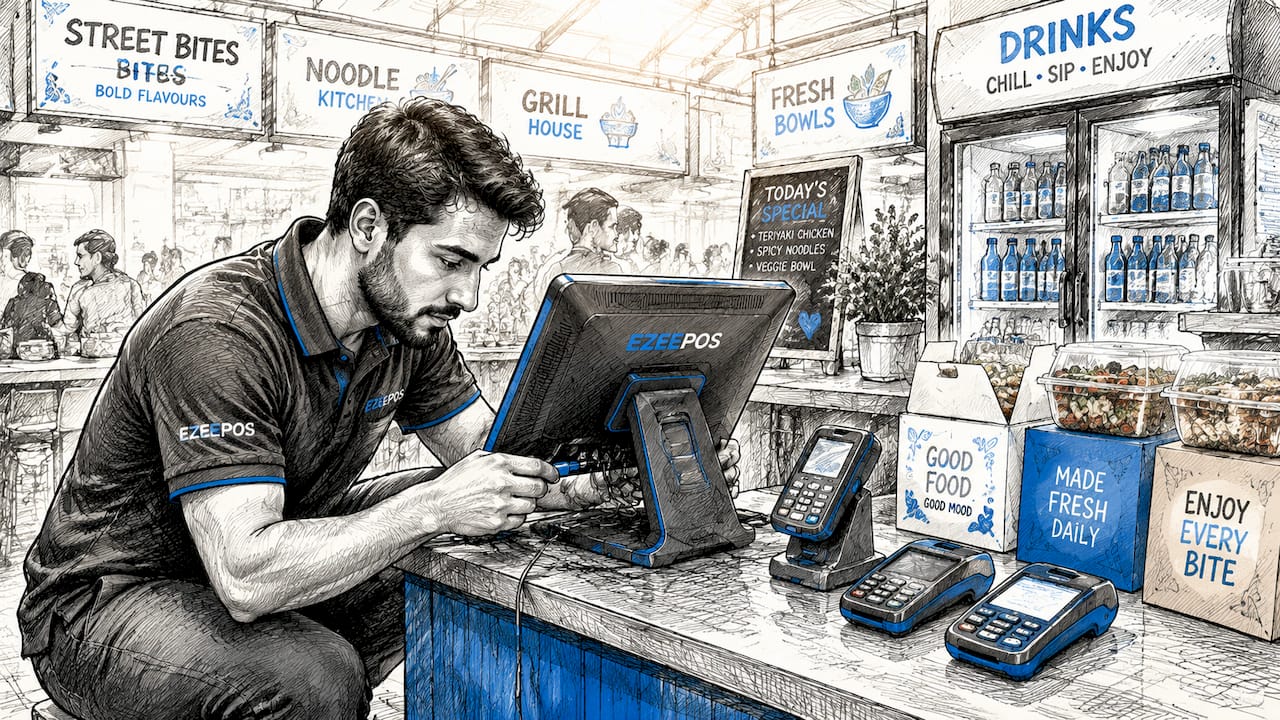
Hardware readiness is the foundation of every smooth POS setup guide, and skipping this step causes more launch-day failures than any software issue. Start by unboxing and physically testing every component: terminals, receipt printers, card readers, kitchen display screens, and cash drawers. Confirm that each device powers on, connects to your network, and communicates with the others before you touch the software.
Power protection matters more than most operators realise. Use a dedicated UPS rather than a consumer power strip to protect your terminals from surges and brief outages. A UPS buys you time to close open transactions cleanly if the mains supply drops, which in a busy Friday night service is worth every penny.

For network connections, prefer wired Ethernet over Wi-Fi for your primary terminals. Wi-Fi is acceptable for tablets and mobile POS units, but a wired connection removes one variable from your troubleshooting list. Note that Wi-Fi printers often require the same subnet as the POS terminal, so confirm your router configuration before assuming everything will connect automatically.
Pro Tip: Label every cable and device during setup. When you are troubleshooting at 11pm on a Saturday, knowing which cable goes where saves significant time.
2. Sort your network at least a week before launch
Network problems are the single most common cause of delayed POS launches in hospitality venues. Reserve at least seven days before your go-live date to troubleshoot connectivity, exchange faulty hardware, and confirm that every peripheral sits on the correct subnet. Leaving this to the day before opening is a risk no venue should take.
Test your internet connection under realistic load. Run multiple terminals simultaneously, stream a test order to the kitchen screen, and print a receipt while processing a card payment. If anything slows or drops, identify the cause now rather than during a lunch rush. A dedicated business broadband line with a 4G backup router is the standard setup for venues that cannot afford downtime.
3. Gather all business and payment details upfront
POS system installation requires more than just the hardware. You need your legal business name, VAT registration number, bank account details, and your payment processor credentials before you begin software configuration. Missing any of these details mid-setup forces you to stop, chase information, and restart sections of the configuration.
Contact your merchant services provider before setup day and confirm your terminal IDs, acquirer details, and any specific configuration codes they require. Payment gateway integration is one of the steps most likely to stall a setup, and it is almost always because operators do not have the right credentials to hand.
4. Configure your POS software methodically
Software configuration is where best practices for POS configuration pay off most visibly. Begin with your business profile: trading name, address, VAT number, receipt header and footer text, and your preferred currency and date formats. These settings flow through to every receipt and report, so getting them right at the start avoids a batch of corrections later.
Build your product catalogue with the same care you would give a printed menu. Organise products into logical categories that reflect how your staff think during service, not how a spreadsheet happens to be sorted. A barista searching for “oat milk flat white” under a category called “Hot Beverages” will find it faster than hunting through an alphabetical list of 200 items. Category logic directly affects checkout speed and the accuracy of your sales reports.
The following configuration steps should be completed in order:
- Set up your business profile and regional preferences.
- Build or import your full product and modifier catalogue.
- Configure tax rules, including VAT rates per product category.
- Set up receipt formats for both printed and digital delivery.
- Define payment types: cash, card, contactless, vouchers, and split payments.
- Assign user roles and permissions with PIN or biometric authentication.
- Connect integrations with accounting software, loyalty platforms, and any e-commerce channels.
- Run a batch sync and verify that all data has transferred correctly.
Role-based access controls restrict sensitive functions such as refunds and price overrides to authorised staff only. This is not just a security measure. It also produces cleaner reporting because accidental overrides and unauthorised discounts stop appearing in your end-of-day figures.
5. Test every transaction type before going live
Testing is the step most operators rush, and it is the step that determines whether your launch is smooth or chaotic. Test all payment types before going live, covering cash, chip and PIN, contactless, Apple Pay, Google Pay, split payments, and gift vouchers. Each payment type has its own processing path, and a failure in one does not mean the others are broken.
Use the table below as a reference for the scenarios your testing phase must cover:
| Test scenario | What to verify |
|---|---|
| Standard card payment | Transaction completes, receipt prints, sale appears in reports |
| Cash payment with change | Correct change calculated, drawer opens, cash recorded |
| Refund and void | Amount returned correctly, inventory restocked, report updated |
| Split payment | Both payment legs recorded, total matches order value |
| Discount and promotion | Correct price applied, discount visible on receipt and report |
| Internet outage | Offline mode activates, transactions queue and sync on reconnect |
| Card reader failure | Staff know the fallback procedure and can take payment another way |
Pro Tip: Role-play a card decline with a member of staff who has never seen it before. Their reaction tells you exactly what your training gaps are.
Leverage APIs to connect your POS with accounting and loyalty platforms, then test each integration individually before testing them together. Isolating integrations makes it far easier to identify which connection is causing a data discrepancy.
6. Train your staff with the store closed
Many POS failures stem from inadequate training despite intuitive software, and repeated practice handling errors is non-negotiable for hospitality venues. Schedule your training sessions during closed hours so staff can make mistakes without customer pressure. The goal is confidence, not just familiarity.
Follow this sequence for effective staff training:
- Walk through the full transaction flow from order entry to payment and receipt.
- Repeat each transaction type at least three times per scenario to build muscle memory.
- Introduce error scenarios: card declines, printer jams, network drops, and split payment requests.
- Cover manager functions separately: running reports, adjusting inventory, overriding permissions.
- Distribute printed cheat sheets covering the five most common tasks for each role.
- Run a full mock service with real orders and real payment hardware before launch day.
Pro Tip: Record a short screen-capture video of each key workflow and save it to a shared folder. New starters can watch it on their first shift without needing a manager present.
Schedule your POS launch during off-hours and plan a soft launch phase before your first peak service. A quiet Tuesday lunch is a far better proving ground than a Saturday evening with a full house.
7. Build a launch day checklist
A launch day checklist is the difference between a confident go-live and a frantic scramble. Maintain a checklist that covers terminal power status, network connection, peripheral readiness, receipt paper stock, card reader pairing, and backup supplies such as spare paper rolls and a charged tablet. Work through it systematically before the first customer arrives.
Assign one person as the technical lead for launch day. This person is not serving customers. Their job is to monitor the system, respond to any issues, and be the first point of contact for your POS provider’s support team. Having a dedicated contact at Ezeepos or your installation partner on speed dial is not overcaution. It is standard practice for any venue serious about a clean launch.
8. Avoid the most common POS setup mistakes
The most frequent POS setup errors are predictable and entirely avoidable with the right preparation. Rushing the setup because the software looks straightforward is the number one cause of live failures. Expect two to six hours of active work for a basic setup, and plan for more if your menu is complex or your integrations are numerous.
Watch out for these specific pitfalls:
- Importing messy product data. Clean your spreadsheet before import. Duplicate entries, inconsistent naming, and missing tax codes create reporting errors that are tedious to fix after launch.
- Skipping hardware compatibility checks. Confirm that your card reader, printer, and terminal are all certified to work together before purchase, not after delivery.
- Granting excessive permissions. Every staff member does not need access to refunds and end-of-day reports. Restrict permissions to the minimum required for each role.
- Neglecting integration tests. A payment gateway that connects successfully does not automatically mean your accounting software is receiving the correct data. Test the full data flow.
- Launching during peak hours. A busy Saturday service is not the time to discover a configuration error. Always launch during a quiet period.
“A phased, methodical POS setup delivers better long-term results than a rushed launch, improving vendor support responsiveness and staff buy-in from day one.”
For mobile catering and pop-up venues, the setup considerations differ slightly. A mobile POS setup for UK hospitality requires additional attention to connectivity, battery life, and offline transaction handling.
Key takeaways
A successful POS setup requires hardware preparation, methodical software configuration, thorough testing, and hands-on staff training completed before the first live transaction.
| Point | Details |
|---|---|
| Hardware first | Test every terminal, printer, and card reader before touching the software. |
| Network buffer | Allow at least seven days to resolve connectivity and subnet issues before launch. |
| Test all scenarios | Cover refunds, voids, split payments, and offline mode before going live. |
| Train with errors | Staff must practise card declines and printer failures, not just standard transactions. |
| Launch quietly | Start with a soft launch during off-hours to catch issues before peak service. |
What I have learned from watching venues get this wrong
I have seen well-funded venues with excellent menus stumble badly on launch day, and the cause is almost always the same. They treated POS setup as a box-ticking exercise rather than a rehearsal for live service. The software looked intuitive, so they skipped the testing phase. The staff seemed capable, so the training was cut short. Then the first Saturday arrived and everything that could go wrong did.
The insight that changed how I think about this process came from watching a bar manager role-play a card decline with her team three days before opening. One member of staff froze completely. Not because she was incompetent, but because nobody had told her what to say to a customer while the issue was being resolved. That thirty-second conversation during training saved what could have been an embarrassing moment in front of a full room.
The other thing I would push back on is the assumption that better software means less preparation. The operational benefits of a well-configured POS only materialise if the setup is done properly. An Android-based system like Ezeepos is genuinely straightforward to configure, but straightforward is not the same as instant. The venues that get the most from their system are the ones that invested two or three days in setup and training before they served a single paying customer.
Post-launch refinement matters too. Your first two weeks of live data will show you which menu categories are confusing staff, which modifiers are being skipped, and which reports you actually look at. Use that data to tighten the configuration. The setup is not finished on go-live day. It is finished when the system fits your service like a second skin.
— John
Ready to set up your venue’s POS with confidence?
Ezeepos is built specifically for UK hospitality venues, from independent cafés and bars to fast-casual restaurants and mobile catering operations. The platform combines Android-based terminals, kitchen screens, self-service kiosks, and a cloud back office into one system, with local UK installation and ongoing human support from accredited providers.
Whether you are setting up your first POS or replacing an underperforming system, Ezeepos provides full feature access without tiered pricing, meaning you get everything from inventory control to staff management from day one. Explore the POS system benefits tailored for UK hospitality, or review the efficient POS operations guide to see how the right configuration translates into faster service and fewer errors.
FAQ
How long does a basic POS setup take?
A basic POS setup takes between two and six hours of active work, covering unboxing, software installation, product entry, and payment sync. Complex menus or multiple integrations will extend this significantly.
What should I test before going live with my POS?
Test every payment type including cash, chip and PIN, contactless, refunds, voids, split payments, and discounts. Also test your offline mode and confirm that all integrations are passing data correctly to your accounting and reporting tools.
How do I train staff effectively for a new POS system?
Train staff with the venue closed, repeating each key transaction type at least three times to build confidence. Include error scenarios such as card declines and printer failures, and provide printed cheat sheets for each role.
What is the biggest mistake venues make during POS setup?
Rushing the process because the software appears user-friendly is the most common mistake. Skipping thorough testing and cutting staff training short leads directly to failures during live service, particularly when handling edge cases like refunds or payment hardware issues.
When is the best time to launch a new POS system?
Launch during off-hours or a quiet trading period, such as a Tuesday lunch service, rather than a peak session. A soft launch phase allows staff to acclimate and lets you resolve any configuration issues before high-volume service begins.
Recent Comments