
Step by step mobile payment guide for hospitality venues
A step by step mobile payment guide gives hospitality operators a structured path to accepting card and digital wallet payments through phones, tablets, and mobile terminals. Mobile payments, known in the industry as mobile point of sale (mPOS), cover every transaction method where a portable device replaces a fixed till. For UK venue operators running cafés, bars, restaurants, or event catering, getting this right means faster table turns, fewer queues at the counter, and guests who leave satisfied rather than waiting. This guide walks you through every stage: prerequisites, configuration, testing, and staff readiness.
What tools and prerequisites do you need for mobile payments?
Successful mobile payment implementation requires selecting the right platform and hardware before you order a single piece of equipment. Think of it as four layers working together: the device, the payment acceptance hardware or software, the processor connection, and your backend reporting system. Miss one layer and the whole chain breaks.
Hardware you will need
The physical kit depends on your service style. Counter service venues typically need a tablet or Android handset paired with an NFC-enabled card reader. Table service operations benefit from a pay at table terminal that staff carry to guests. Mobile catering setups, such as festival bars or pop-up kitchens, need compact Bluetooth readers that pair with a phone.
- NFC-enabled card reader (Stripe Terminal, SumUp Air, or similar)
- Android tablet or smartphone running your POS application
- Stable mobile data or venue Wi-Fi with a backup connection
- Receipt printer or digital receipt capability configured in your POS
Pro Tip: Order a spare card reader before you go live. A single hardware failure during a busy Saturday service will cost you far more than the price of a backup unit.
Software and account requirements
Your payment provider account must be verified and your bank account linked before any hardware arrives. Mobile terminals encrypt data and pass it through secure channels to processors that validate cards with banks in seconds, but that chain only works when your merchant account is fully activated and compliant with EMV, PCI, and tokenisation standards.
| Tool | Type | Best suited for |
|---|---|---|
| Stripe Terminal | Card reader and SDK | Tech-forward venues needing custom POS integration |
| SumUp Air | Compact Bluetooth reader | Mobile catering and pop-up venues |
| Oracle Hospitality | Full POS suite | Large restaurants and hotel food and beverage |
| Apple Pay / Google Pay | Digital wallet acceptance | Any NFC-enabled terminal |
| Ezeepos Android POS | Integrated POS platform | UK hospitality venues of all sizes |
Oracle’s Pay-by-Link feature, for example, lets you send guests unique payment URLs for advance deposits, supporting Apple Pay, Google Pay, and 3DS2 authentication. This is a fundamentally different architecture from a QR code at checkout, and mixing them without clear separation causes reporting gaps.
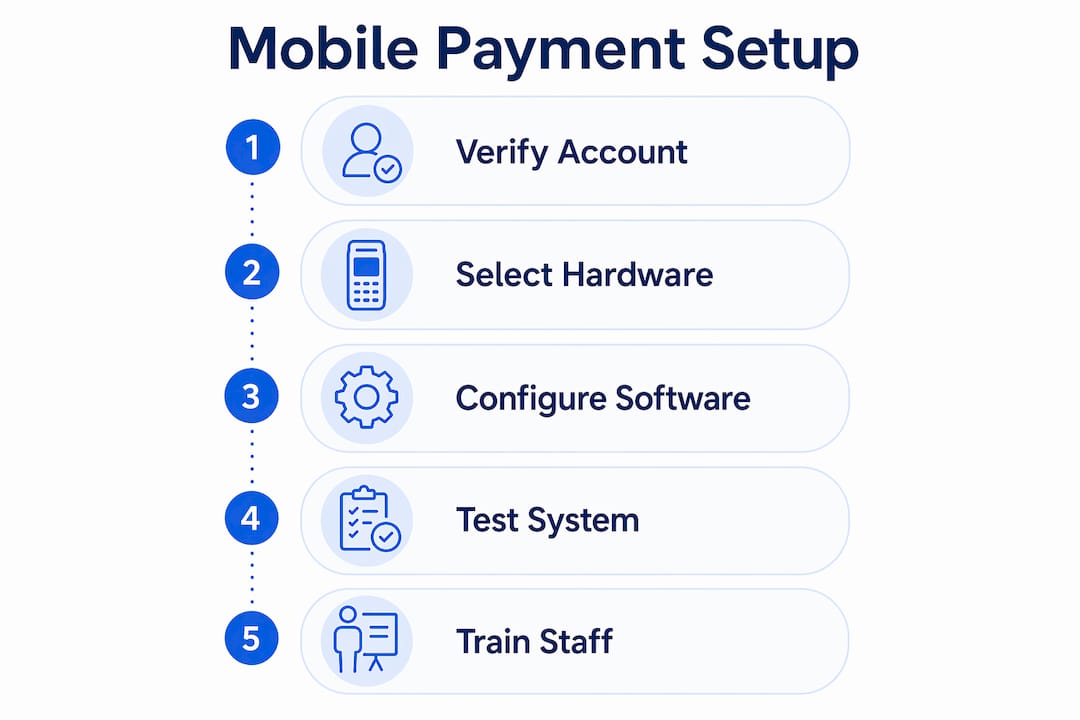
How to set up and configure your mobile payment system
With hardware in hand and accounts verified, configuration follows a logical sequence. Rushing this stage is the most common reason venues face problems on launch day.
-
Install your POS application. Download your chosen POS software onto each device. For Ezeepos, this means installing the Android app and logging in with your venue credentials. Confirm that the app version matches any connected hardware firmware.
-
Pair your card reader. Enable Bluetooth on the device and follow the reader’s pairing instructions. Stripe Terminal, for instance, requires you to register the reader within the Stripe Dashboard before it appears as an available device in your app. Confirm the pairing with a test connection, not a live transaction.
-
Configure your product catalogue. Import or build your menu items, modifiers, and pricing within the POS. Set up your POS workflow to reflect your service mode, whether that is counter ordering, table ordering, or self-service kiosk. Accurate catalogue data is what makes receipts and kitchen tickets match the order.
-
Set receipt preferences. Decide whether receipts are printed, emailed, or sent via SMS. Configure the receipt template to include your venue name, VAT number, and transaction reference. This matters for both customer trust and your own accounting records.
-
Enable digital wallet acceptance. Apple Pay and Google Pay work through NFC on any compliant terminal, but you must confirm that your payment provider has enabled contactless in your account settings. Tap-to-Pay onboarding in Apple’s ecosystem is a digital process completed on iPhone in under 15 minutes, and it must be triggered through your app’s onboarding flow to comply with local regulations.
-
Set up multiple payment modes. Hospitality venues typically need at least three modes active: in-person tap-to-pay, chip and PIN, and digital wallet. If you plan to take advance deposits, configure Pay-by-Link as a separate tender type so it reports correctly and does not contaminate your in-service transaction data.
| Setup stage | Key action | Common mistake |
|---|---|---|
| Account activation | Verify merchant account and link bank | Going live before verification completes |
| Hardware pairing | Register reader in dashboard, then pair | Pairing via Bluetooth without dashboard registration |
| Catalogue setup | Import full menu with modifiers | Using placeholder items that skew sales reports |
| Digital wallets | Enable NFC in provider account settings | Assuming NFC is on by default |
| Multiple modes | Configure each tender type separately | Mixing Pay-by-Link and POS tenders in one flow |
Pro Tip: Configure your POS for every payment mode you intend to use before testing begins. Activating a new tender type after go-live forces you to retest the entire payment flow.
How should you test mobile payments before going live?
Testing is where most venues cut corners, and it is precisely where problems hide. Comprehensive test plans should mirror real hospitality scenarios to validate payment accuracy and reporting, not just confirm that a card charges successfully.
A successful hospitality mobile payment rollout depends on thorough testing of all scenarios to prevent revenue loss and customer frustration.
Run every test below before you accept a single paying guest:
- Standard tap-to-pay. Hold a test card or phone near the terminal. Confirm the payment confirmation appears as a checkmark, beep, or vibration. Check that the transaction appears in your POS dashboard and matches the correct order.
- Chip and PIN. Insert a physical card and enter a PIN. Verify the receipt prints or sends correctly and the amount matches the order total.
- Split bill. Divide a test order between two payment methods. Confirm both transactions record against the same order and the total balances.
- Tip addition. Add a tip at the terminal after the base amount. Check that the tip records separately in your reporting if your payroll process requires it.
- Partial decline. Simulate a declined card by using a test card number that triggers a decline response. Confirm the POS handles the decline gracefully and prompts for an alternative payment method without voiding the order.
- Digital wallet payment. Pay with Apple Pay or Google Pay. Confirm NFC recognition, authentication, and receipt delivery all complete without error.
- Receipt delivery. Send a digital receipt to a test email address. Confirm it arrives, displays correctly, and links to the right order reference.
Pro Tip: Run your test scenarios during a quiet period with two staff members present: one acting as the customer and one operating the POS. This surfaces communication gaps in the payment handoff that solo testing never reveals.
How do you train staff and manage ongoing mobile payment operations?
Staff confidence at the point of payment directly affects guest experience. A hesitant server fumbling with a reader during a busy Friday service erodes the speed advantage that mobile payments are supposed to deliver.
Training should cover four core areas. First, the physical payment flow: how to present the reader, what confirmation looks like for the guest, and when to ask for PIN or signature. Second, handling exceptions: what to do when a card declines, when the reader loses connection, or when a guest wants to split a bill in an unusual way. Third, digital wallet specifics: guests using Apple Pay or Google Pay unlock their phone and hold it near the terminal, and staff should know to wait for the confirmation signal before moving on. Fourth, end-of-day reconciliation: how to close a session, what the transaction summary should show, and who to contact if figures do not balance.
- Create a one-page quick reference card for each service station covering the most common payment scenarios
- Run a 30-minute live practice session before each new staff member takes their first shift
- Designate one team member per shift as the payment lead who handles escalations
- Review transaction reports daily for the first two weeks after launch to catch anomalies early
Contactless payment workflows in hospitality also evolve as new methods emerge. Google Pay, Apple Pay, and bank-issued contactless cards all behave slightly differently at the terminal, and staff who understand the differences handle edge cases without escalating to a manager. Schedule a short refresher session every quarter, particularly when you add new hardware or update your POS software.
Pro Tip: Create a laminated quick reference guide for each terminal covering the five most common payment scenarios. Staff under pressure during a busy service will not remember verbal training, but they will glance at a card.
Key takeaways
Successful mobile payment implementation in hospitality requires hardware, software, processor connection, and backend reporting to work as a single integrated system, not as isolated components.
| Point | Details |
|---|---|
| Prepare all four layers | Device, reader, processor, and backend must all be configured before go-live. |
| Test every scenario | Split bills, tips, declines, and digital wallets must all be tested against real POS reporting. |
| Separate payment modes | Configure tap-to-pay, chip and PIN, and Pay-by-Link as distinct tender types to protect reporting accuracy. |
| Train for exceptions | Staff must know how to handle declines, connection drops, and split bills without manager intervention. |
| Monitor post-launch | Review transaction reports daily for the first two weeks to catch integration gaps early. |
What operators get wrong about mobile payment rollouts
Most venues I have seen treat mobile payment setup as a hardware problem. They order the readers, plug them in, and assume the rest follows. It does not. The real complexity sits in the software layer: catalogue accuracy, tender type separation, and receipt configuration. A bar that goes live with placeholder menu items in its POS will have receipts that mean nothing to the accountant and reports that cannot be reconciled at month end.
The testing phase is where I see the most damaging shortcuts. Operators run one successful tap-to-pay transaction, declare the system working, and open to customers. Three hours into service, the first split bill crashes the session or a declined card voids the entire order. Stripe’s guidance on testing is explicit: test plans must mirror real service scenarios, not just basic functionality. That means split bills, tips, and partial declines before a single paying guest walks through the door.
The other underestimated factor is onboarding UX. Apple’s Tap-to-Pay merchant onboarding must be completed within 15 minutes and triggered through the correct app flow. Venues that skip this step or complete it out of sequence find themselves unable to accept Apple Pay at the worst possible moment. Plan the onboarding flow before your hardware arrives, not after. The mobile POS setup process rewards operators who treat it as a workflow project, not a technology installation.
— John
How Ezeepos supports mobile payment integration for UK venues
Ezeepos is built specifically for UK hospitality venues that need mobile payment capability without the complexity of enterprise procurement. The Android-based platform supports NFC card readers, tablet POS, self-service kiosks, and kitchen screens in a single system, so your payment data and order data live in the same place from the start.
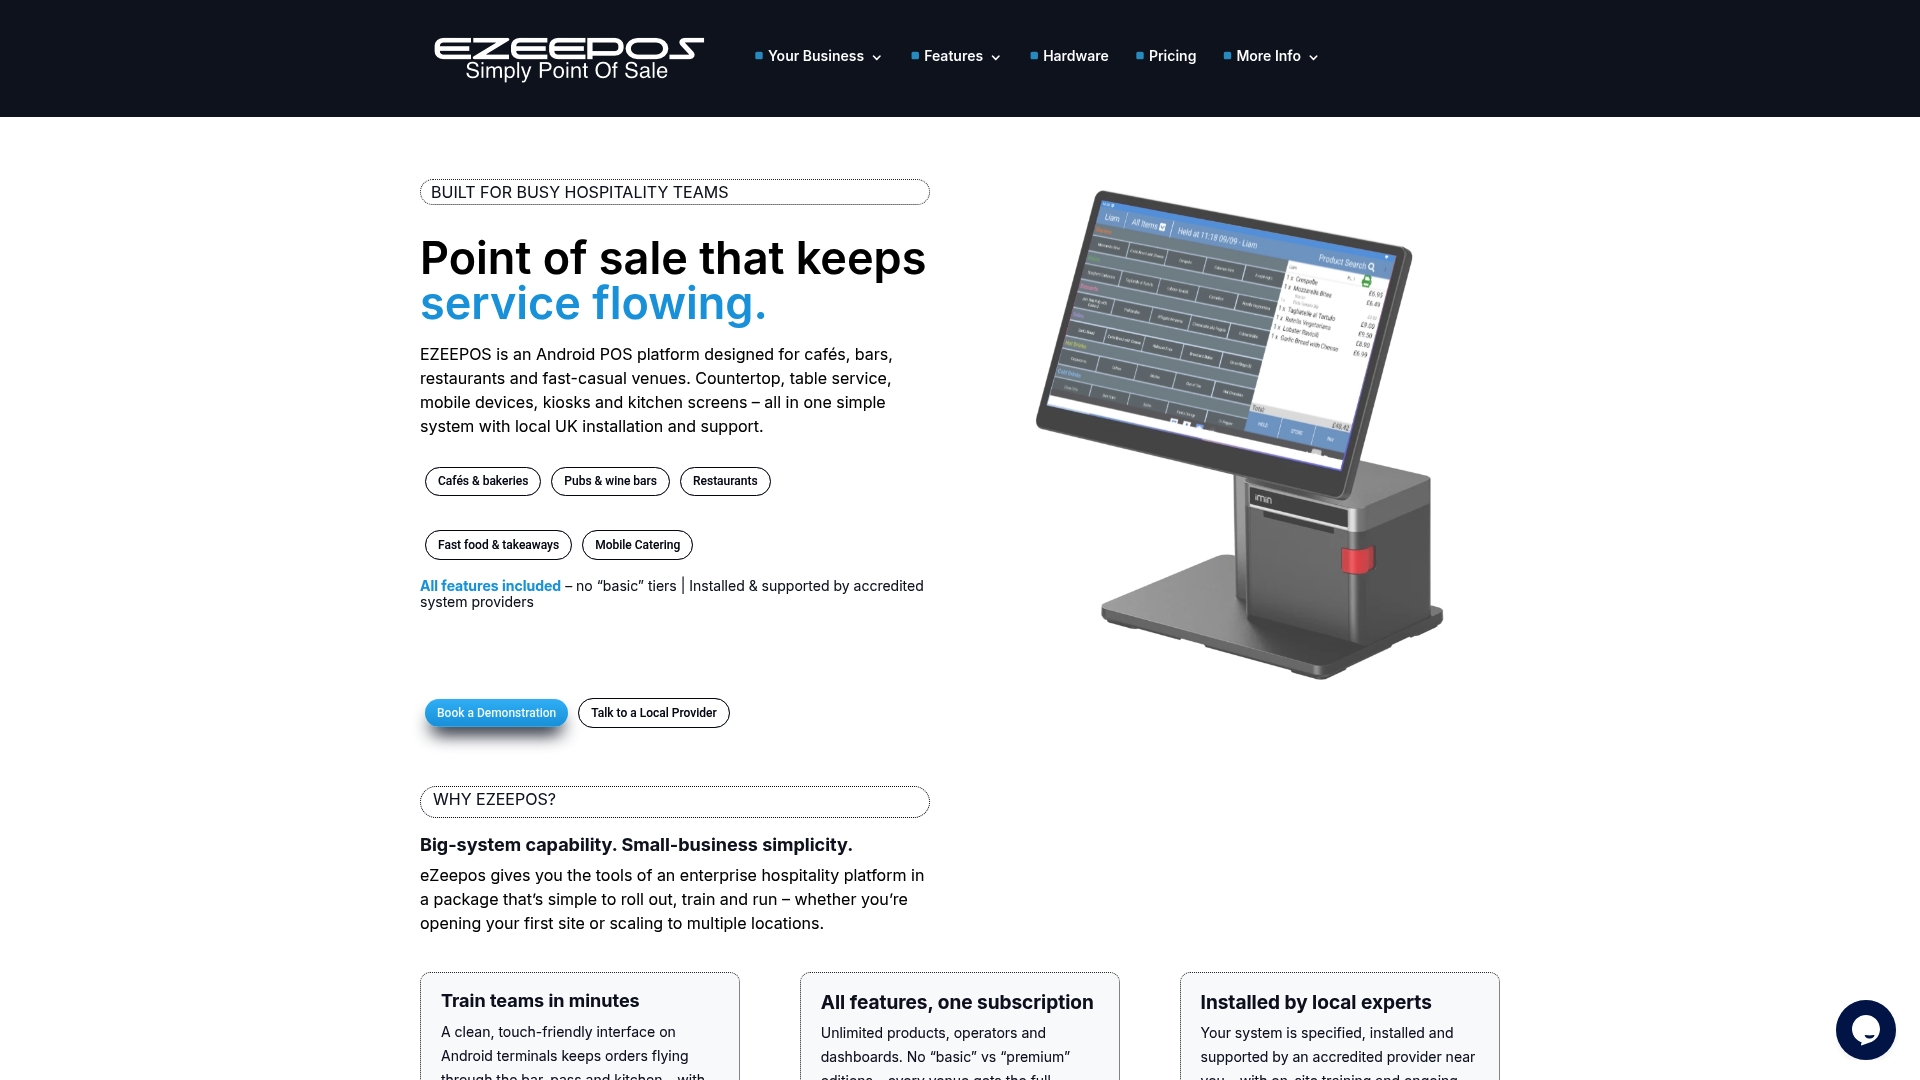
Every Ezeepos installation includes local UK setup support and accredited provider onboarding, which means your team is not reading a manual at midnight before a launch. The platform integrates with leading payment providers and supports all major tender types, including Apple Pay, Google Pay, and chip and PIN, out of the box. If you are ready to move from a fragmented payment setup to a unified POS platform that handles every service mode your venue runs, Ezeepos is worth a closer look. Visit ezeepos.co.uk to see how the system fits your operation.
FAQ
What is the first step in setting up mobile payments for a hospitality venue?
Verify your merchant account and link your bank account before ordering any hardware. Payment processors cannot activate your terminal until account verification is complete.
How long does mobile payment setup take for a small venue?
A single-site venue with one or two terminals can complete full configuration in one working day, provided accounts are verified in advance. Apple’s Tap-to-Pay onboarding alone takes under 15 minutes once triggered through the correct app flow.
Do staff need specialist training to use mobile payment terminals?
No specialist qualifications are required, but structured training on payment flows, exception handling, and end-of-day reconciliation is necessary. A 30-minute live practice session before a first shift is the minimum effective standard.
What payment methods should a hospitality venue accept at launch?
At minimum, configure tap-to-pay contactless, chip and PIN, Apple Pay, and Google Pay. If your venue takes advance bookings or deposits, add Pay-by-Link as a separate tender type to keep reporting clean.
How do you test mobile payments before opening to customers?
Run end-to-end tests covering standard card payments, digital wallet payments, split bills, tip additions, and simulated declines. Confirm every transaction appears correctly in your POS dashboard and that receipts link to the right order before going live.
Recent Comments